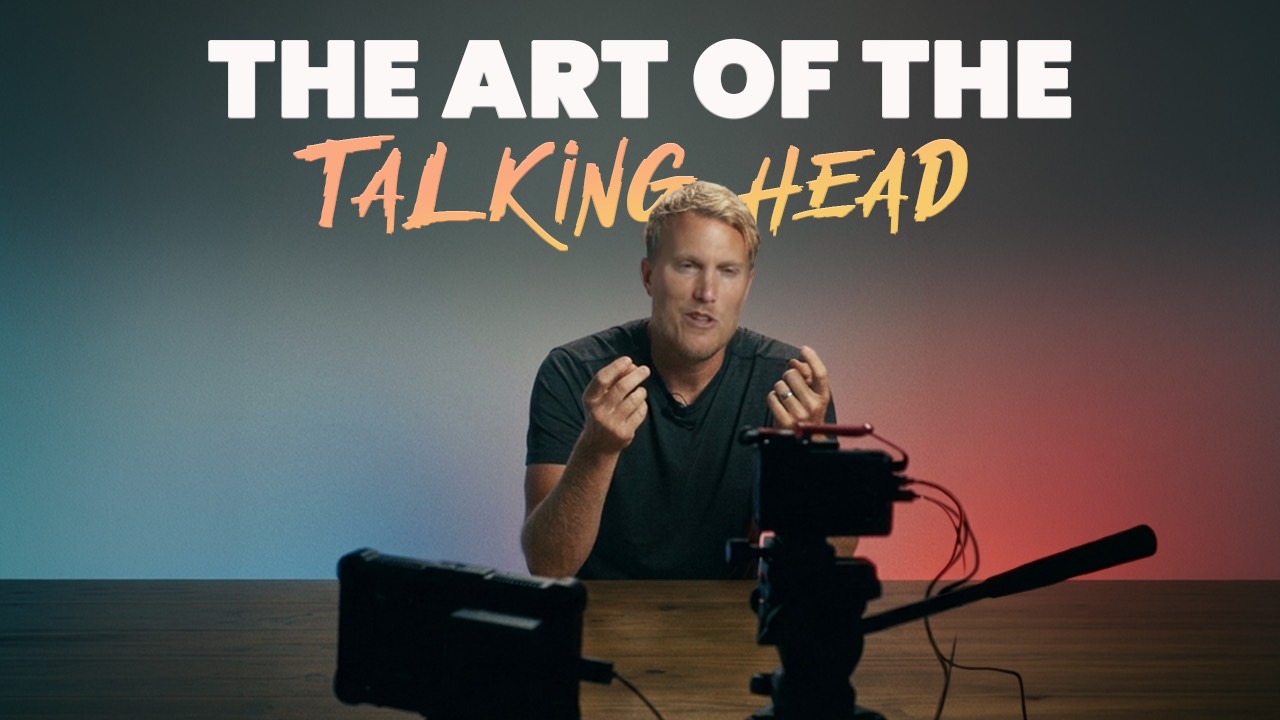
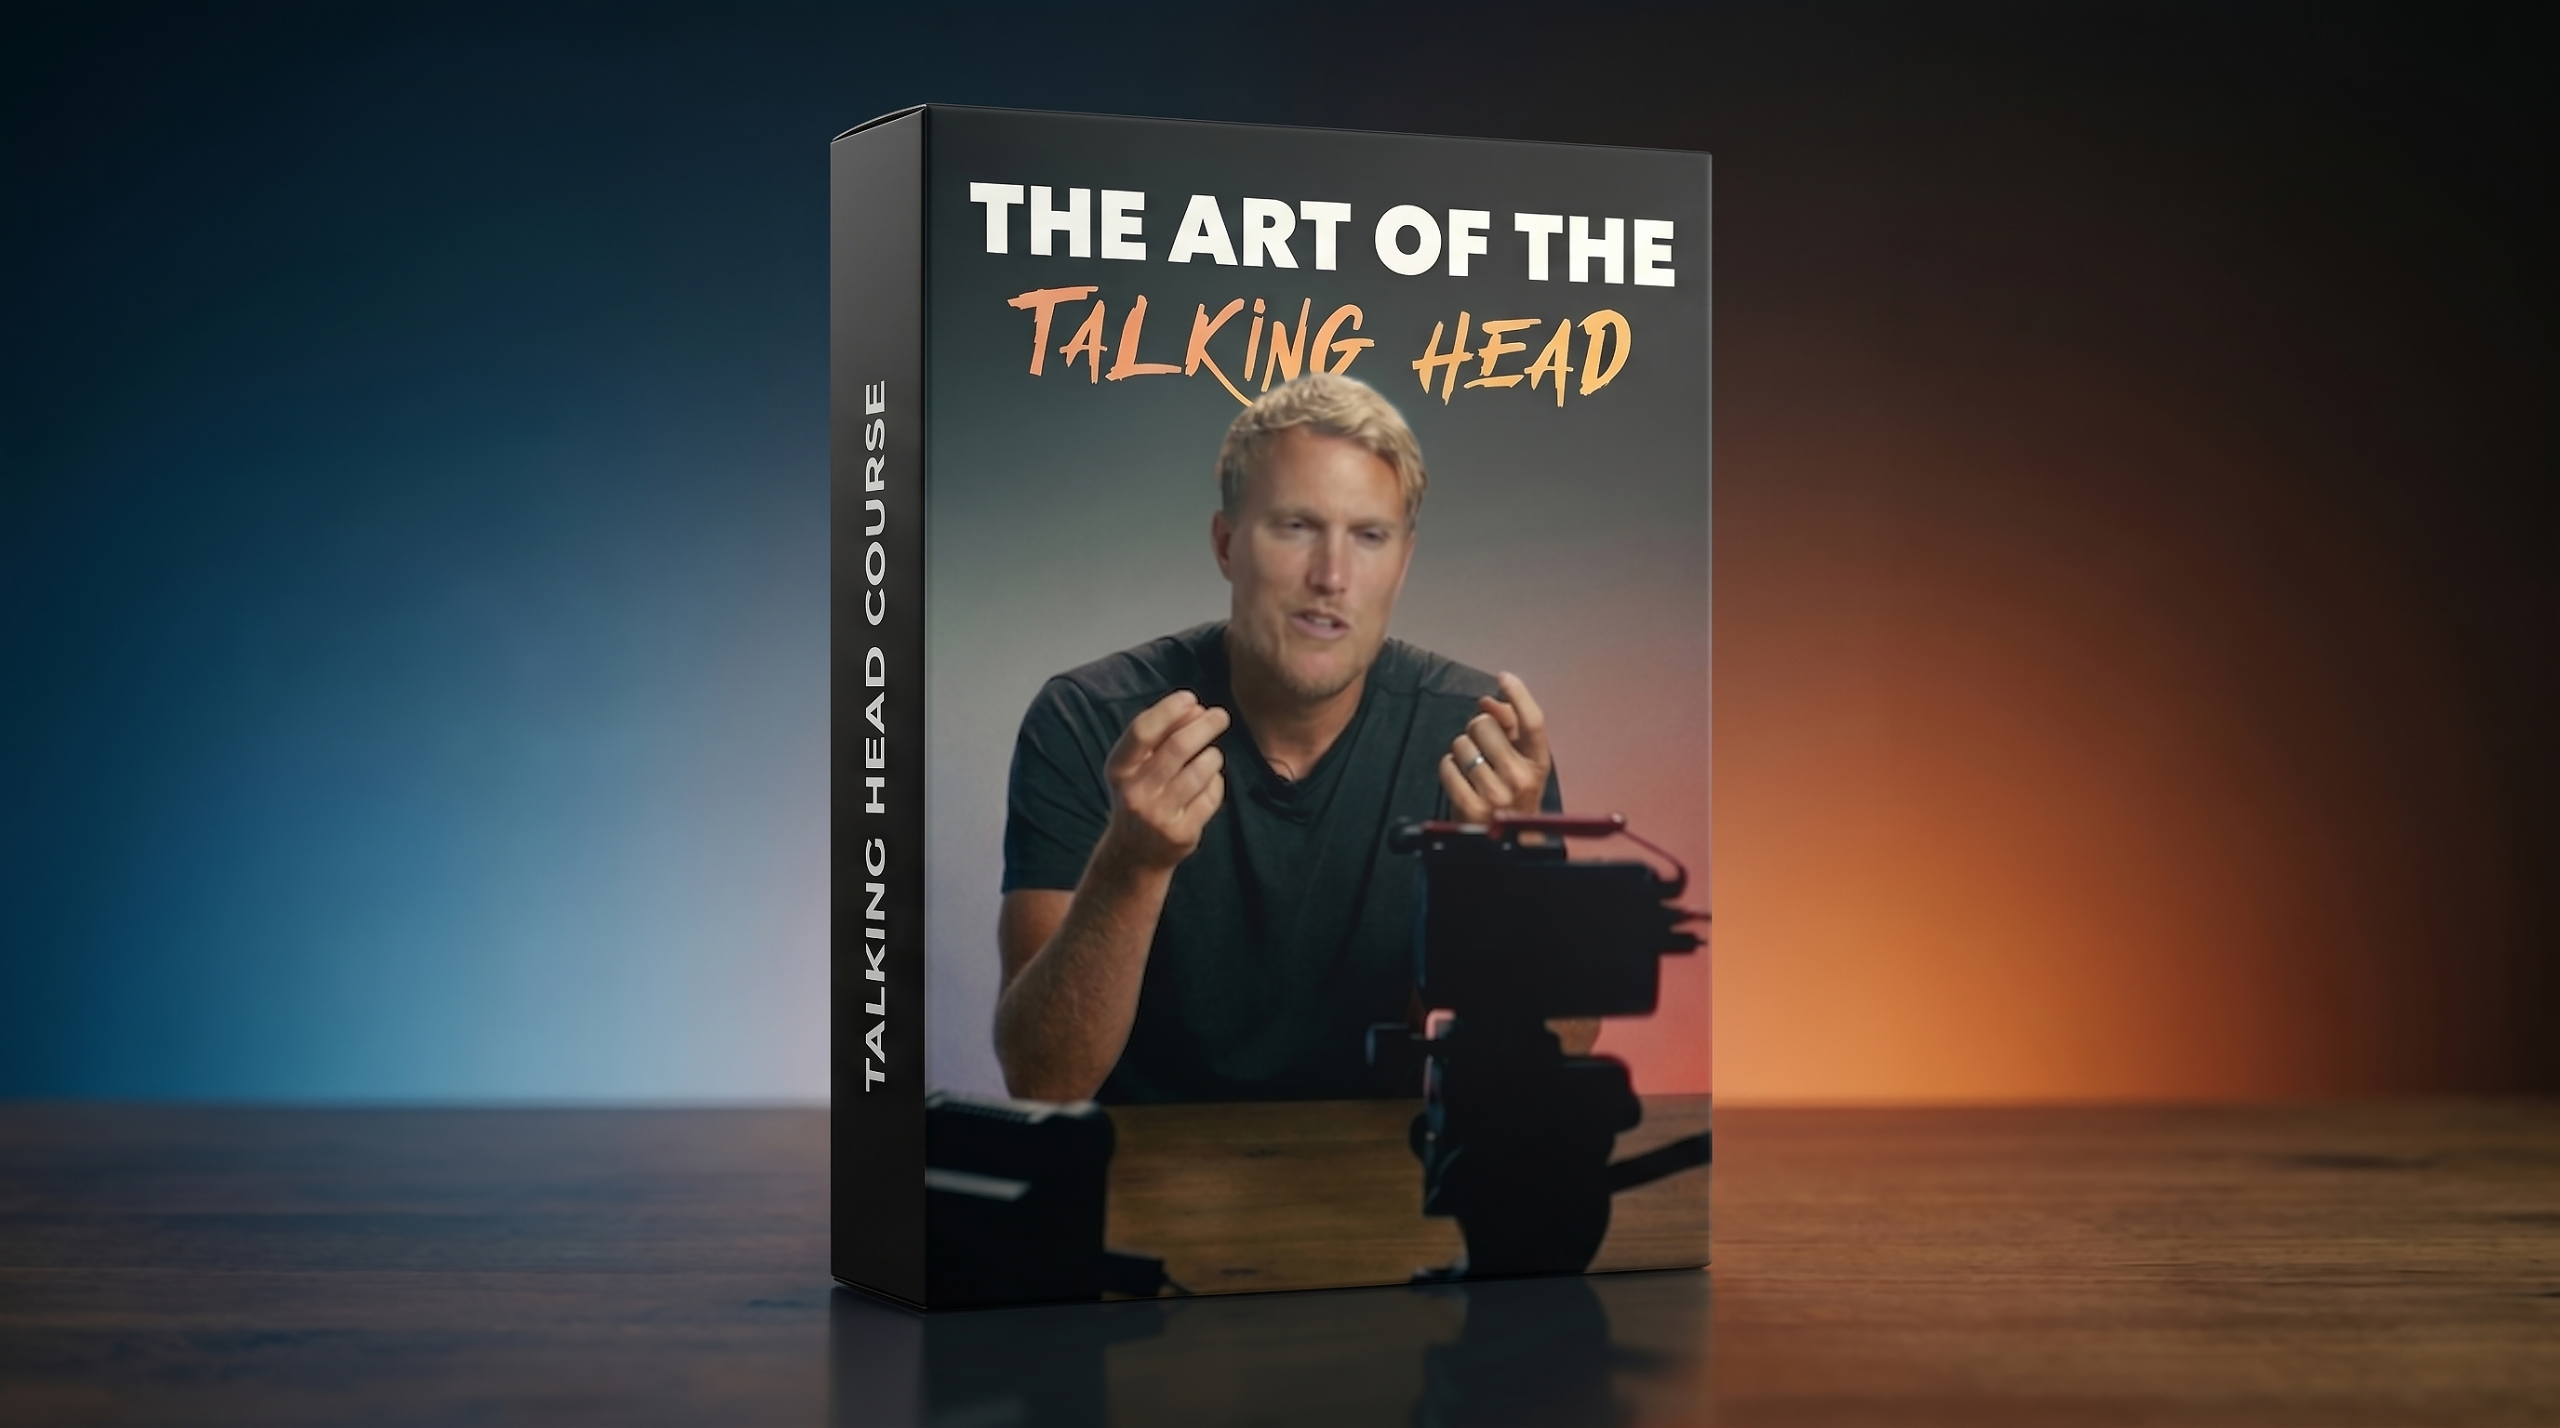
The Art of the Talking Head: How to Make Professional Talking Head Videos
Aug 03, 2026The Art of the Talking Head Course - https://www.thefilmalliance.com/Art-of-the-Talking-Head-YT
Talking head videos might look simple. You place a camera in front of yourself, press record, and start talking.
But creating a talking head video that actually looks professional, holds someone’s attention, and makes you appear confident and credible requires much more than simply owning a good camera.
Your camera position, lens choice, lighting, background, audio, body language, pacing, eye contact, and editing all work together. When one of those areas is noticeably off, the entire video can feel less professional, even when the viewer cannot explain exactly why.
That is why I created The Art of the Talking Head, a complete talking head video course designed to help creators produce cleaner, more professional, and more engaging videos without making the process unnecessarily complicated.
Throughout the course, I break down the entire process I use when creating talking head videos, from choosing a camera and setting up a room to delivering lines naturally and building a repeatable filming system.
What Is a Talking Head Video?
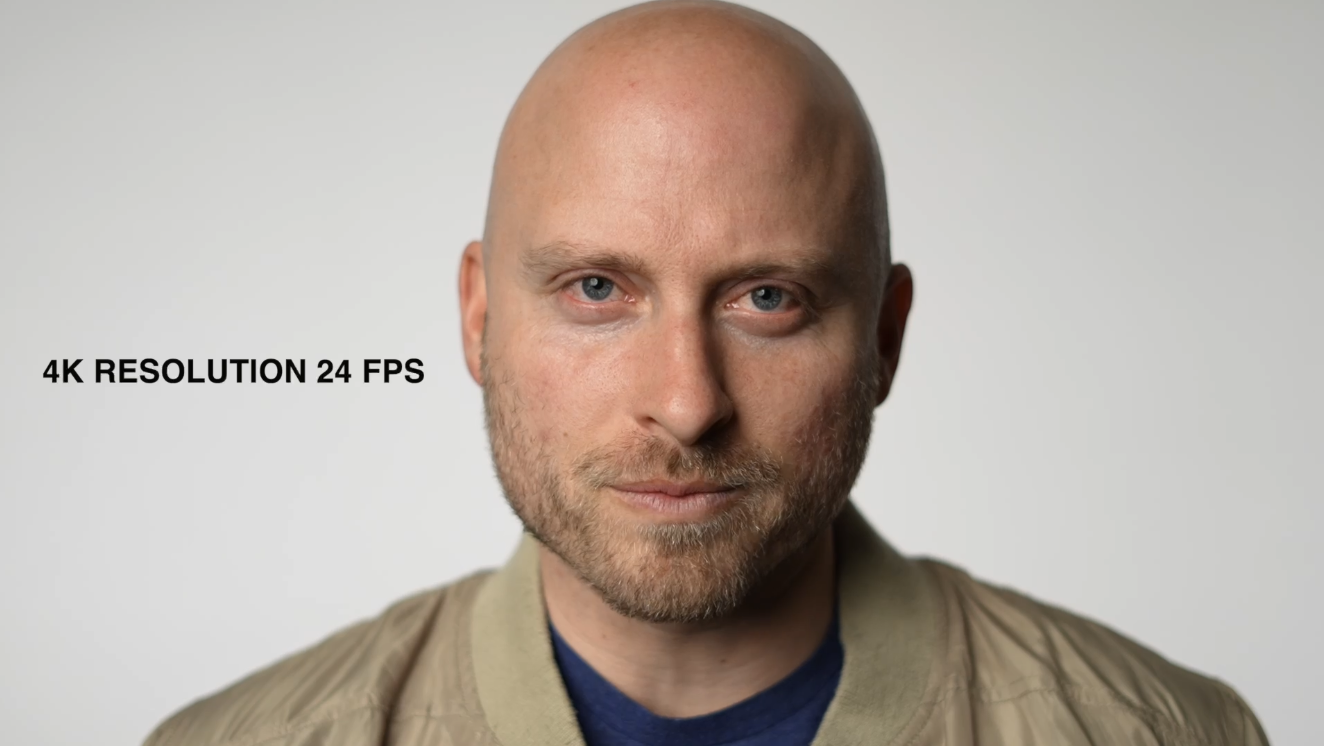
A talking head video is a video in which a person speaks directly to the audience while appearing prominently on screen.
You see this style of video everywhere:
- YouTube videos
- Online courses
- Product reviews
- Educational content
- Business videos
- Coaching videos
- Social media content
- Video podcasts
- Tutorials
- Presentations
The format is incredibly versatile, but it also places a lot of attention on the person speaking. There may not be fast action, several actors, or constant changes in scenery to keep the viewer interested.
The presentation itself has to do the work.
That means the way you frame yourself, light your face, record your audio, move your hands, maintain eye contact, and deliver your message becomes extremely important.
Why Some Talking Head Videos Look Better Than Others
Two people can use the exact same camera and create videos that look completely different.
One person may appear confident, natural, and professional. The other person may appear uncomfortable, poorly lit, disconnected from the viewer, or visually lost inside the frame.
The difference is usually not the camera.
It is the collection of smaller decisions happening around the camera.
A professional talking head video normally comes from getting several areas right at the same time:
- Camera height and framing
- Subject distance from the camera
- Lens focal length
- Exposure and white balance
- Lighting direction and softness
- Background placement
- Microphone selection and positioning
- Eye contact
- Body language
- Pacing and energy
- Editing and visual polish
The Art of the Talking Head walks through these decisions individually so you understand what each one changes and how they work together.
Who Is This Talking Head Video Course For?
I designed this course for anyone who regularly needs to speak on camera, including YouTubers, educators, business owners, filmmakers, coaches, course creators, reviewers, and social media creators.
You do not need a massive studio or the most expensive camera available.
The course covers both dedicated studio setups and simpler standing setups. I also demonstrate options for smaller spaces, budget-friendly lighting, clean backgrounds, simple tripod configurations, and natural window-light setups.
Whether you are creating your first YouTube video or trying to make an established channel look more professional, the same core principles apply.
Build a Strong Foundation Before Buying More Gear
The course begins by breaking down what separates a great talking head video from an average one.
Before discussing specific cameras or lights, I explain how framing, visual authority, presentation, and viewer psychology affect the way your video feels.
You will also learn about common beginner mistakes, including placing the camera at an unflattering height, leaving too much empty space in the frame, standing too close to a background, or using equipment that makes the filming process more difficult than it needs to be.
Understanding these fundamentals can often improve your videos more than purchasing another camera accessory.
Choosing the Right Camera, Lens, and Framing
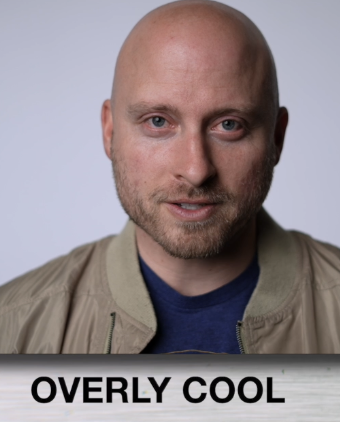
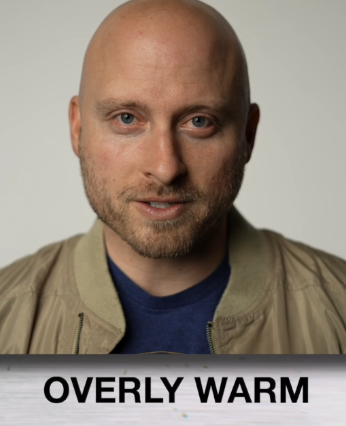
One of the most confusing parts of building a talking head video setup is deciding which camera and lens to use.
Inside the course, I explain:
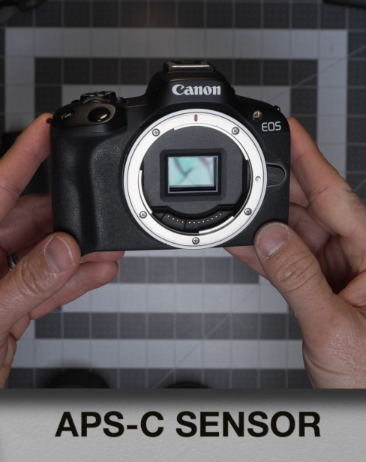
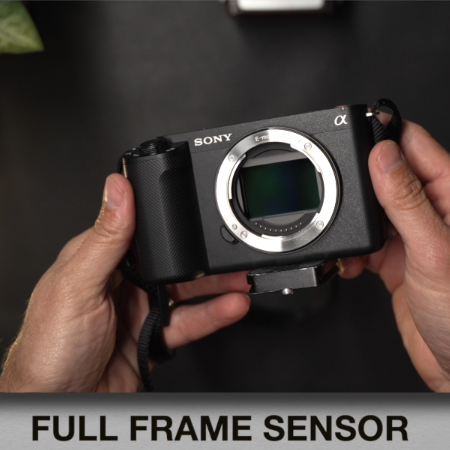
- How sensor size affects your image
- How focal length changes the appearance of your face
- Crop sensor versus full-frame considerations
- Where to position the camera
- How high the camera should be
- How far you should stand from your background
- How subject distance affects depth and separation
A wider lens may allow you to work in a smaller room, but placing it too close to your face can create an unflattering perspective.
A longer lens can create a more compressed and polished look, but it may require more room between you and the camera.
Rather than giving you one focal length and claiming it works for everyone, I show you how to make the decision based on your space, camera, desired framing, and style of content.
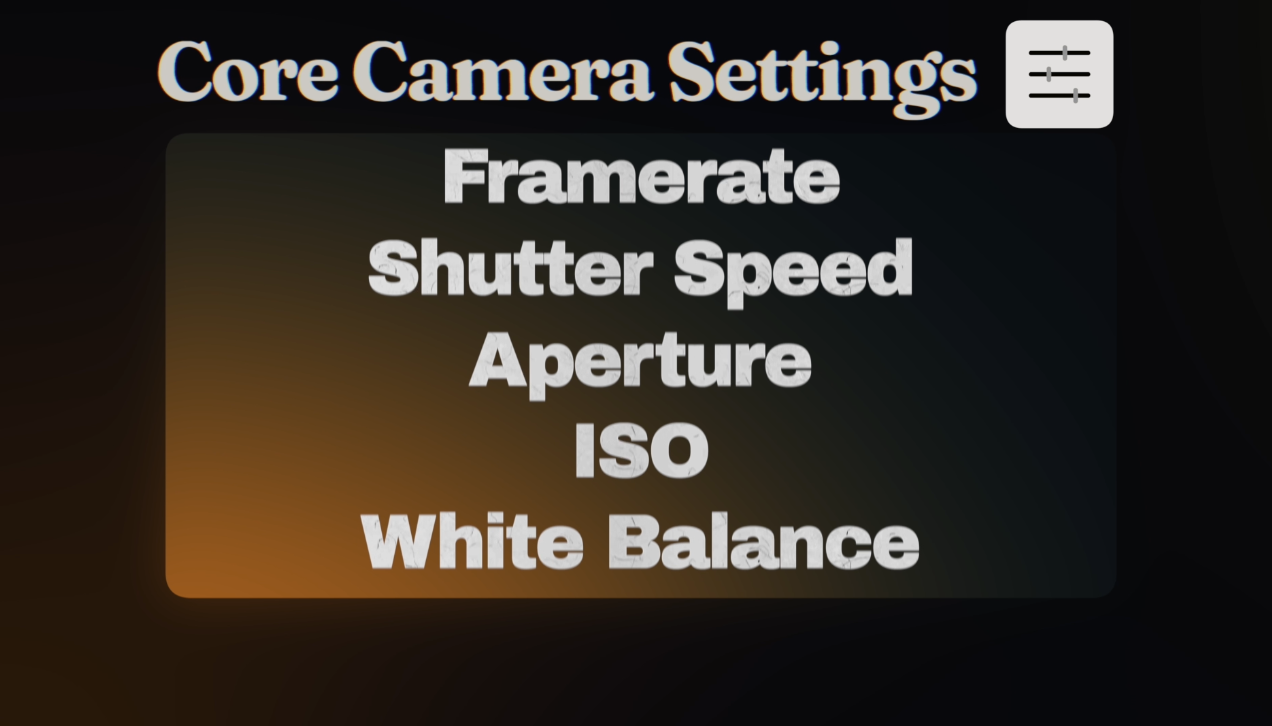
Camera Settings for Talking Head Videos
You should not need to guess your camera settings every time you sit down to film.
The camera settings section covers the major settings that affect the consistency and quality of your talking head footage, including:
- Frame rate
- Shutter speed
- Aperture
- ISO
- White balance
- Picture profiles
- Rec.709 workflows
I also walk through a real-world setup so you can see how these settings work together instead of only learning them individually.
You will understand how to keep movement looking natural, control the brightness of your image, create subject separation, avoid unnecessary image noise, and maintain consistent color throughout a filming session.
Talking Head Lighting for Different Rooms and Budgets
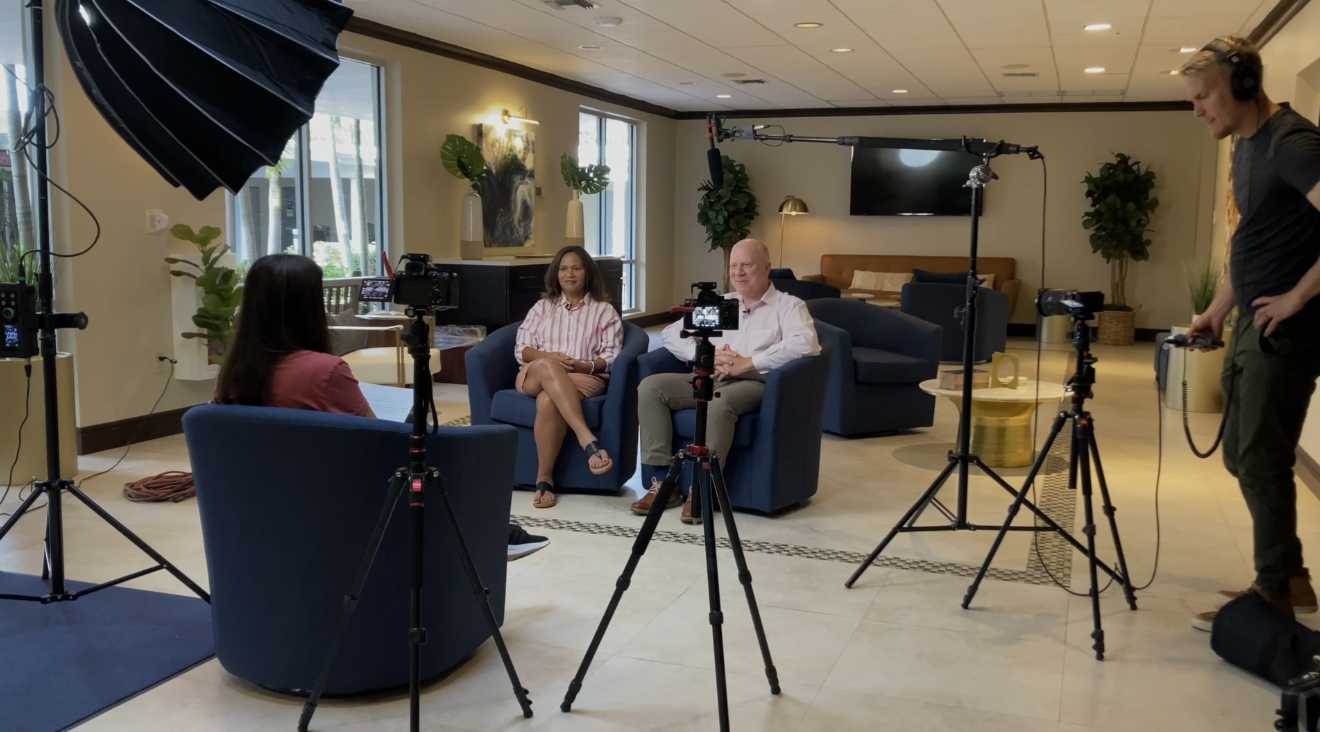
Lighting is one of the fastest ways to change how professional your video looks, but it is also easy to overcomplicate.
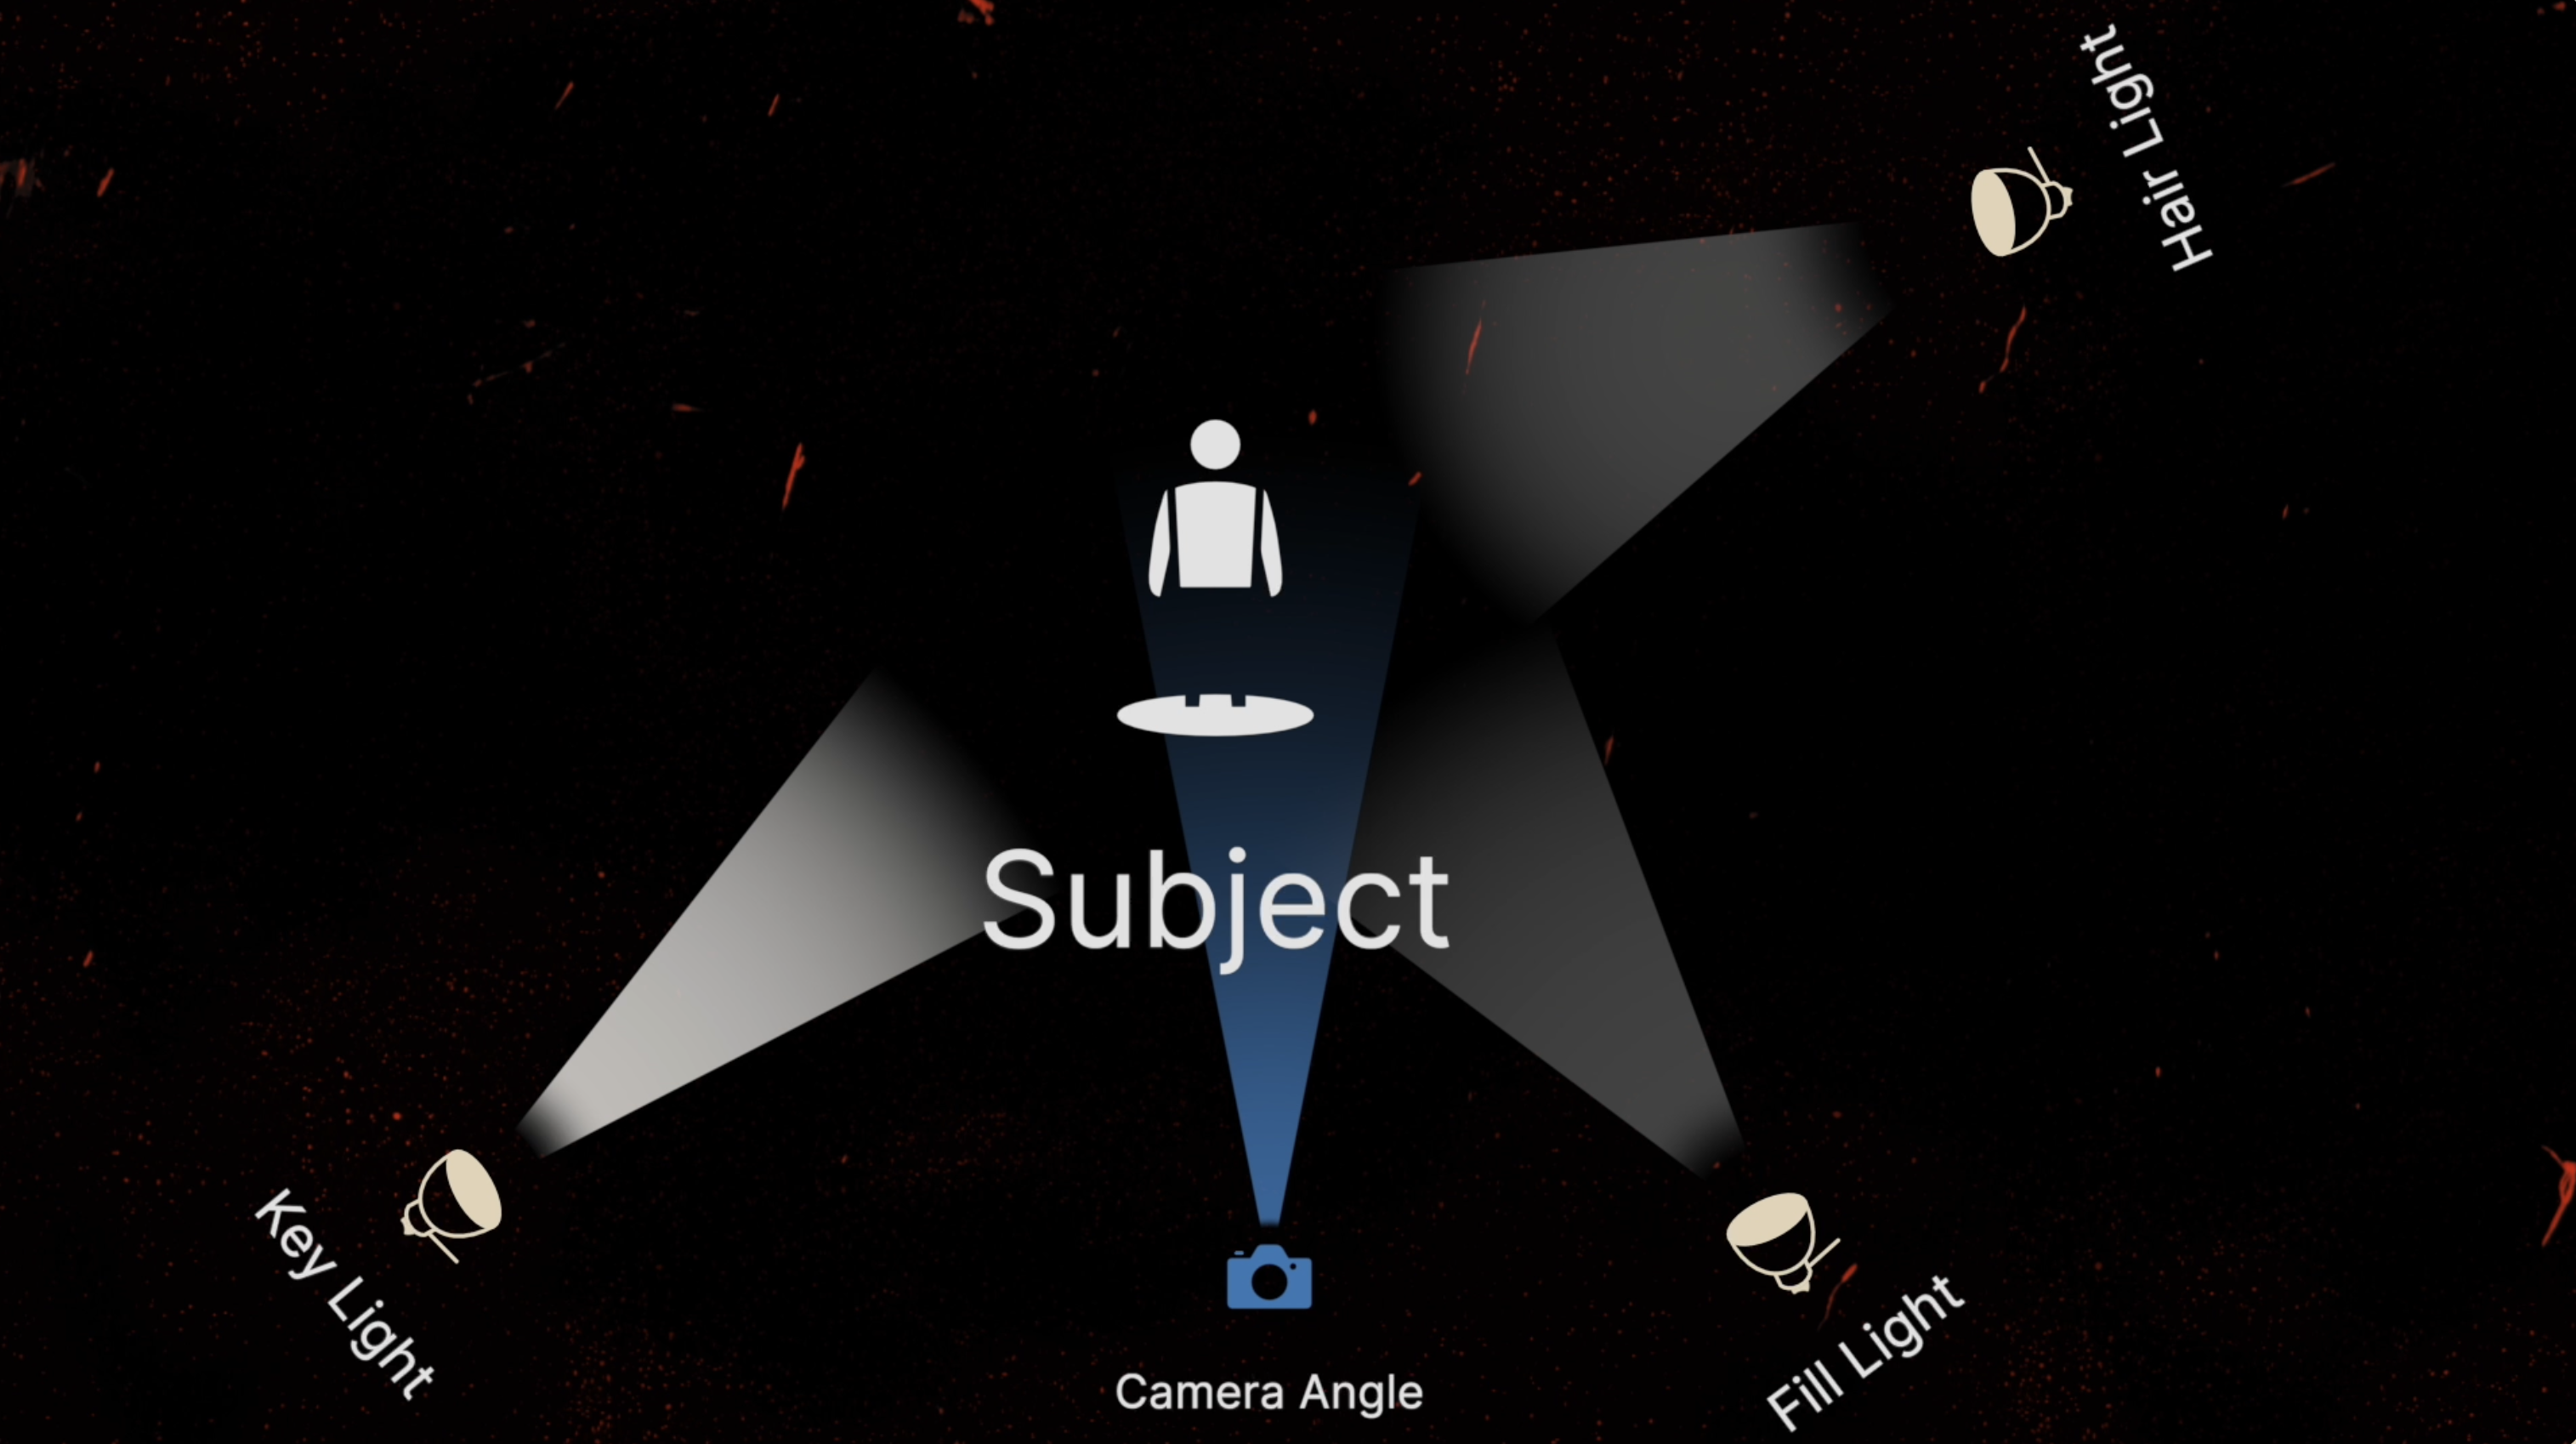
The lighting section begins with a free window-light setup that you can use during the day. From there, I demonstrate a budget-friendly one-light setup as well as more advanced two-light and three-light arrangements.
You will learn how to:
- Position your key light
- Create softer and more flattering light
- Avoid harsh shadows
- Prevent dark “raccoon eyes”
- Separate yourself from the background
- Use background lights to create depth
- Work with both simple and advanced setups
The purpose is not to fill your room with equipment. The purpose is to understand what each light is doing so you only use what your setup actually needs.
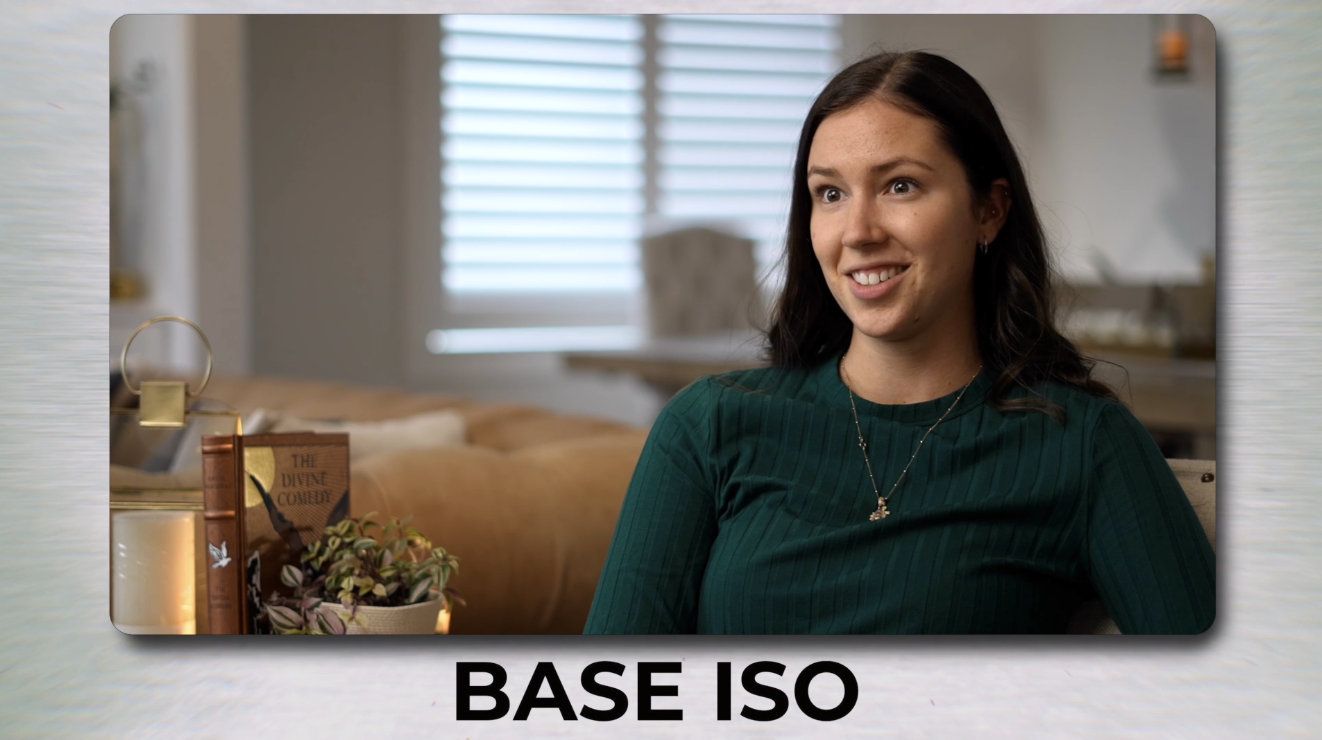
Creating a Better Background
Your background should support the video without distracting from what you are saying.
Inside the background and environment module, I cover clean backgrounds, color contrast, distraction removal, small-room optimization, paper backdrops, and cloth backdrops.
You will learn how to create visual separation between yourself and the background, even when you do not have a large studio.
I also explain when a real room works better than a backdrop and when using paper or cloth may create a faster and more consistent filming environment.
The goal is to help your videos look intentional rather than making it appear as though you randomly placed a camera in the corner of a room.
Clear Audio for Talking Head Videos
Viewers may tolerate an image that is not perfect, but distracting, distant, or echo-heavy audio can make a video difficult to watch.
The audio section compares several common recording options:
- Built-in camera microphones
- Lavalier microphones
- Shotgun microphones
I explain when each type of microphone makes sense and why microphone placement is often just as important as the microphone itself.
You will also learn how to reduce room echo and improve audio without assuming you need to completely rebuild your room.
Simple changes to microphone distance, room placement, furniture, and soft materials can make a major difference.
Building a Clean and Practical Tripod Setup
A filming setup can produce an excellent image and still be frustrating to use.
Cables, adapters, teleprompters, microphones, monitors, and mounting accessories can quickly turn a simple tripod into a mess.
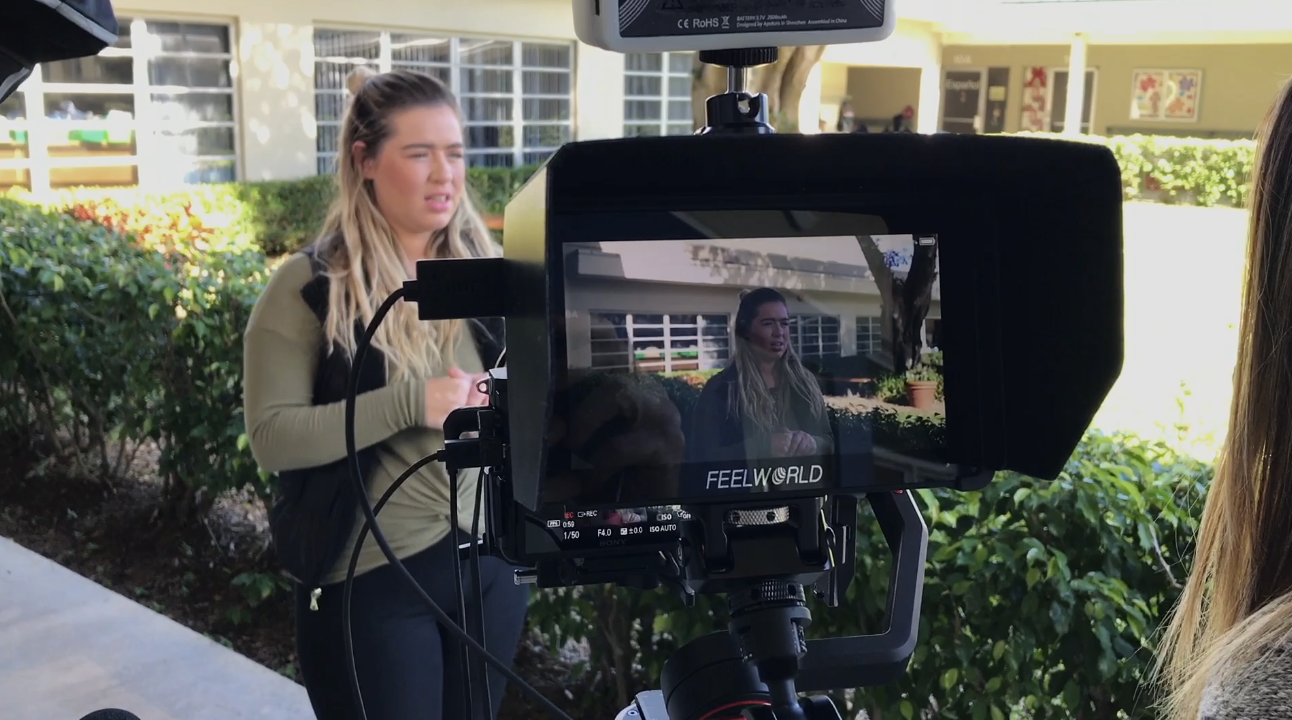
The tripod module shows how to build a slimmer, cleaner setup while still including the tools you need.
I cover:
- A simple standing setup
- Attaching equipment to your tripod
- Managing cables and straps
- Setting up an iPad teleprompter
A clean setup is not only about appearance. It can also make filming faster and reduce the resistance that sometimes prevents you from sitting down and creating another video.
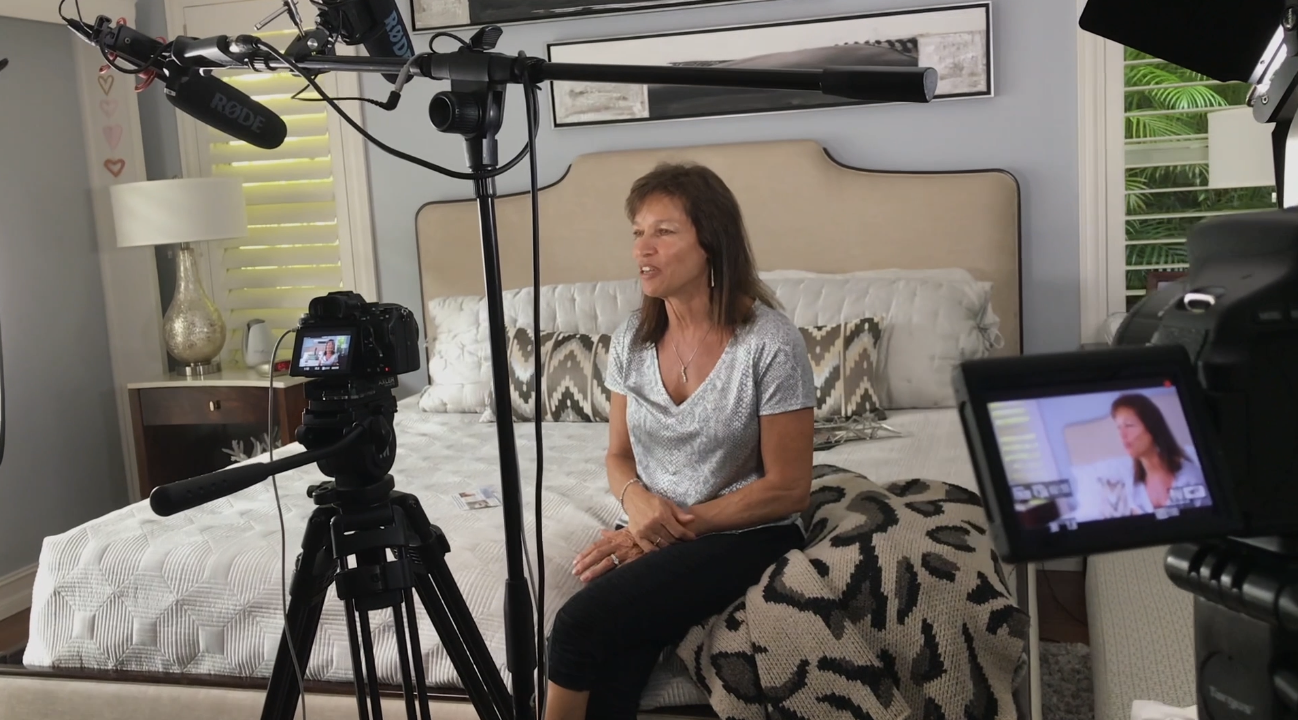
Looking Natural and Confident on Camera
A technically perfect video can still feel uncomfortable when the delivery sounds flat or overly scripted.
The performance and delivery module focuses on the human side of talking head videos.
You will learn:
- Where to look while recording
- Lens eye contact versus looking at the screen
- How to control your pacing
- How word count affects delivery
- What to do with your hands
- How to position your body
- When to use bullet points
- When to use a teleprompter
- How to read a teleprompter naturally
- How to become more confident on camera
Confidence does not mean becoming loud or pretending to have a different personality. It comes from knowing your material, trusting your setup, and becoming comfortable speaking to the lens.
I show you practical ways to improve your delivery without making it sound like you memorized a script.
Advanced Techniques That Make Talking Head Videos More Engaging
Once the foundation is working, you can begin adding subtle production techniques that make your videos feel more polished.
The advanced section covers:
- B-roll layering
- Subtle camera movement
- Punch-in edits
- Background blur techniques
- Simple color grading for skin tones
These techniques are not meant to distract viewers with unnecessary effects. They are designed to support your message, improve pacing, cover edits, and add visual variety when it benefits the video.
You will learn how to make a simple talking head video more engaging without turning every sentence into a complicated editing project.
Create a Repeatable Video Production System
One of the biggest challenges of content creation is rebuilding your entire setup every time you need to record.
The final module focuses on creating a repeatable workflow.
I show you how to:
- Save your physical setup
- Create camera and lighting presets
- Build a quick reset system
- Film multiple videos during one session
- Keep your videos visually consistent
The easier it is to return to the same camera position, lighting arrangement, exposure, white balance, and microphone placement, the easier it becomes to create content regularly.
Instead of spending most of your filming day troubleshooting equipment, you can focus on the video itself.
More Than 50 Focused Talking Head Lessons
The Art of the Talking Head includes 10 complete modules and more than 50 focused lessons covering the entire talking head video production process.
The course moves from foundational principles into camera settings, lighting, audio, backgrounds, performance, editing, and workflow.
Rather than teaching each subject as an isolated technique, I show you how everything connects.
Your lens affects your framing. Your framing affects your camera position. Your camera position affects your eye line and teleprompter placement. Your distance from the background affects both lighting and depth.
Once you understand those relationships, building a professional talking head setup becomes much easier.
Frequently Asked Questions
What equipment do I need for a talking head video?
At a minimum, you need a camera or smartphone, a stable support or tripod, a light source, and a way to record understandable audio. Additional equipment such as a dedicated camera, soft light, microphone, backdrop, or teleprompter can improve the setup, but you do not need to purchase everything at once.
What are the best camera settings for talking head videos?
The ideal settings depend on your camera, lighting, frame rate, desired depth of field, and picture profile. In the course, I explain how frame rate, shutter speed, aperture, ISO, and white balance work together so you can create settings that fit your specific setup.
How do I make my talking head videos look professional?
Start with eye-level camera placement, intentional framing, soft lighting, clear audio, a controlled background, and consistent camera settings. Once those areas are working, you can improve the video further with stronger delivery, B-roll, punch-in edits, camera movement, and simple color grading.
Should I use a teleprompter or bullet points?
Both can work. Bullet points often create a more conversational delivery, while a teleprompter can help with longer or more precise scripts. The important part is learning how to use either method without constantly looking away from the lens or sounding like you are reading.
How can I become more confident on camera?
Confidence comes through preparation and repetition. A reliable filming setup, clear talking points, shorter recording sections, controlled pacing, and consistent practice can make speaking to the camera feel much more natural.
Can I create professional videos in a small room?
Yes. A smaller room may affect your lens choice, camera distance, background placement, and lighting options, but it does not prevent you from creating a professional result. The course includes specific lessons on small-room optimization and choosing setups that work within limited spaces.
Learn the Complete Talking Head Video Process
The Art of the Talking Head was created to give you a complete system rather than a random collection of camera tips.
You will learn how to build your setup, control your camera, improve your lighting and audio, create a better background, speak naturally, polish your footage, and save everything so you can repeat the process.
Whether you are creating YouTube videos, online courses, product reviews, business content, or educational videos, the goal is the same:
Create talking head videos that look professional, sound clear, feel natural, and keep the viewer focused on what you have to say.
Author