85% of Videography in 10 Minutes (That Most People Skip)
Sep 12, 2025Get the full story watching the video above ⬆️
I spend a lot of time reviewing cameras and comparing specs — but every now and then, I get reminded that most people just want to know one simple thing: how do I actually use this thing to shoot better video?
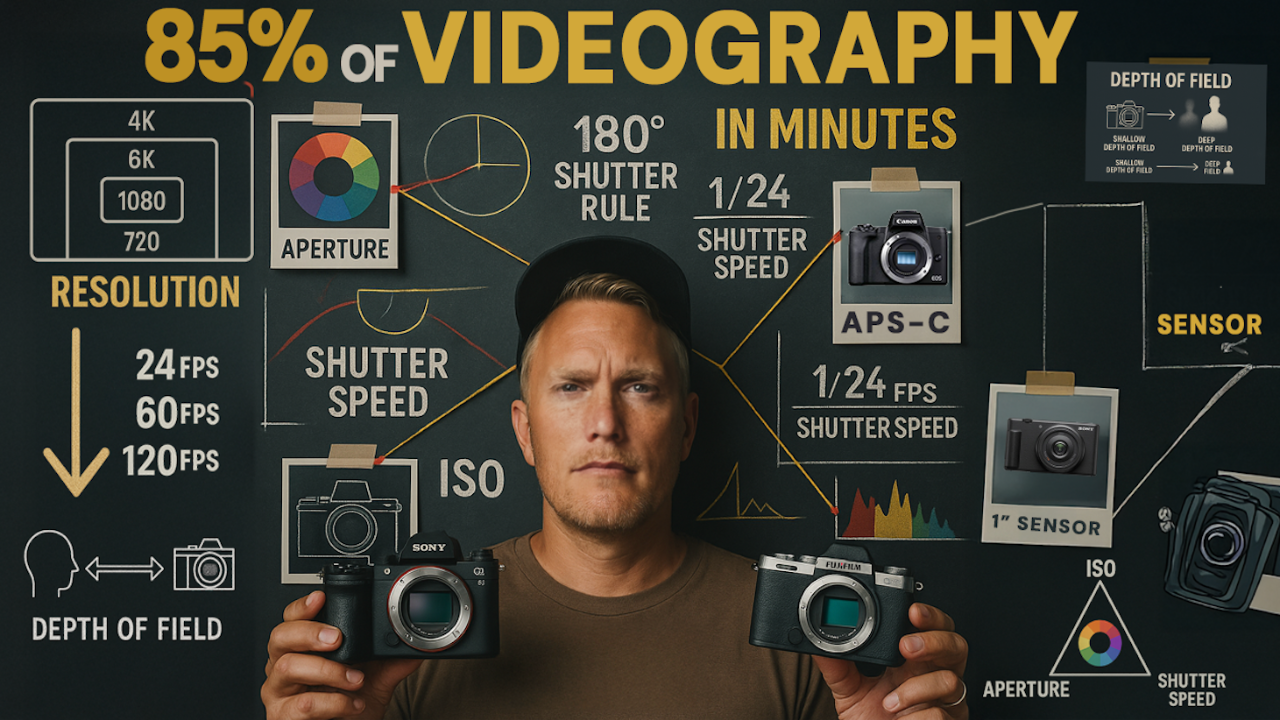
So in this post, I want to break down the core concepts that make up 85% of what you need to know about videography. These are the fundamentals that’ll help you get great-looking shots, whether you're filming for YouTube, social media, or just personal projects.
Let’s start with the big one: exposure.
Understanding Exposure
Exposure is made up of three things: aperture, shutter speed, and ISO. These are the settings that control how light or dark your image is — but they also affect sharpness, motion blur, and depth of field.
Aperture
Aperture controls your depth of field, or how much of your image is in focus from front to back. A lower f-stop (like f/1.8) gives you that nice background blur and isolates your subject. A higher f-stop (like f/8 or f/11) keeps more of your scene sharp.
But it’s not just about blur — aperture also controls how much light hits your sensor. A wide aperture (low number) lets in more light. A narrow aperture (high number) lets in less.
That’s why I chose a smaller aperture when filming two soccer players at different distances — I wanted both in focus.
Shutter Speed
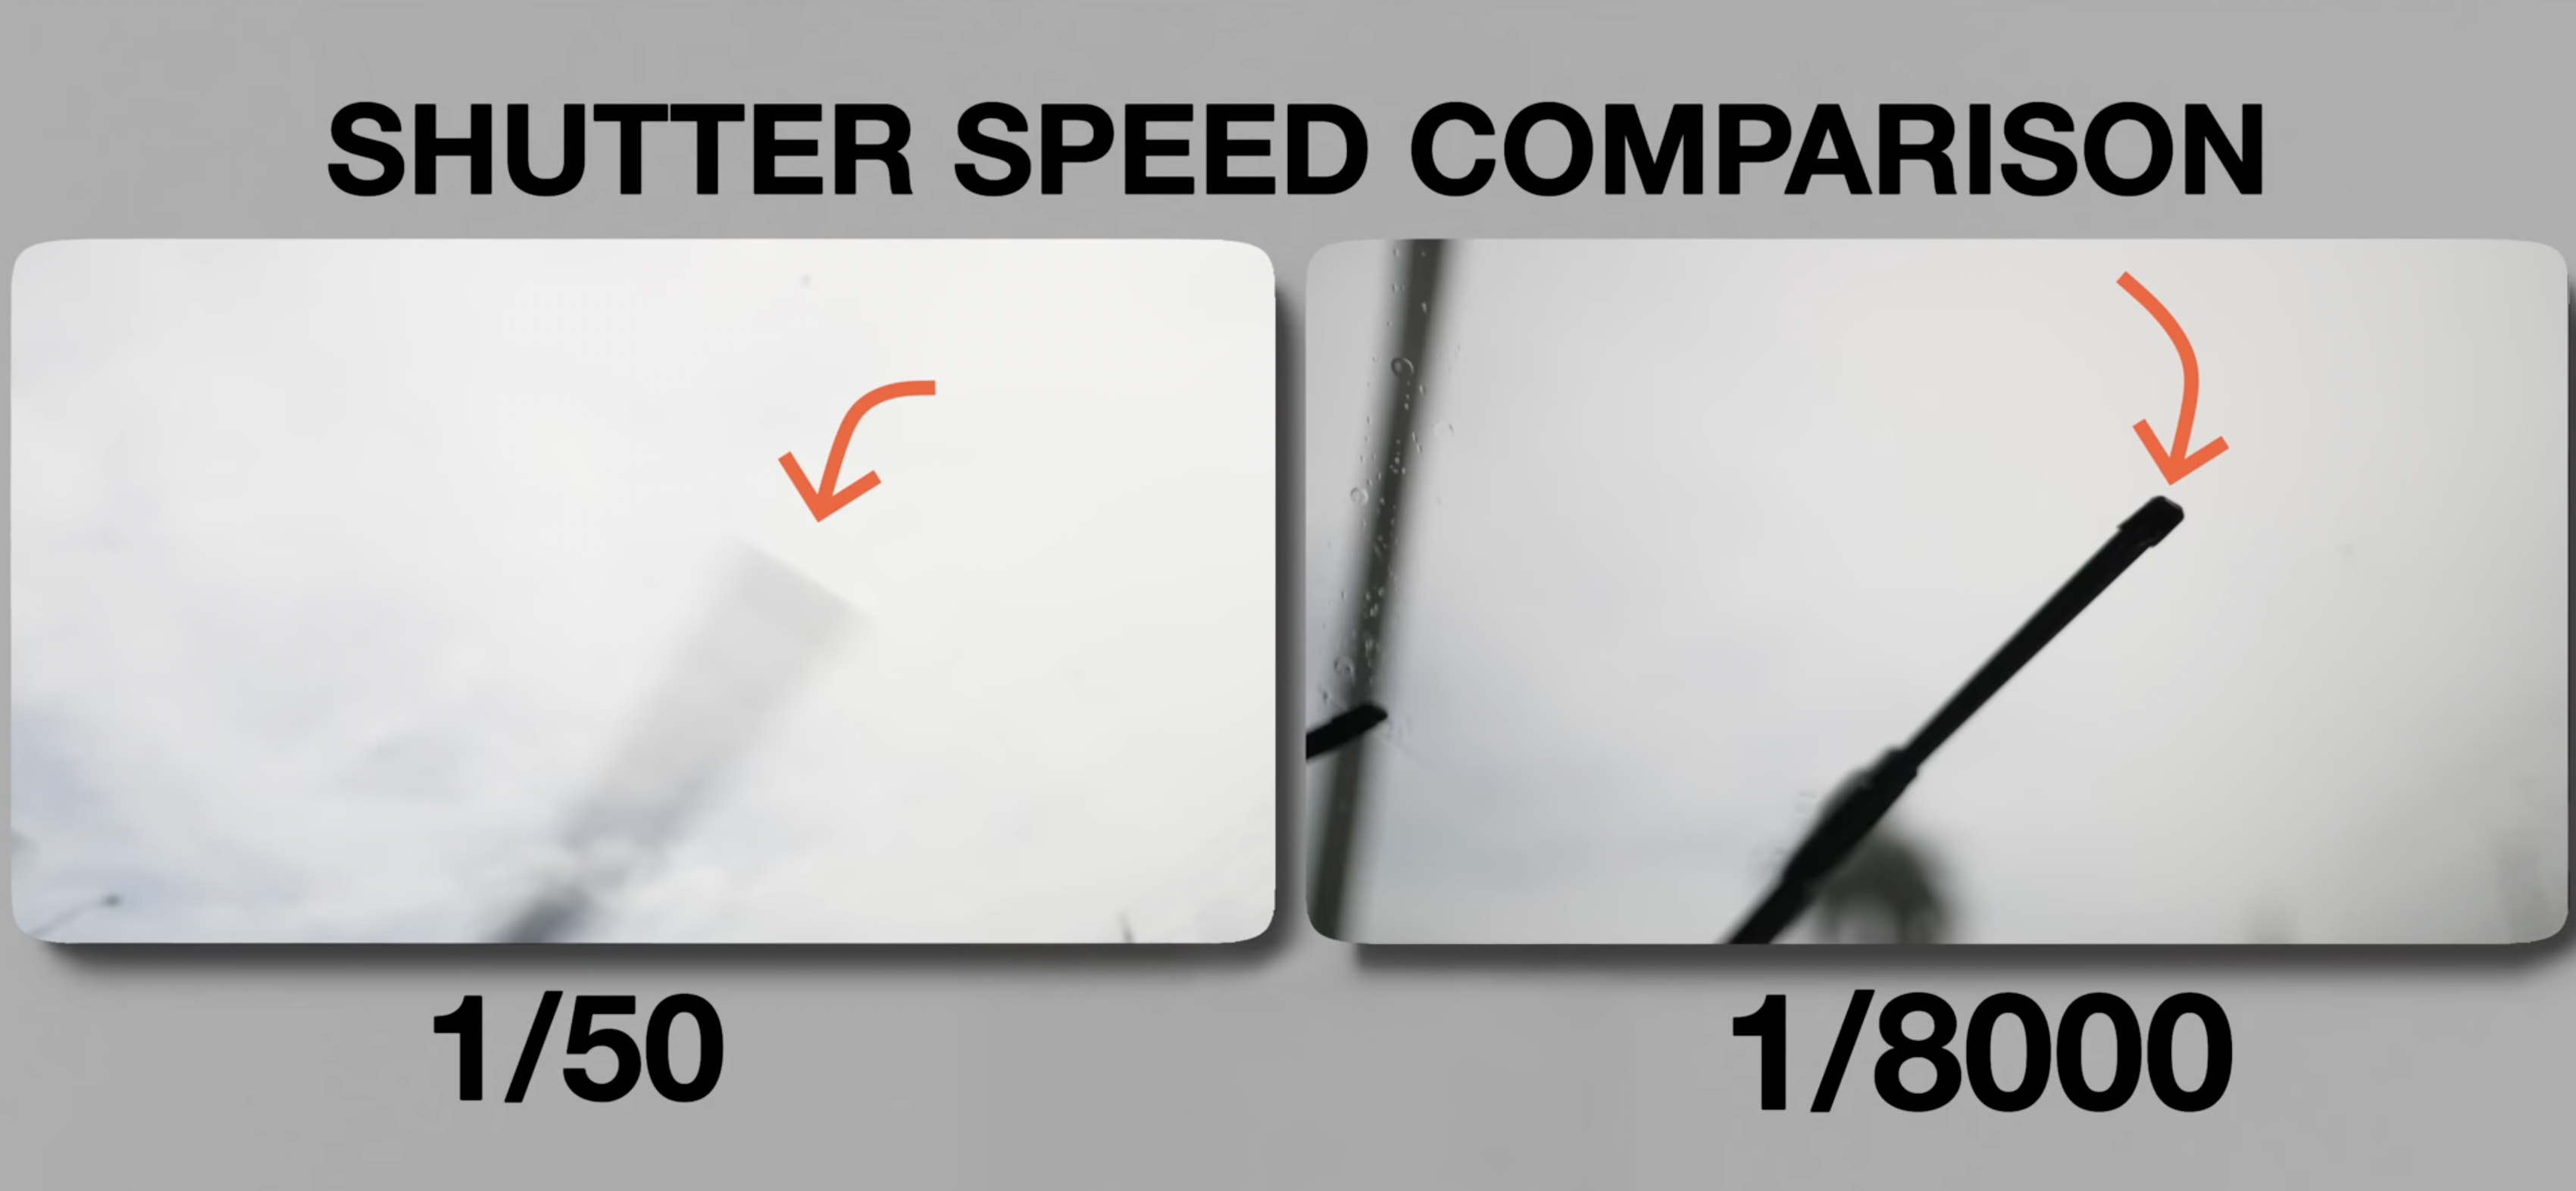
Shutter speed controls how motion looks. A slower shutter creates motion blur, which feels natural and cinematic — perfect for 24fps footage. But too slow, and things look smeary or ghost-like.
A faster shutter removes motion blur, making each frame sharp — great for action scenes, but too fast and your footage looks jittery and unnatural.
Here’s a rule of thumb: set your shutter speed to double your frame rate. So for 24fps, use 1/50. For 60fps, use 1/125. This is called the 180-degree shutter rule, and it’s a great starting point.
ISO
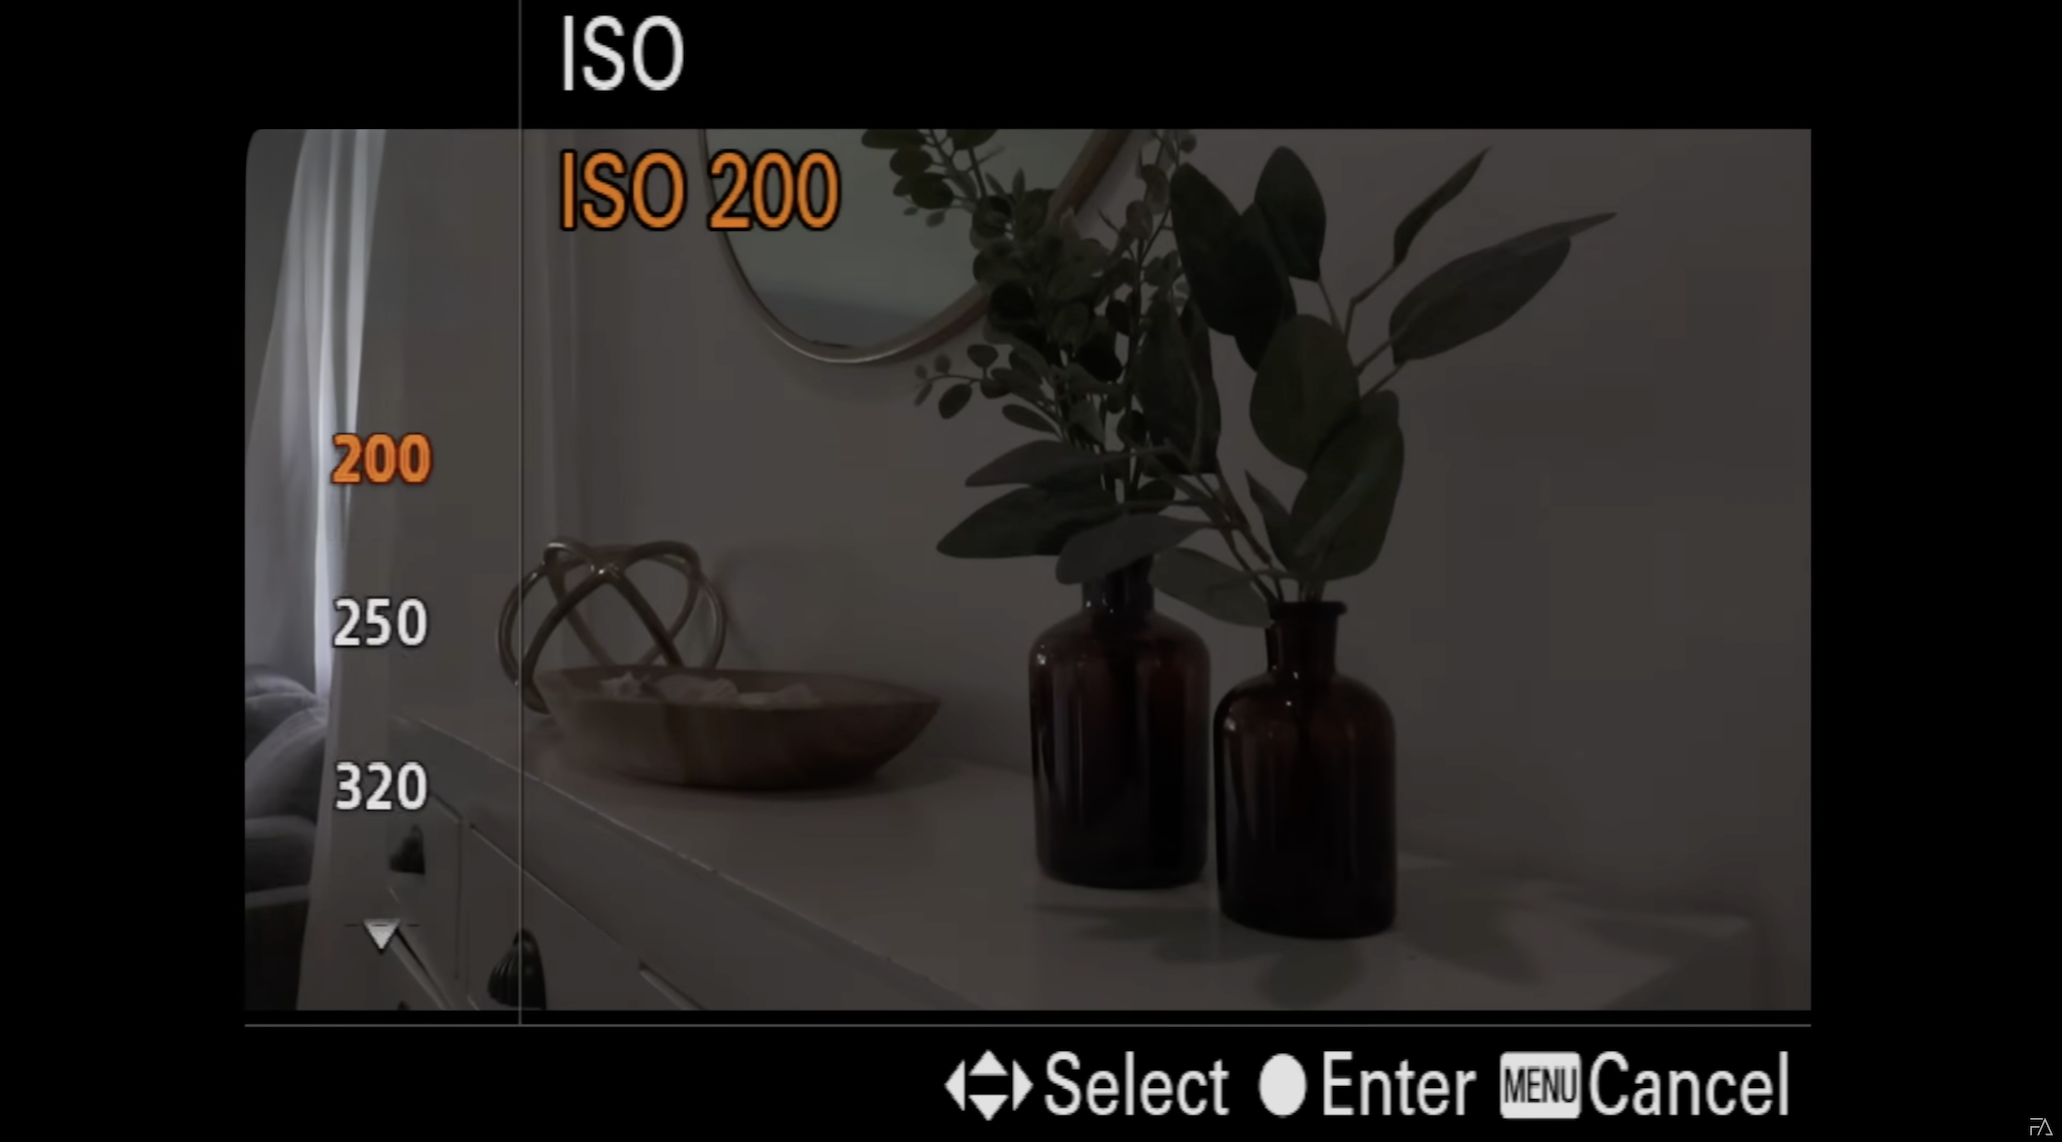
ISO is your camera’s sensitivity to light. A low ISO = clean image. High ISO = more grain and noise.
Every camera has a “breaking point” where the ISO gets too high and your footage starts to fall apart. You’ll want to test this on your own camera and set that as your max ISO when using auto settings.
For the cleanest results, always try to shoot at your camera’s base ISO — especially if you're filming in log. Log profiles often require higher base ISOs like 640, 800, or 1250 depending on the brand.
Frame Rate & Basing Out Your Camera
Before you even hit record, make sure your camera is “based out.” That means you’ve set all your base settings for optimal performance.
- 24fps for standard, cinematic video.
- 60fps if you want to slow it down a little.
- 120fps if you're definitely going to slow it way down in post.
Match your shutter speed accordingly, and you’re good to go.
Bonus tip: if you're shooting under fluorescent lights and getting flicker, try lowering your shutter speed slightly and check the footage before continuing. I’ve had to do this in offices and hospitals more than once.
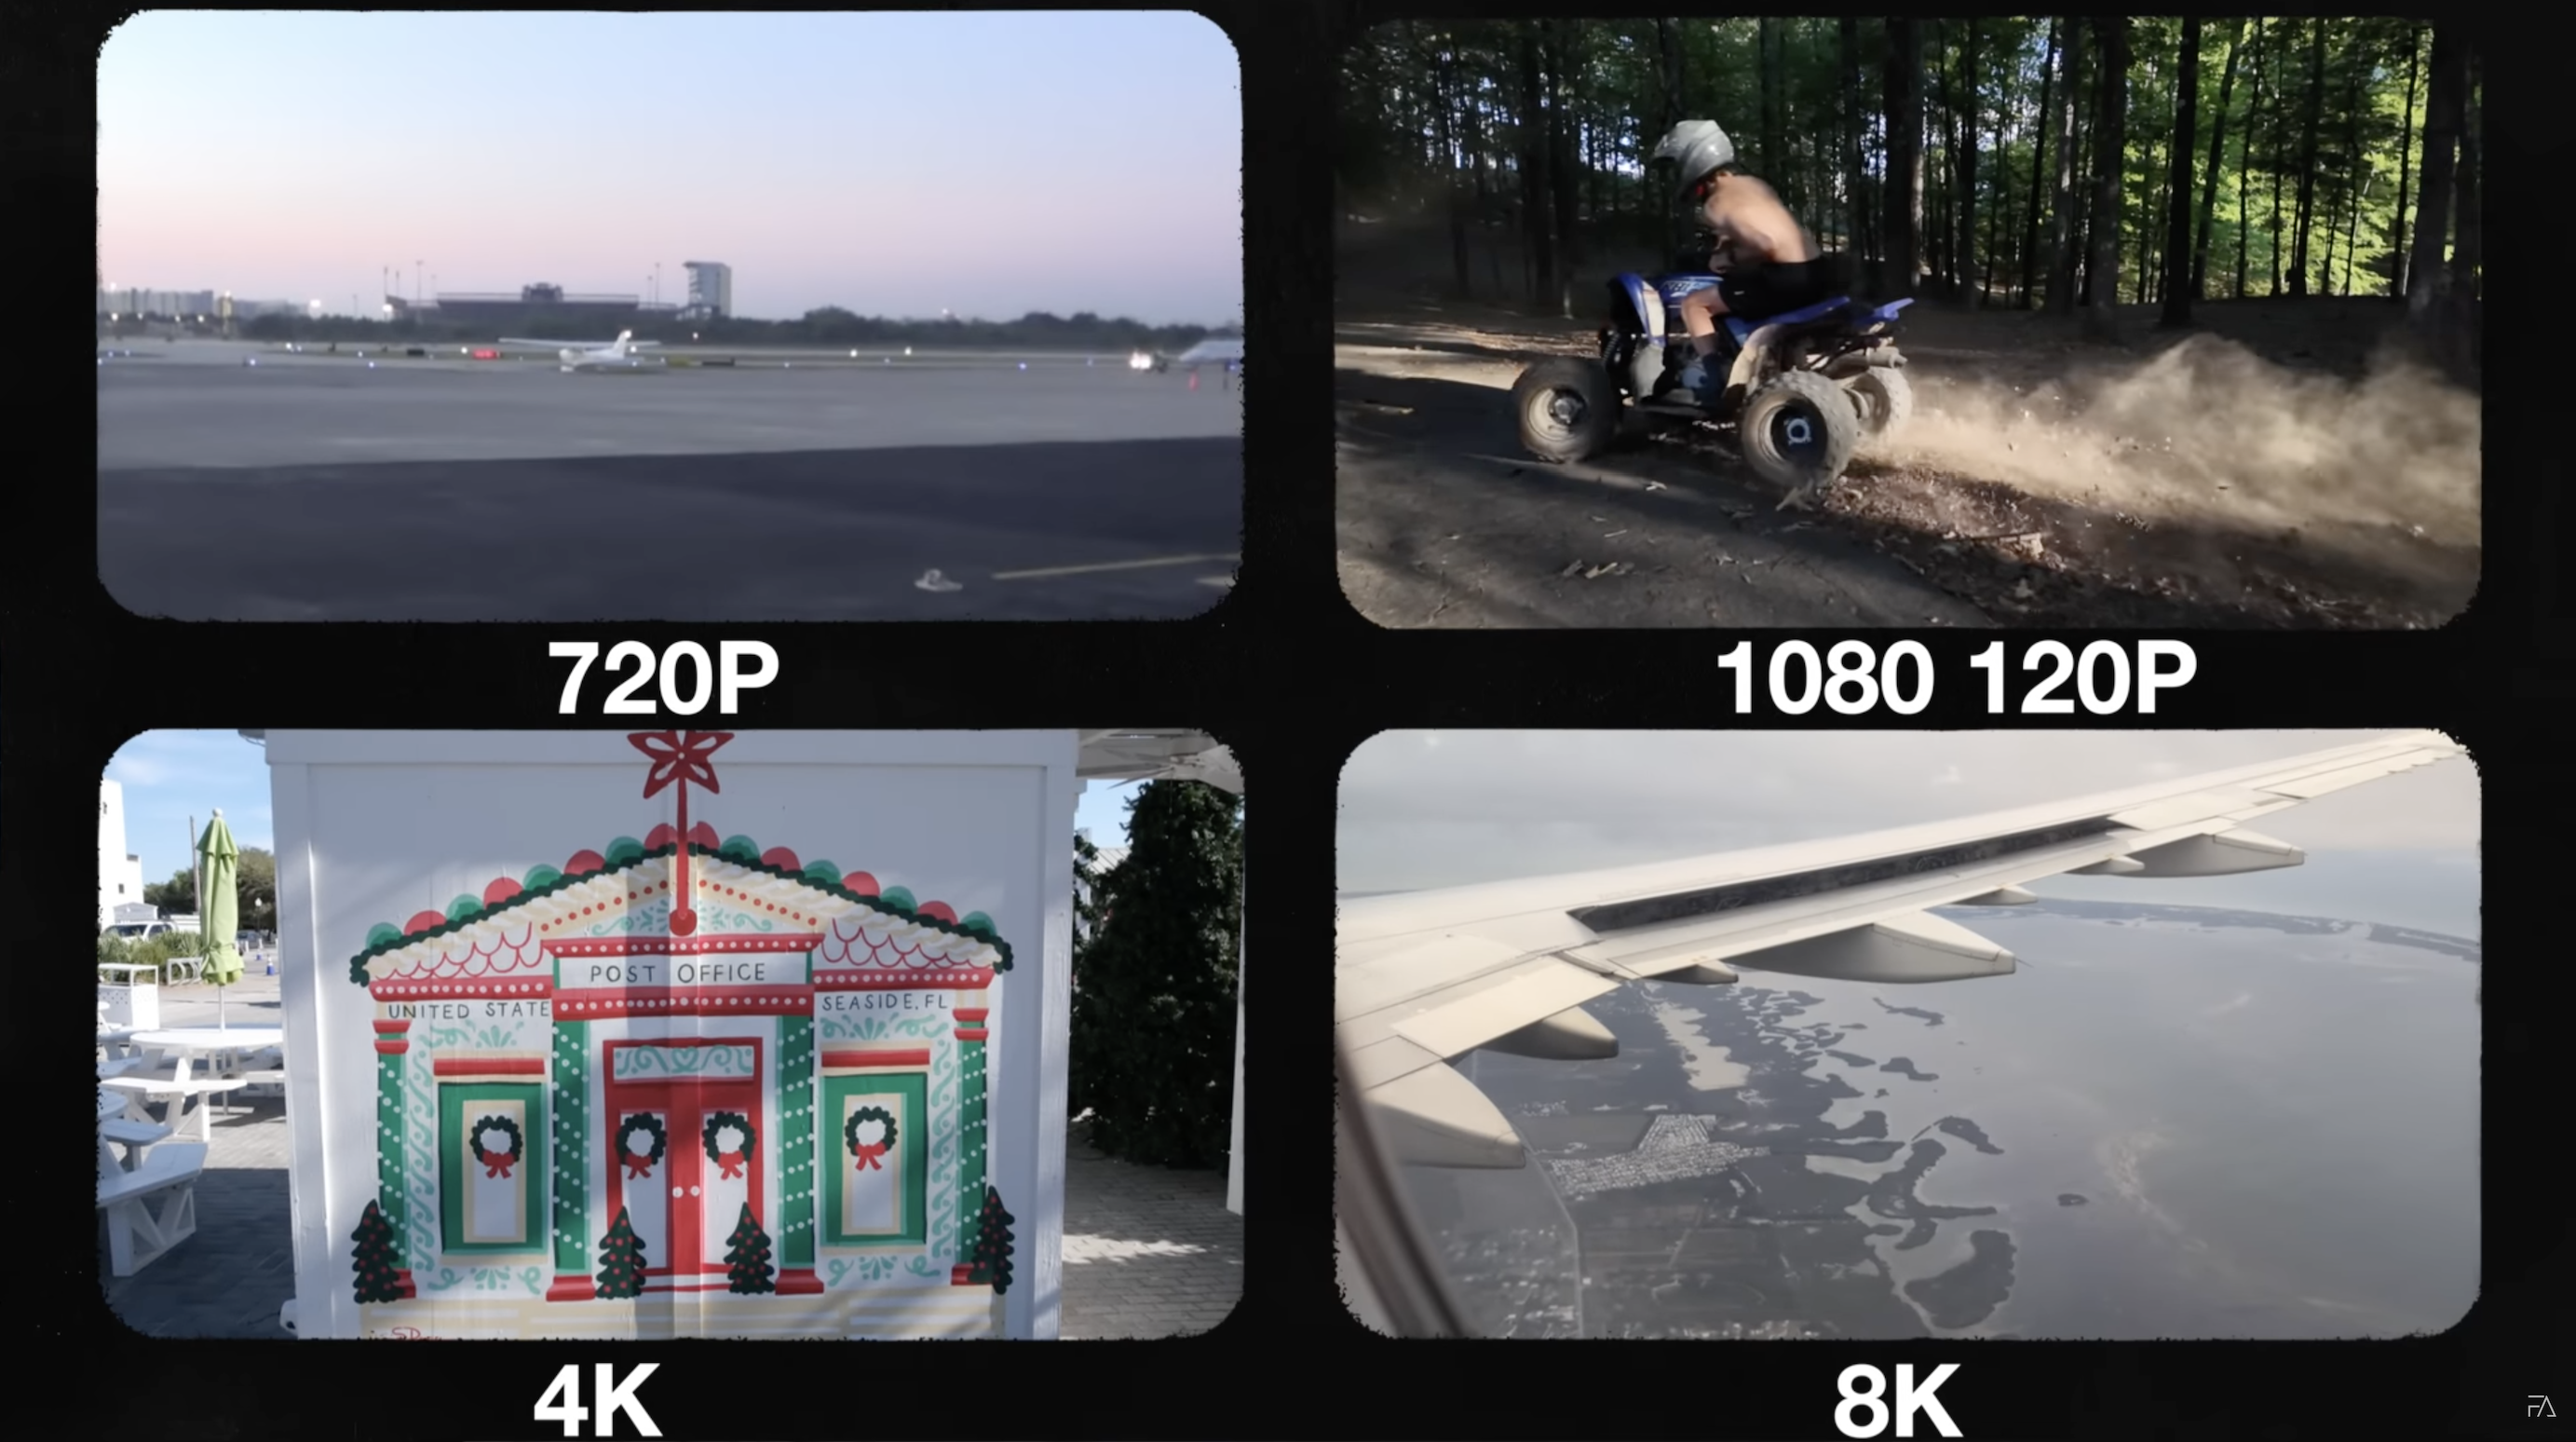
Resolution: Do You Really Need 4K?
Resolution is how many pixels your video has. More pixels = more detail — but also more file size and longer edit times.
- 1080p is totally fine for most social content and YouTube.
- 4K is great if you want to crop or punch in later.
- 8K... well, that’s probably overkill for most people right now.
Don’t get too caught up in the numbers — focus on exposure, lighting, and composition first. A well-lit 1080p shot beats a poorly exposed 8K mess every time.
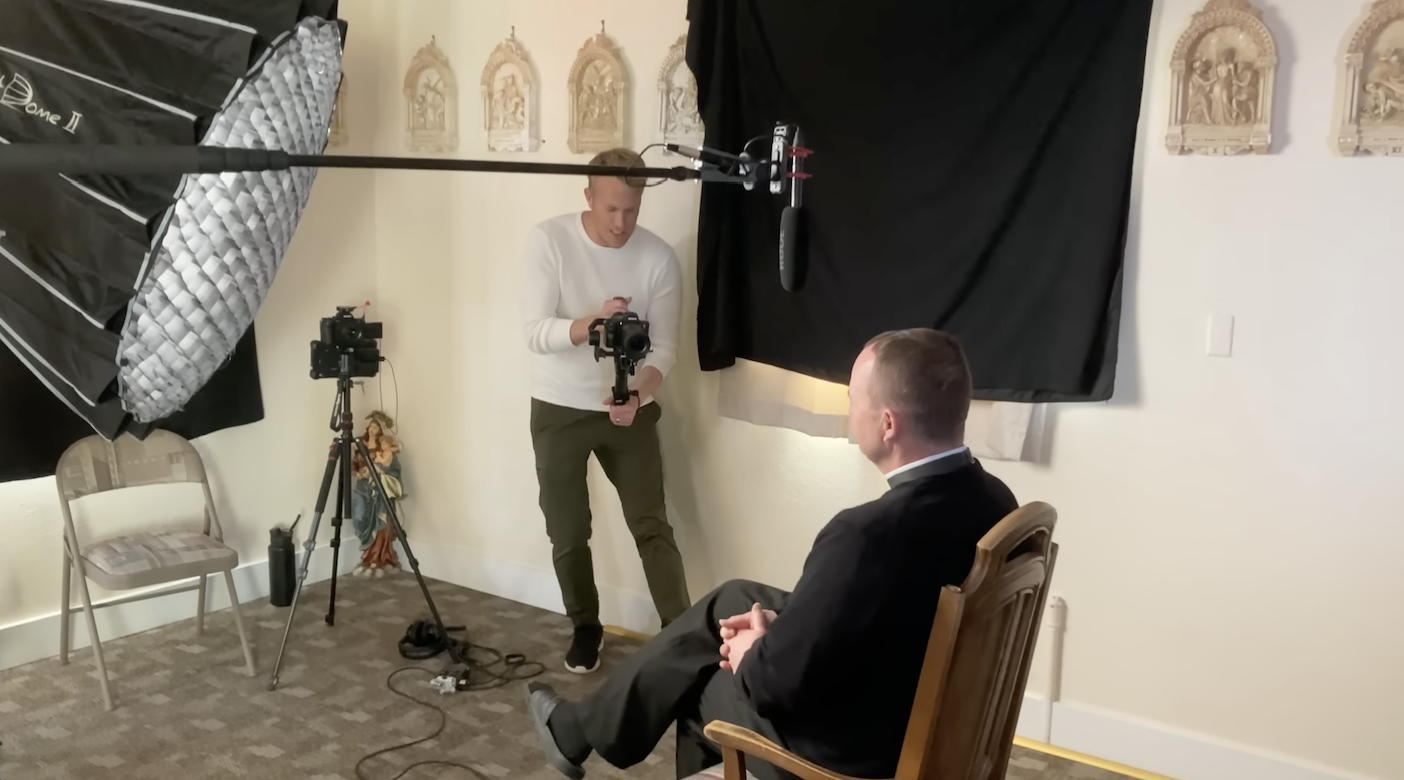
Audio: The Most Underrated Element
You can get away with a soft shot. You can’t get away with bad audio.
Built-in mics are only good for scratch audio. For serious work, use an external mic — either a shotgun mic or a lav mic. If you're filming indoors, a shotgun mic like the Rode VideoMicro is a solid budget choice. Outdoors? Go with a lav.
Good audio gives your video instant credibility. It’s that simple.
Movement: Keep It Intentional
Shaky footage screams “home video.” But smooth, controlled camera movement adds professionalism and emotion.
Use slow pans, steady pushes, or pulls — and always have a reason to move the camera. You don’t need fancy gear. Even handheld shots can look good if you're intentional and use wide lenses to reduce shake.
Plan Your Shots (It Saves You Later)
You don’t need a full shot list or storyboard — just a rough idea of what you want.
Think: wide (to set the scene), medium (for context), and close-up (for detail or emotion). That basic variety adds structure and flow, even to a talking-head video.
And trust me — planning a few shots ahead saves you from those “I forgot to shoot the reaction angle” moments in editing.
Final Thoughts
If you’ve made it this far, congrats — you now know 85% of what actually matters in videography. The rest just comes down to practice, experimenting, and reviewing your footage to learn what works.
And if you want to go deeper, I made a full beginner-friendly course called Camera Basics for Beginners Video:101. It walks you through everything step-by-step so you don’t just memorize — you understand.
Thanks for reading — and happy shooting.
Author