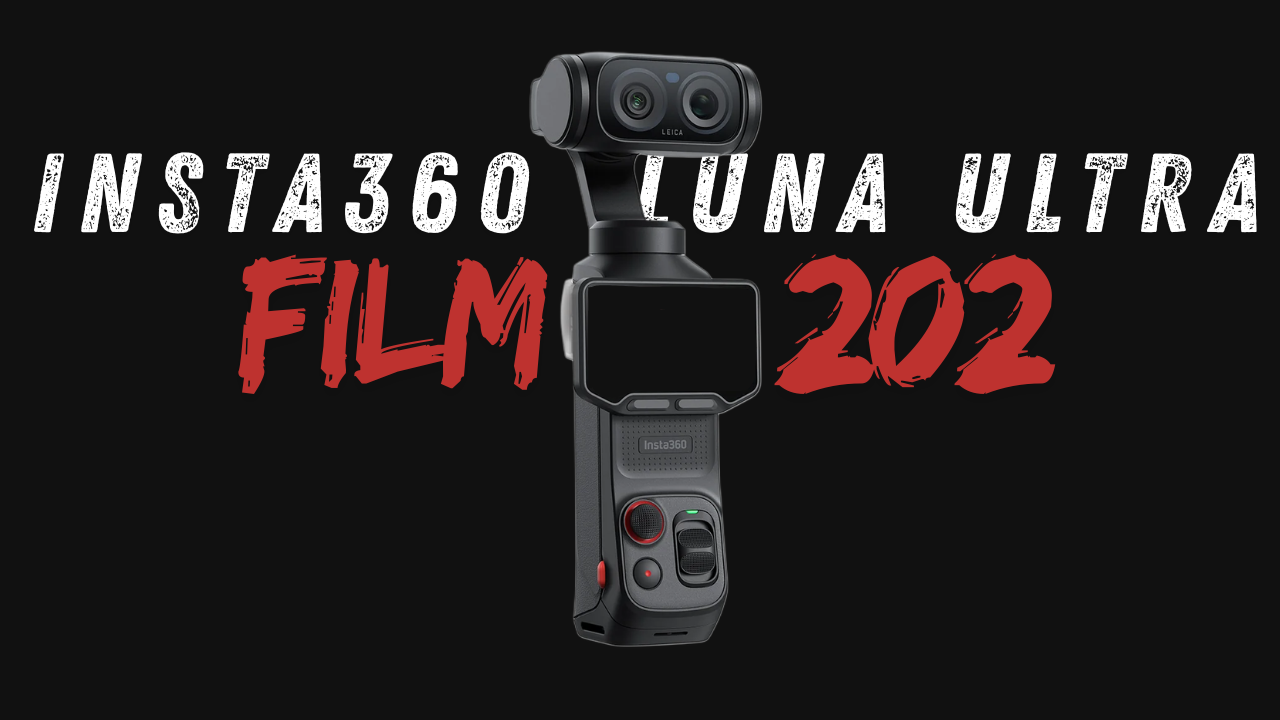
Insta360 Luna Ultra: Film 202 Course
Oct 15, 2026
When I finished building Film 101, I thought I knew this camera.
I'd spent thirty days inside every menu on the Insta360 Luna Ultra. I'd tested settings that aren't documented anywhere. I could navigate the whole thing without looking.
And then I took it out to actually shoot with it, and discovered that knowing a camera and *using* a camera are two completely different skills.
That gap is what became **Insta360 Luna Ultra: Film 202**. And unlike 101, which I could largely build at a desk, this one had to be made outside — on sidewalks, in parking lots, at sunset, after dark, in the rain more than once. It took a lot longer than I planned and I'm glad it did, because the best material in it came from things going wrong.
## The difference between knowing settings and making shots
Here's what I mean.
In 101 I explain what all four gimbal modes do. That's a factual thing. You can read it off a screen.
But standing on a sidewalk trying to walk past a building and get a clean parallax shot, with people coming toward you and a light pole about to cut through your frame — that's a completely different problem. The right answer isn't in a menu. It's a judgment call, and judgment only comes from making the wrong call a few times first.
So Film 202 is almost entirely field-shot. I set the camera up in front of you, I tell you what I'm trying to get, and then I go get it. Sometimes it works. Sometimes it doesn't and I say so.
That was deliberate. I've watched plenty of camera tutorials where somebody recites settings in a well-lit room, and I can't remember learning a single thing from one. You learn from watching something fail and then watching it get fixed.
## The shot people say this camera can't do
Early on I ran into a claim that stuck with me.
A well-known reviewer said flatly, on camera, that the Insta360 Luna Ultra can't lock its gimbal onto a fixed direction. Can't do slider-style moves. Just isn't a feature.
It is a feature. It's just hidden somewhere almost nobody would think to look — not in the gimbal modes menu where you'd expect it, but somewhere else entirely, and you have to go turn it on before it exists for you at all.
Once I found it, it became one of my favorite things about this camera. You lock onto a subject, you walk sideways, and the camera holds while you move. It turns a handheld walk into something that reads like it was on rails. And it works while you're recording, which almost nothing else on this camera does.
That's the kind of discovery that only comes from being obsessive about a menu. It's also exactly the kind of thing that makes me want to build a course, because how would you ever find that otherwise?
## The setting I had backwards until I tested it at night
I went out to shoot low light with a plan.
Lock everything down. Keep the ISO ceiling as tight as possible. Protect the image from noise. That's what you do, right?
That's not what you do.
I shot the same night scene with a tight ISO ceiling and then with a much more generous one, brought both home, and looked at them on a real screen. And the tight one was worse. Not noisier — softer. Muddier. More processed looking.
Which sounds backwards until you understand what's happening underneath. When you cap the sensitivity too low, the camera can't raise ISO to get the exposure it needs, so it starts adding gain and then leaning hard on noise reduction to clean that up. You didn't prevent noise. You traded it for smearing.
That single test rearranged how I shoot this camera after dark, and it's the section of Film 202 I'd point someone to first.
I had a similar moment with exposure compensation, where the right value turned out to depend enormously on what's in the frame — I ended up in completely different territory shooting hanging lights than I did shooting something genuinely bright. Both came out of trying it and looking at it, not out of reading a number somewhere.
## Where I was wrong on camera, and left it in
There's a moment in the low light section where I'm making a case I believe in — that the standard video mode gives you more real information than the camera's dedicated low light mode, and that I'd rather have resolution than processing.
And then I point the camera at a building, look at the screen, and have to say out loud that I was wrong for this shot. The dedicated mode looked better. Noticeably.
I left it in.
Partly because it's honest, and partly because I think that's the more useful lesson. The answer isn't "always use this mode." The answer is that these two modes fail in different ways, and you should test both in the conditions you actually shoot in.
If a course only ever shows you things working, it's not teaching you how to make decisions. It's teaching you to copy somebody.
## Focus is the thing people can see but can't name
One of the most satisfying things to shoot for this course was focus.
Because focus pumping — where the image goes soft mid-shot and then snaps back, or hunts in and out looking for something to grab — is something almost everybody has in their footage and very few people have a name for. They just know something looks off.
And on this camera it's usually one setting away from being solved.
I shot a reveal move the wrong way and the right way, back to back. The wrong version hunts, and you can see exactly the moment it decides to refocus on the wrong thing. The right version just sits there, perfectly sharp, from the first frame.
There's also a specific failure I show where something enters the frame — a pole, in this case — and completely hijacks the camera's attention mid-move. That one's worth watching because once you've seen it happen, you'll recognize it in your own footage forever.
Something a professor told me in university has stuck with me for years: a shot that isn't in focus is essentially a throwaway shot. Doesn't matter how good the composition is. It ends up in the bin.
## Audio turned out to be the biggest surprise
I almost didn't make an audio lesson.
Then I ran a test that genuinely surprised me.
The Insta360 Luna Ultra has a four-microphone array and it's fine. It works. But I stood in one spot, recorded a line, then plugged in a pair of cheap USB-C headphones I use with my phone — the kind you'd buy without thinking about it — recorded the exact same line from the exact same distance, and the difference was not subtle.
That's a twenty dollar upgrade. And it's not the only option — I tested several ways of getting sound into this camera, including a wireless setup that costs a fraction of what the first-party option does and works flawlessly.
There's also something about how this camera behaves once you plug in an external mic that I hadn't seen mentioned anywhere, and it makes getting levels right much easier than it is with the built-in mics.
The reason I think this matters more than people expect is simple. People will forgive rough-looking video. They will not forgive bad audio. You've done it yourself — you'll watch a grainy phone clip all the way through if the person sounds clear, and you'll click away in four seconds if they don't.
## The creative modes, and when they're worth using
Film 202 also covers the modes that make this camera fun rather than just capable.
Slow motion, which turned out to have a cost nobody warns you about — and I show you the exact number on my own card, which I think landed harder than explaining it would have.
Photography and panorama, including a mode that produces an enormous image and a technique for shooting it that separates a usable panorama from a ruined one. That one took me a couple of failed attempts to work out.
Timelapse and TimeShift, where I had a moment that contradicted my own advice. I'd been telling people to lock everything down, and then I shot a sunrise on auto exposure because I genuinely didn't know how to expose for a scene that was about to change completely — and the camera handled it beautifully. So that's in there too, along with why I'd still usually do it the other way.
And tracking, which on this camera has a feature buried inside it that changes your composition completely. By default it centers your subject in the frame, which is the most boring place to put a person. There's a way to change that, it's not obvious, and it's the kind of thing that instantly makes footage look more considered.
## What Film 202 actually is
Broadly, it's two parts.
The first goes through the camera's modes — focus, gimbal, tracking — not as descriptions but as decisions. Which one for which shot, and what happens when you pick wrong.
The second is the creative work. Building a full cinematic setup from scratch. Shooting in low light. Slow motion, photography and panoramas, timelapse and TimeShift, the app, and audio.
Most of it is outdoors, with a camera in my hand, in real conditions.
## Who this is for
If you've been through Film 101, this is the natural next step — 101 teaches you the camera, 202 teaches you what to do with it.
If you haven't, and you already feel comfortable navigating the Insta360 Luna Ultra, you'll be fine jumping in here. And if you get partway through and realize you're missing some of the foundation — white balance, ND filters, the color profiles — that's all in 101 and it'll make this course click a lot faster.
Either way, the goal is the same one I had going out to shoot all this.
Not to memorize settings. To get to the point where the camera stops being something you're operating and starts being something you're just using, so that when the light is right and the shot is there, you're already rolling.
---
*Insta360 Luna Ultra: Film 202 is available now. If you're starting from scratch, Film 101 covers the camera from the box up — every button, every menu, and the fundamentals that everything here is built on.*
Author