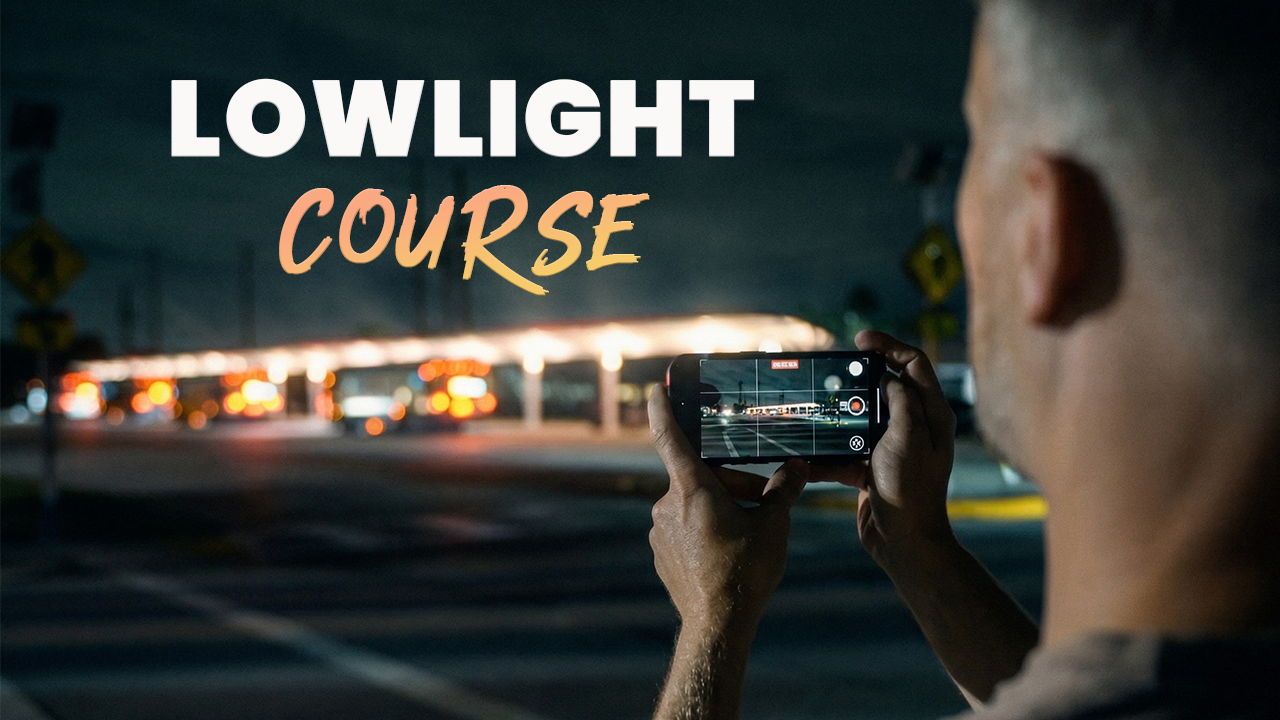
How to Shoot Better Low-Light Video: My Complete Low-Light Filmmaking Course
Aug 04, 2026How to Shoot Better Low-Light Video Course - https://www.thefilmalliance.com/how-to-shoot-video-in-low-light-with-any-camera-course-landing-page
Shooting video in low light can be one of the most difficult parts of filmmaking.
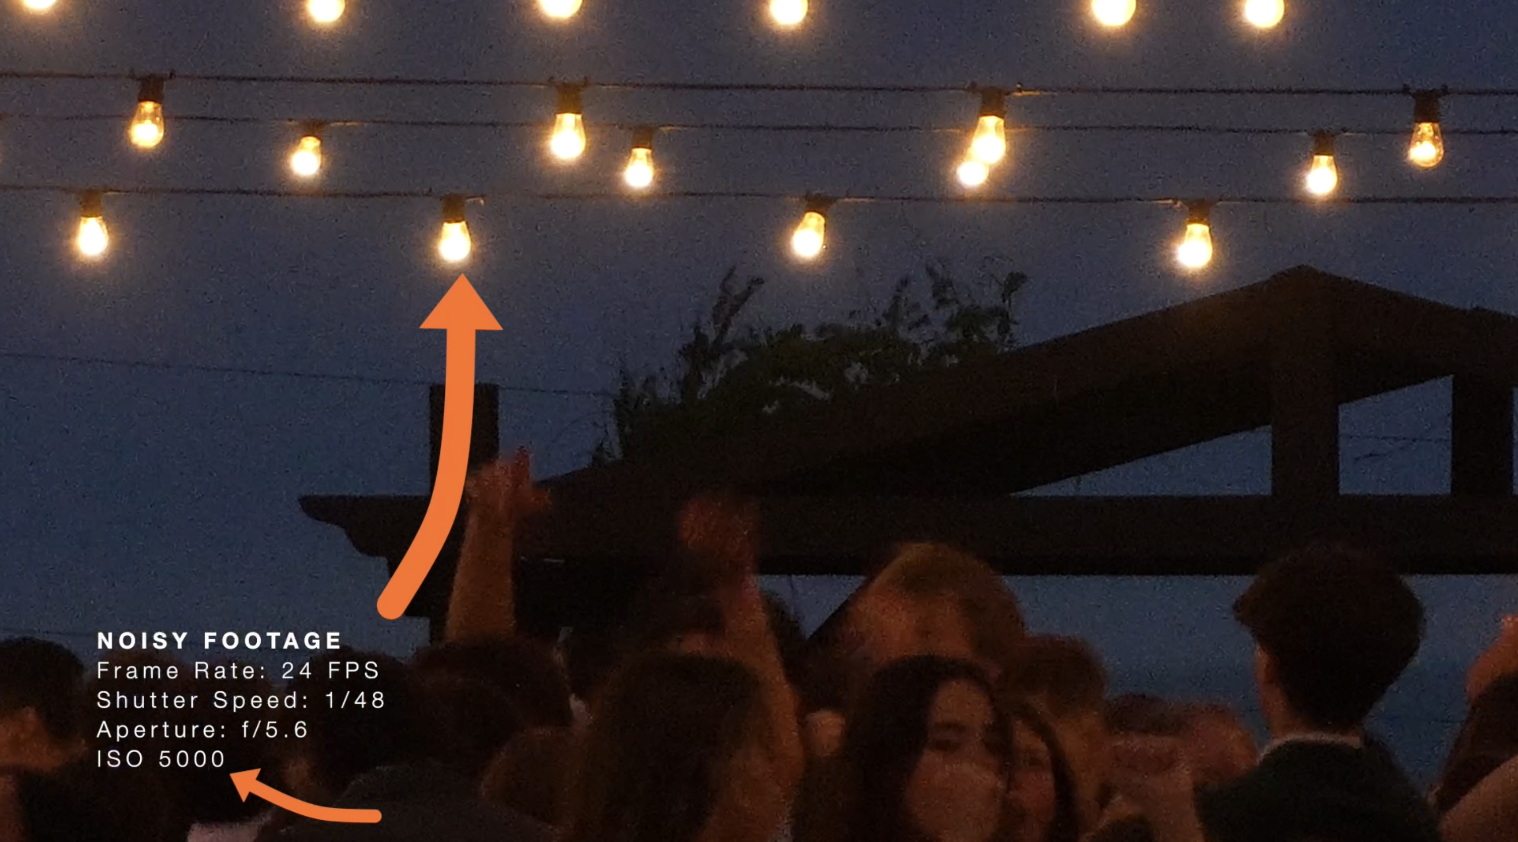
Your footage may look great on the back of your camera, but once you bring it into your editing software, you start noticing noise, missed focus, strange colors, soft details, clipped highlights, and shadows that completely fall apart.
I created this low-light video course to help filmmakers and content creators understand why those problems happen and, more importantly, how to prevent them before pressing record.
This is not a course that simply gives you one collection of “perfect settings” and tells you to use them every time. Low-light environments are constantly changing, and the settings that work in one location may not work somewhere else.
Instead, I want to help you understand how your camera responds to darkness, how each exposure setting affects your image, and how to make better decisions in real-world shooting situations.
Whether you are shooting with a mirrorless camera, DSLR, compact camera, action camera, smartphone, or another video camera, the principles inside this course can help you create cleaner and more intentional low-light footage.
Why Is Shooting Video in Low Light So Difficult?
Cameras need light to create a usable image. When there is not enough light available, the camera has to compensate.
You may need to open your aperture, lower your shutter speed, increase your ISO, add lighting, or change the position of your subject. Every one of those decisions can affect the final image.
Increasing your ISO can make the footage brighter, but it may also introduce digital noise. Lowering your shutter speed can collect more light, but it can create excessive motion blur. Opening your aperture can improve exposure, but it may make focusing more difficult.
This is why understanding the relationship between your camera settings is so important.
The goal is not necessarily to make nighttime footage look like it was filmed during the day. The goal is to preserve the feeling of a dark environment while still creating an image that is clean, properly exposed, and easy for your audience to understand.
Understanding Cameras and Sensor Size
The course begins with an overview of how different cameras perform in low-light environments.
Sensor size can have a major effect on low-light performance, but it is not the only thing that matters. Lens choice, aperture, resolution, camera processing, stabilization, exposure, and available lighting can all affect the final result.
A full-frame camera may offer an advantage in certain low-light situations, but that does not automatically mean you cannot create great footage with an APS-C camera, Micro Four Thirds camera, smartphone, or compact camera.
I break down how sensor size affects your image so you can better understand the strengths and limitations of the camera you already own.
We also cover something that sounds simple but is often overlooked: cleaning your lens.
Smudges, fingerprints, dust, and moisture can become especially noticeable when filming around streetlights, headlights, signs, candles, and other bright sources inside a dark environment. A dirty lens can cause blooming, haze, reduced contrast, and strange reflections that make your footage look worse before camera settings even enter the conversation.
How to Avoid Dark and Ugly Footage
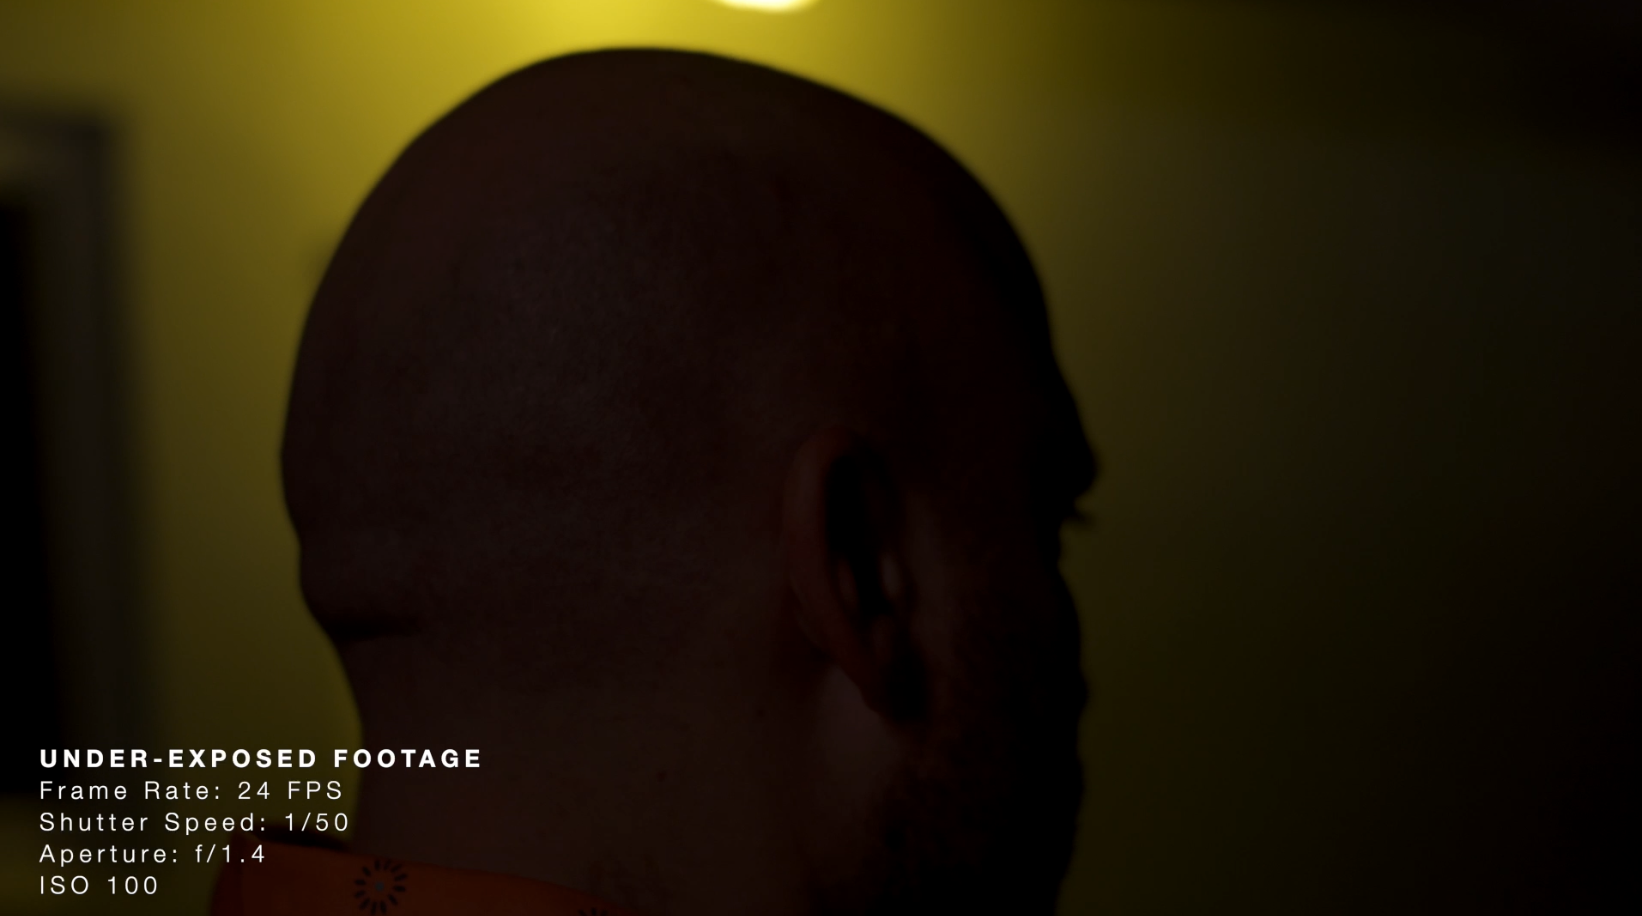
Dark footage is not automatically cinematic.
There is a big difference between an intentionally dark image and footage that is simply underexposed.
In the course, I explain how to preserve the mood of a low-light scene without allowing important details to disappear. You will learn how to identify the most important part of the frame and expose for what you actually want your audience to see.
Sometimes this means making the entire image brighter. Other times it means allowing parts of the frame to remain dark while protecting your subject, highlights, or focal point.
Good low-light filmmaking is about controlling where the viewer looks, not making every part of the image equally bright.
The Best Exposure Settings for Low-Light Video
A large section of the course focuses on exposure because this is where many low-light video problems begin.
Aperture
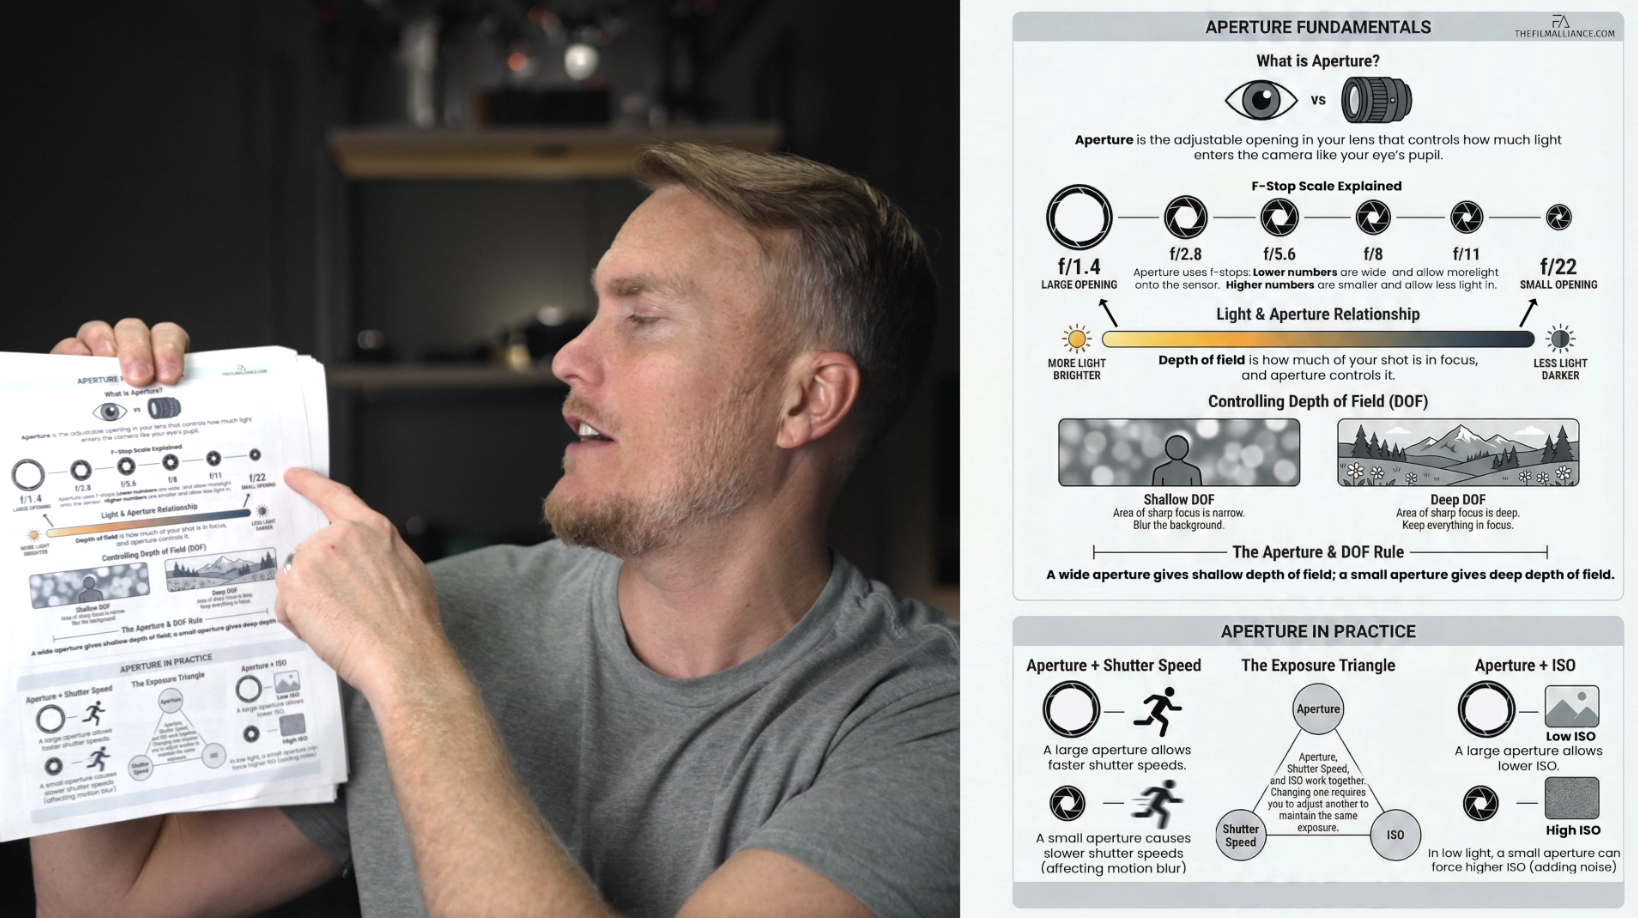
Your aperture controls how much light passes through the lens and reaches the camera sensor.
A lens with a wide maximum aperture, such as f/1.4, f/1.8, or f/2.8, can allow significantly more light into the camera than a slower lens. This can help you maintain a lower ISO and produce cleaner footage.
However, shooting with a wide aperture also creates a shallower depth of field. Your subject may look more separated from the background, but keeping that subject in focus can become more difficult.
Inside the course, I explain how to balance brightness, depth of field, lens sharpness, and focus rather than automatically choosing the widest aperture available.
Shutter Speed
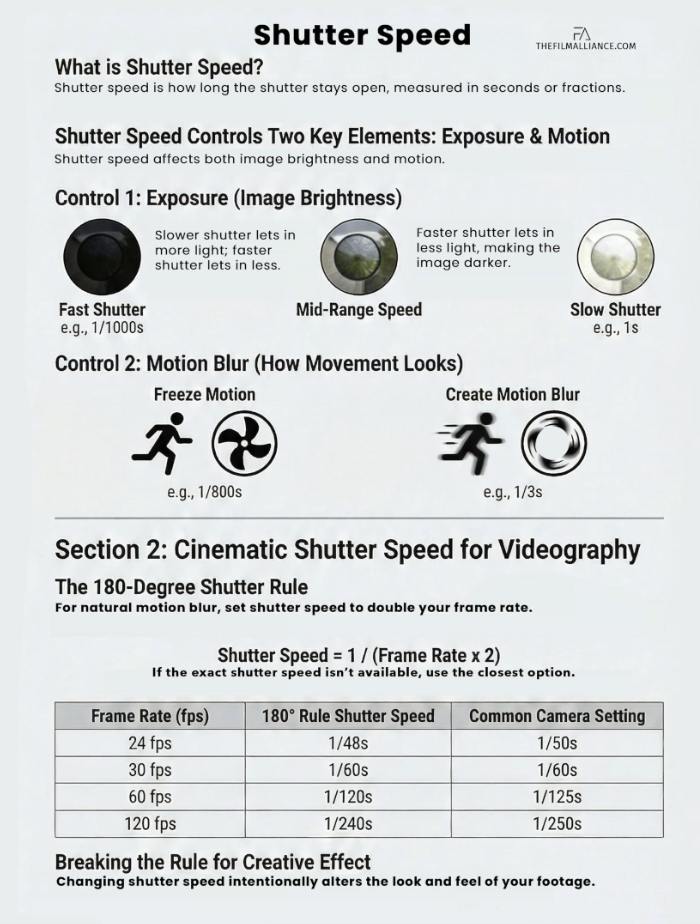
Your shutter speed affects both exposure and motion blur.
Following the traditional 180-degree shutter rule can help create natural-looking motion, but low-light situations may tempt you to lower your shutter speed to collect more light.
That can work in certain situations, especially when the camera and subject are relatively still. However, lowering it too far can make movement look blurry and unnatural.
I show you how shutter speed changes the appearance of movement and when adjusting it may or may not be worth the tradeoff.
ISO
ISO is one of the most misunderstood low-light camera settings.
Increasing ISO brightens the recorded image, but it can also reveal noise, reduce color quality, and decrease the amount of flexibility you have during color grading.
That does not mean you should always keep ISO as low as possible. Footage that is severely underexposed and brightened later may look worse than footage captured at a higher ISO with a healthier exposure.
The goal is to understand how far you can comfortably push your specific camera and how to recognize when increasing ISO is better than trying to rescue an extremely dark image in post-production.
White Balance
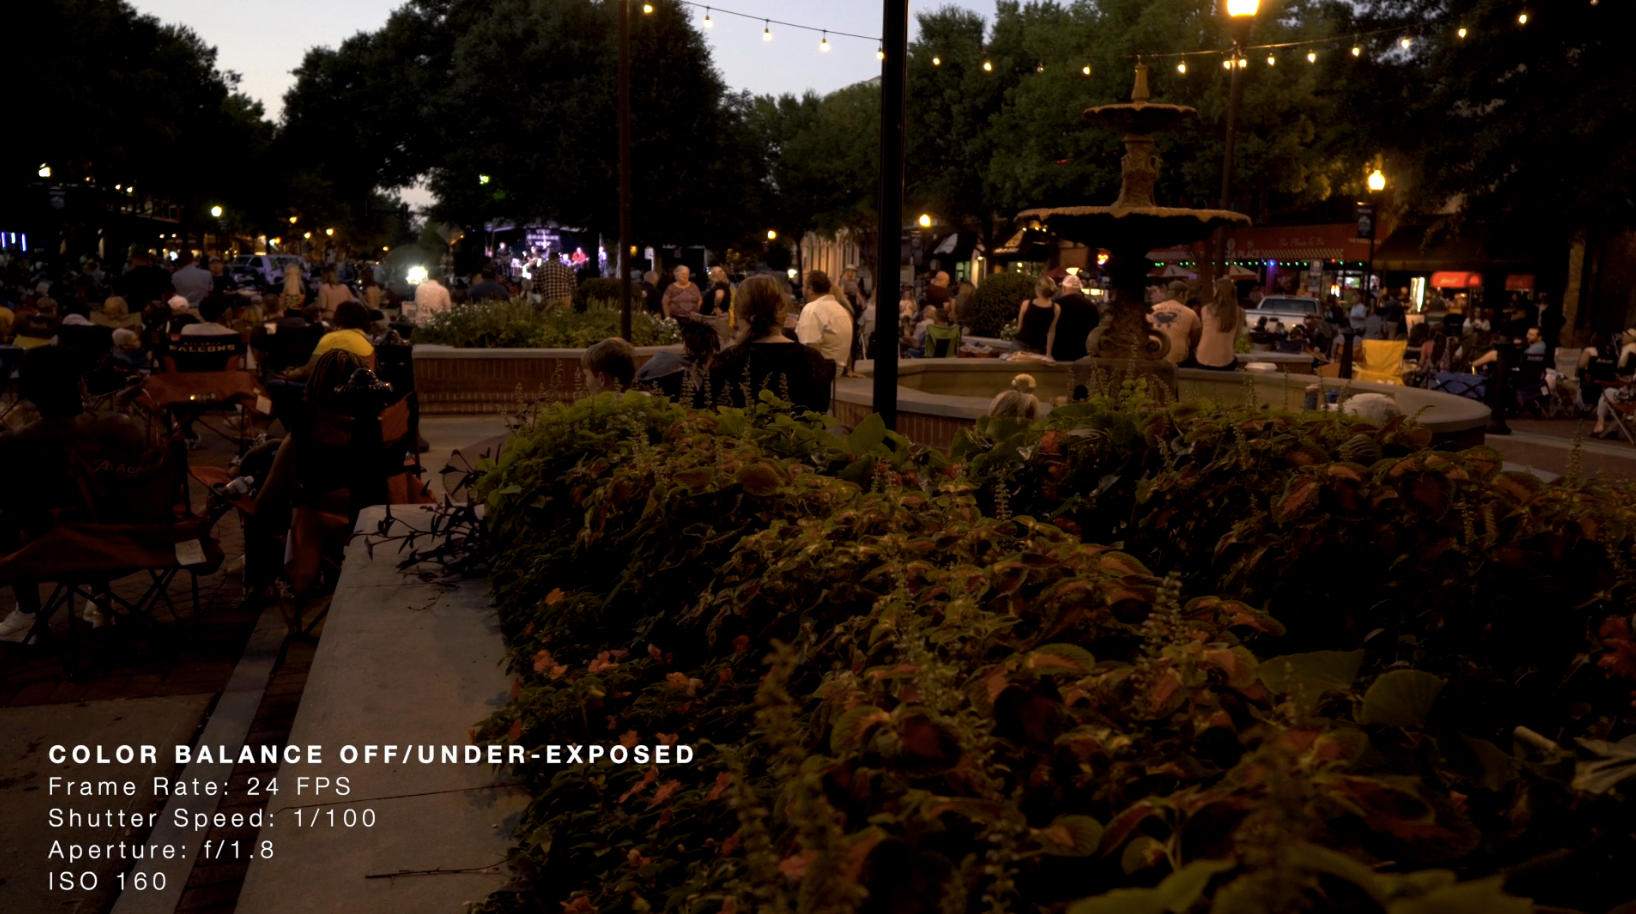
White balance becomes especially important when shooting at night because low-light environments often contain several different color temperatures.
You may be filming under warm household lamps, cool LED lights, green fluorescent lighting, streetlights, neon signs, or car headlights. Automatic white balance can shift during a shot as the camera reacts to these different sources.
I explain how to set and control white balance so your colors remain more consistent and your footage is easier to correct during editing.
Using Exposure Tools in Low Light
Your camera’s screen does not always show you the complete truth.
The brightness of the display, your surrounding environment, and the camera’s picture profile can make footage appear brighter or darker than it actually is.
That is why the course includes a dedicated lesson on low-light exposure tools.
Depending on your camera, you may have access to tools such as zebras, histograms, waveforms, exposure meters, false color, or highlight warnings.
These tools can help you evaluate exposure more accurately instead of relying entirely on how the image looks on a small screen.
I also walk through a practical exposure setup so you can see how aperture, shutter speed, ISO, white balance, and exposure tools work together.
Choosing the Best Lens and Focal Length for Low Light
Your lens can make a major difference when shooting in low light.
A fast lens allows more light into the camera, but focal length also affects how you capture the environment.
A wide-angle lens can help establish a location, show more of the surroundings, and reduce the appearance of camera shake. A longer focal length can isolate a subject and compress the background, but it may also make stabilization and focus more challenging.
In the lenses and focal length lesson, I explain how different lenses affect brightness, depth of field, camera movement, composition, and the overall appearance of a low-light scene.
The best low-light lens is not always the lens with the lowest aperture number. It is the lens that gives you the right balance of light, composition, focus, and movement for the shot you are trying to create.
Getting Sharp Focus in Dark Environments
Autofocus systems generally perform better when there is plenty of light and contrast.
In darker environments, your camera may begin searching for focus, jumping between subjects, or locking onto the wrong part of the frame. A wide aperture can make this even more noticeable because your depth of field becomes thinner.
The course covers autofocus and manual-focus techniques that can help you capture more reliable results.
You will learn how to give your camera a clearer target, when manual focus may be the better option, and how to avoid returning home with footage that looked focused on the camera screen but is actually soft.
Camera Movement and Creative Low-Light Shots
Low-light video does not have to consist of static shots.
Movement can make nighttime footage feel immersive and cinematic, but the darker environment can make shaky footage and motion blur more noticeable.
I cover practical camera movements that work well in low light and explain how your shutter speed, focal length, stabilization, and body movement affect the final shot.
We also look at creative shots you can capture using available light sources, foreground elements, reflections, silhouettes, practical lights, signs, headlights, and other objects already inside the environment.
You do not always need a huge lighting setup. Sometimes the best approach is learning how to recognize and use the light that is already available.
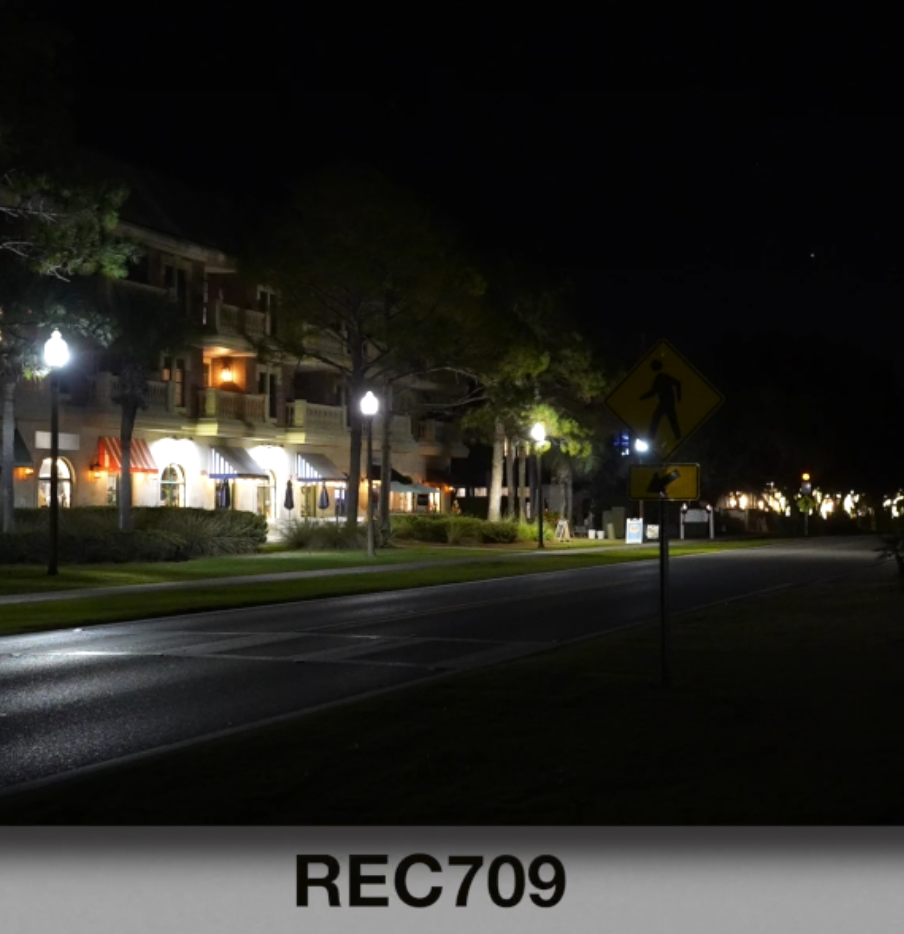
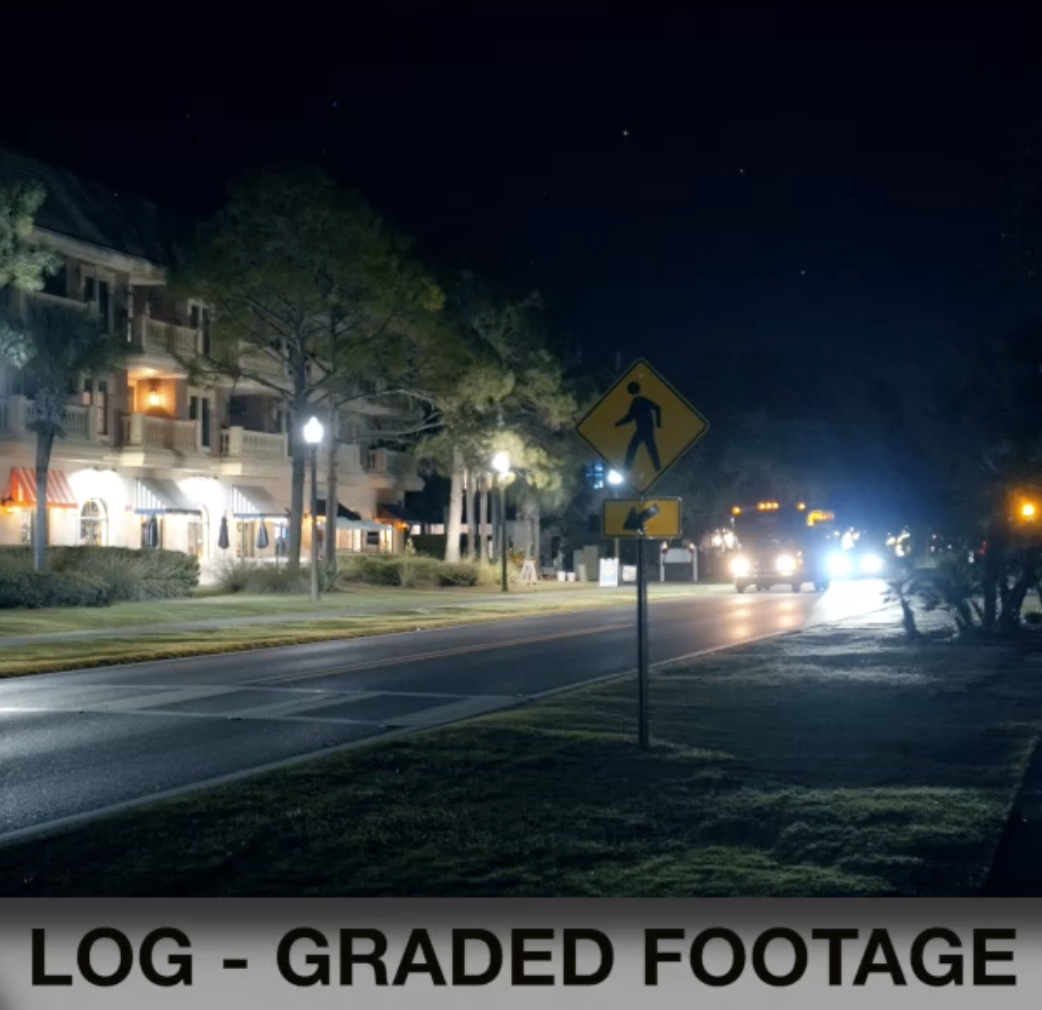
Log vs. Rec.709 for Low-Light Video
The bonus module includes a lesson comparing Log and Rec.709 color profiles.
Log can preserve more information and provide additional color-grading flexibility, but that does not automatically make it the best choice for every low-light situation.
Some Log profiles require careful exposure and may reveal more noise once contrast and saturation are added during grading. A standard or Rec.709-style profile may sometimes provide a cleaner and faster result, especially when you do not need extensive post-production flexibility.
I explain the advantages and limitations of both approaches so you can decide which profile makes the most sense for your camera, editing workflow, and shooting environment.
Downloadable Low-Light Video PDF
The course also includes a low-light PDF walkthrough that you can use as a reference after completing the lessons.
You can keep it on your phone or download it before heading into the field. It is designed to help you quickly review important low-light settings and concepts without having to rewatch the entire course every time you prepare for a shoot.
The video lessons teach you why the settings work, while the PDF gives you something practical to reference when you are actually filming.
Who Is This Low-Light Filmmaking Course For?
This course is designed for beginners and intermediate creators who want to feel more confident when filming in dark environments.
It can help YouTubers, filmmakers, videographers, content creators, travel filmmakers, wedding filmmakers, event shooters, and anyone who regularly records indoors or at night.
You do not need the newest or most expensive camera to apply these techniques. The course focuses on filmmaking principles that can be used across many different cameras and brands.
What You Will Learn
By the end of the course, you should have a stronger understanding of:
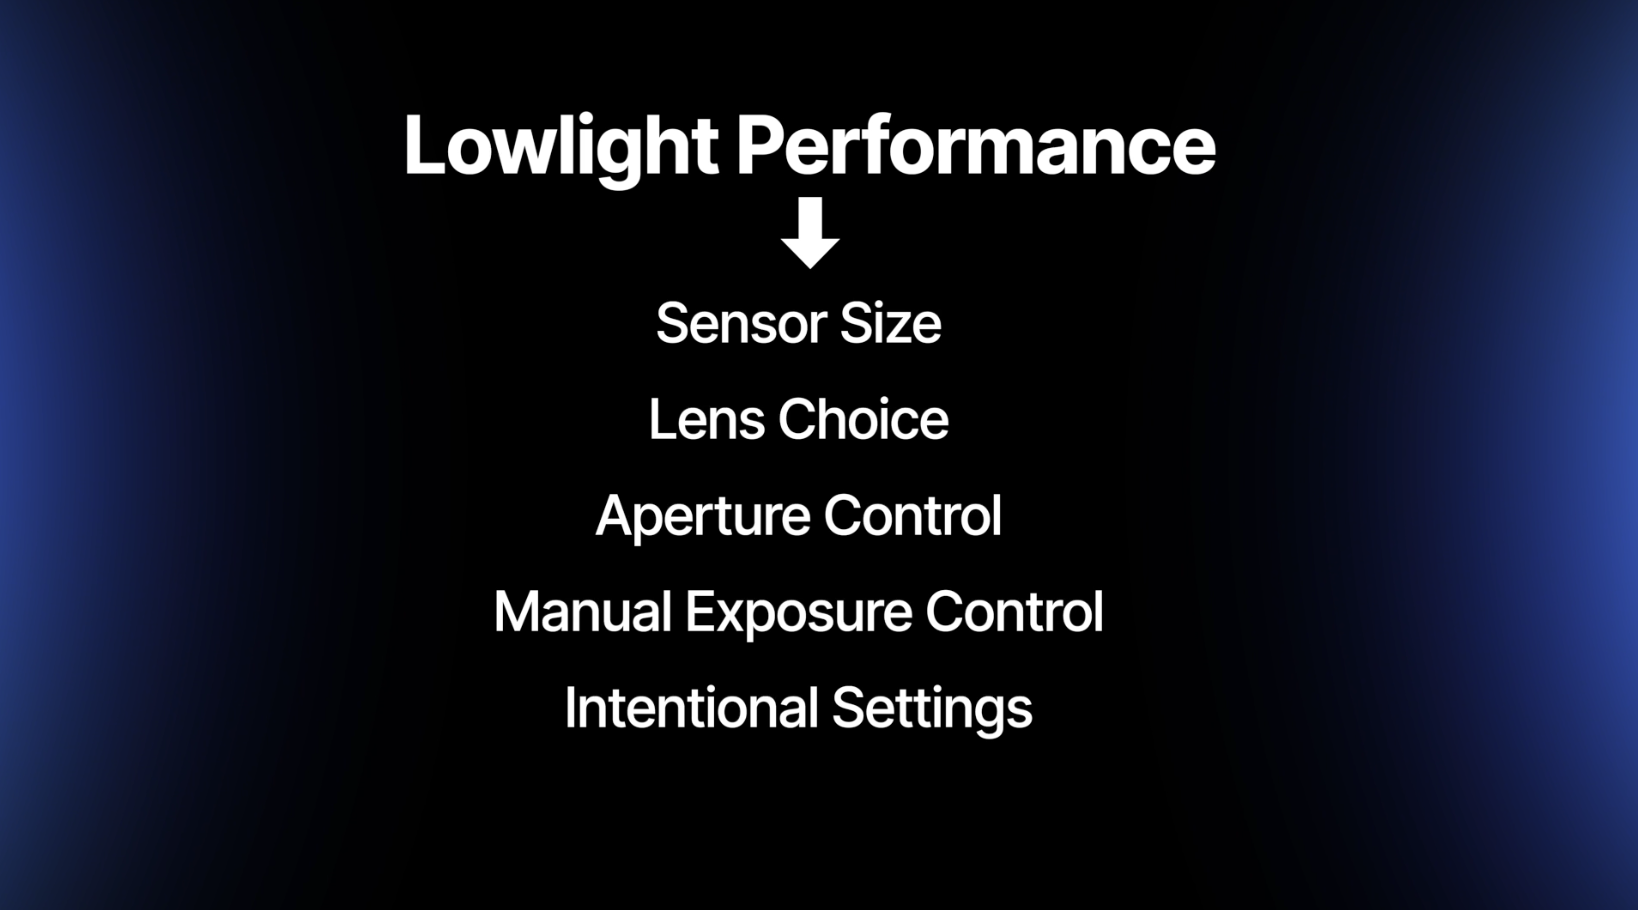
- How different cameras and sensor sizes perform in low light
- How aperture, shutter speed, and ISO affect low-light footage
- How to set white balance in mixed lighting
- How to use exposure tools instead of guessing
- How to choose lenses and focal lengths for dark environments
- How to improve autofocus and manual focus performance
- How to create smoother camera movement
- How to find creative shots using available light
- When to use Log or Rec.709
- How to reduce noise, softness, and exposure problems before editing
Start Creating Better Low-Light Video
Shooting in low light will always involve some compromises, but those compromises become much easier to manage once you understand what your camera is doing.
You do not need to avoid dark environments or immediately reach for the highest ISO setting. By understanding exposure, lenses, focus, white balance, camera movement, and available light, you can create footage that still feels dark and atmospheric without looking accidental or unusable.
I created this low-light video course to give you a complete process you can follow from the moment you arrive at a location to the moment you bring your footage into the edit.
Instead of guessing at your settings, you will understand how to evaluate the scene, choose the right approach, and capture cleaner, sharper, and more cinematic low-light video.
Author

Joe
I'm a passionate video creator and photographer who loves exploring the latest camera tech and sharing my honest reviews to help you find the perfect gear for your needs.
Categories
All Categories a6700 slog3 vs iphone 15 pro prores a6700 vs fx30 a6700 vs iphone 15 pro a6700 vs zve10 anamorphic artistic shots blog camera cinematic compact lens compare comparison contemporary contemporary lens content creation facts footage freewell fuji head to head iphone iphone 15 pro iphone 15 pro vs zve10 iphone vs sony lenses op3 vs iphone 15 pro osmo pocket 3 phone vs camera photography resolution review right choice side by side sigma skin tones slog3 sony sony vs apple specs the film alliance timebolt videography what to buy youtube zve10 ii