Osmo Pocket 4 Film 101 + Film 202 Bundle: The Complete Course for Better Video
Aug 03, 2026Osmo Pocket 4 Film 101 + Film 202 Bundle Course - https://www.thefilmalliance.com/osmo-pocket-4-bundle-pack-101-and-202-course
The Osmo Pocket 4 may be one of the smallest cameras you can carry, but that does not mean it is a simple camera once you begin exploring everything it can do.
You can take it out of the box, press record, and probably get a decent-looking video. But if you want cleaner image quality, more consistent colors, smoother camera movement, better low-light footage, and more control over how your videos look, there is a lot more to understand.
That is exactly why I created the Osmo Pocket 4 Film 101 and Film 202 Bundle.
This bundle combines both of my complete Osmo Pocket 4 courses into one step-by-step learning experience. Film 101 teaches you how to properly set up the camera, understand its most important settings, and build a strong technical foundation. Film 202 takes you beyond the basics and teaches you how to use the camera’s focus system, gimbal modes, intelligent features, cinematic settings, slow motion, photography, and creative shooting modes.
Together, these two courses are designed to take you from opening the box to confidently using the Osmo Pocket 4 in real-world filming situations.
I created these courses from a combination of extensive research and actual experience using the camera. I did not want to simply repeat random settings I found online. I spent time filming with the Osmo Pocket 4, testing its features, comparing results, reviewing the official user manual, studying the actual menus, and accounting for the latest firmware updates.
The result is a complete Osmo Pocket 4 course bundle built to help you understand not only where the settings are, but what they do, why they matter, and when I would personally use them.
Why I Created the Osmo Pocket 4 Film Course Bundle
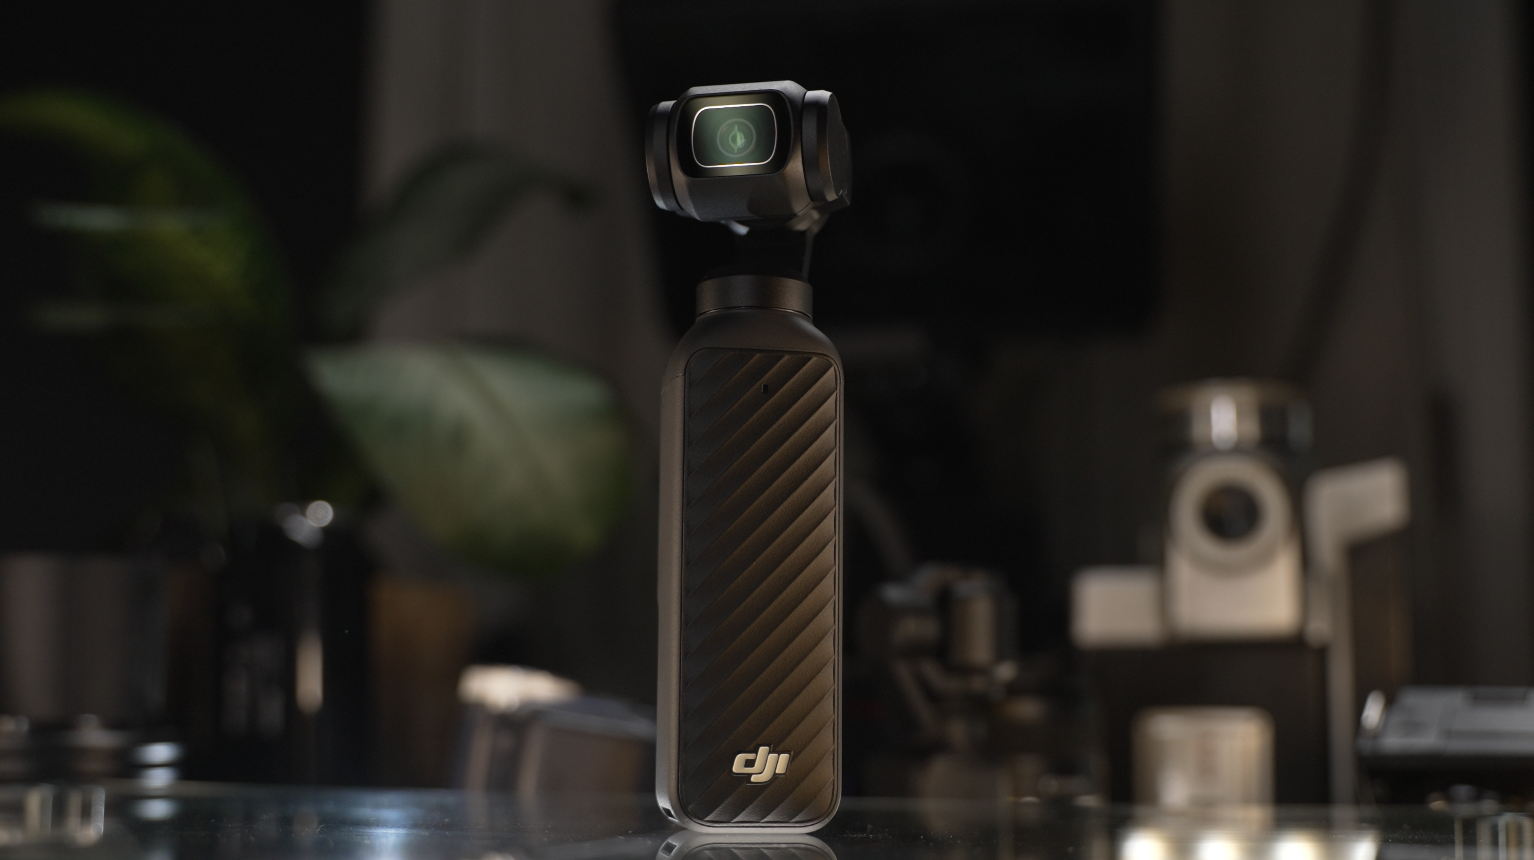
The Osmo Pocket 4 is designed to make high-quality video easier and more portable. It includes a built-in mechanical gimbal, intelligent tracking features, multiple color profiles, advanced video settings, creative shooting modes, and a compact design that allows you to bring it almost anywhere.
But all of those features can also make the camera feel more complicated than it appears.
You may be wondering which frame rate to use, whether you should leave the exposure on automatic, how to prevent your white balance from changing, which gimbal mode is best for walking, how to film in bright sunlight, or whether you should record in Normal, HDR 10-bit, D-Log 10-bit, or D-Log 2.
You may also be unsure about focus modes, subject tracking, slow motion, photography, timelapse, hyperlapse, or motionlapse.
That is why I decided to split the full course into two parts.
Film 101 gives you the foundation. Film 202 gives you the additional control and creativity.
The bundle gives you both, allowing you to learn everything in a logical order without leaving major gaps in your understanding of the camera.
What Is Included in the Osmo Pocket 4 Film 101 and Film 202 Bundle?
The complete Osmo Pocket 4 course bundle includes both courses, quizzes throughout the lessons, and downloadable PDF guides that you can keep on your phone or take with you while filming.
You will learn how to:
-
Set up and activate the Osmo Pocket 4
-
Understand the buttons, touchscreen, menus, and Control Center
-
Choose the correct resolution and frame rate
-
Configure image and audio settings
-
Control exposure and white balance
-
Film in bright sunlight with ND filters
-
Improve low-light footage
-
Understand all four color profiles
-
Use D-Log 10-bit and D-Log 2
-
Create smoother stabilized footage
-
Choose the correct focus mode
-
Understand the different gimbal modes
-
Use intelligent tracking and automated features
-
Build more cinematic camera settings
-
Control the camera remotely with the DJI Mimo app
-
Record better slow-motion footage
-
Capture photographs
-
Create timelapses, hyperlapses, and motionlapses
The goal is to help you understand the entire camera rather than learning a few isolated settings.
Osmo Pocket 4 Film 101: Build the Foundation
Osmo Pocket 4 Film 101 begins at the very beginning.
This part of the bundle is designed for new owners, beginners, or anyone who has already been using the camera but still feels uncertain about its settings.
You may already know how to press record, but Film 101 helps you understand what is actually happening inside the camera.
Course Objectives and Goals
Before getting into the menus, I explain the main objective of the course and how I recommend working through it.
The goal is not to make you memorize every option. It is to help you understand the settings that have the greatest effect on image quality, audio quality, exposure, color, and stabilization.
I want you to be able to look at a filming situation and make a decision based on the lighting, subject, movement, and type of video you are creating.
Unboxing and Initial Setup
Film 101 begins by walking through the initial setup of the Osmo Pocket 4.
I cover the included components, charging, storage, basic preparation, and the things I recommend checking before your first filming session.
Starting correctly may seem simple, but it can prevent problems with activation, firmware, connectivity, available storage, and battery life later.
Activation and the DJI Mimo App
The DJI Mimo app is used during activation, but it can also be an important part of your overall workflow.
I show you how to connect the camera, complete activation, check for firmware updates, and make sure the Osmo Pocket 4 is ready to use.
Firmware updates are important because camera behavior can change after release. New firmware may fix issues, improve performance, adjust existing features, or introduce new functionality.
That is one reason I studied both the original documentation and the latest available firmware information when creating the course.
Buttons and Functionality
The Osmo Pocket 4 has a compact body, so DJI has placed a lot of functionality inside a limited number of buttons and touchscreen controls.
In this lesson, I explain how those controls work and how to navigate the camera more efficiently.
Understanding the buttons, recording controls, joystick, touchscreen gestures, and shortcuts can make a major difference when you are trying to capture a shot quickly.
You do not want to miss a moment because you are searching through menus for a setting you could have accessed with a shortcut.
The Osmo Pocket 4 Control Center
The Control Center contains many of the camera’s important system and shooting options.
I walk through the major settings and explain which ones I would change, which ones depend on your workflow, and which options most beginners tend to overlook.
This section helps you configure the Osmo Pocket 4 based on how you plan to use it rather than relying entirely on the default setup.
Shooting Modes
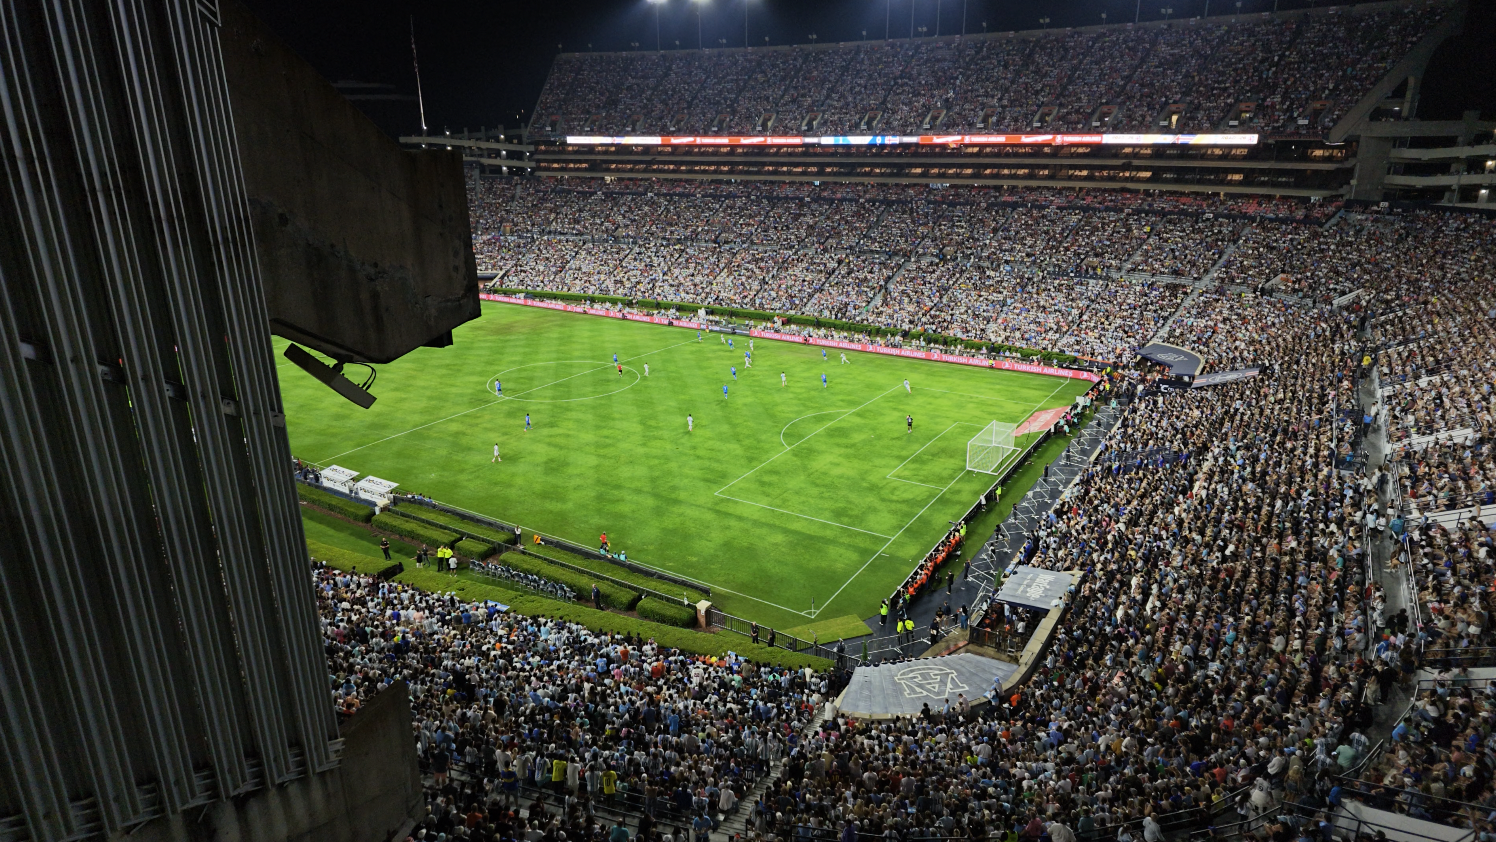
The Osmo Pocket 4 includes several shooting modes for different types of content.
I explain what each mode is designed to do and how changing modes may affect your available settings, frame rates, processing, and creative options.
Understanding these differences helps you select the correct mode before you begin filming instead of trying to force every scene into the same setup.
Image and Audio Settings
The image and audio settings section is one of the most important parts of Film 101.
I explain the settings that affect resolution, frame rate, exposure, color, sharpness, noise reduction, and overall image quality.
I also cover the available audio settings and explain how they can affect the sound recorded by the camera.
A beautiful image can still be difficult to use if the audio is poor. The goal is to help you get both the video and sound as close as possible before editing.
Deep Settings
Some useful Osmo Pocket 4 options are hidden deeper inside the menu system.
These settings are easy to miss if you only use the main shooting screen.
In the Deep Settings lesson, I walk through the less obvious controls and explain which ones may be helpful for your style of filming.
This gives you a more complete understanding of how to customize the camera.
Mastering Osmo Pocket 4 Video Settings
After covering the camera’s basic operation, Film 101 moves into the settings and techniques that can make the biggest difference in your footage.
White Balance
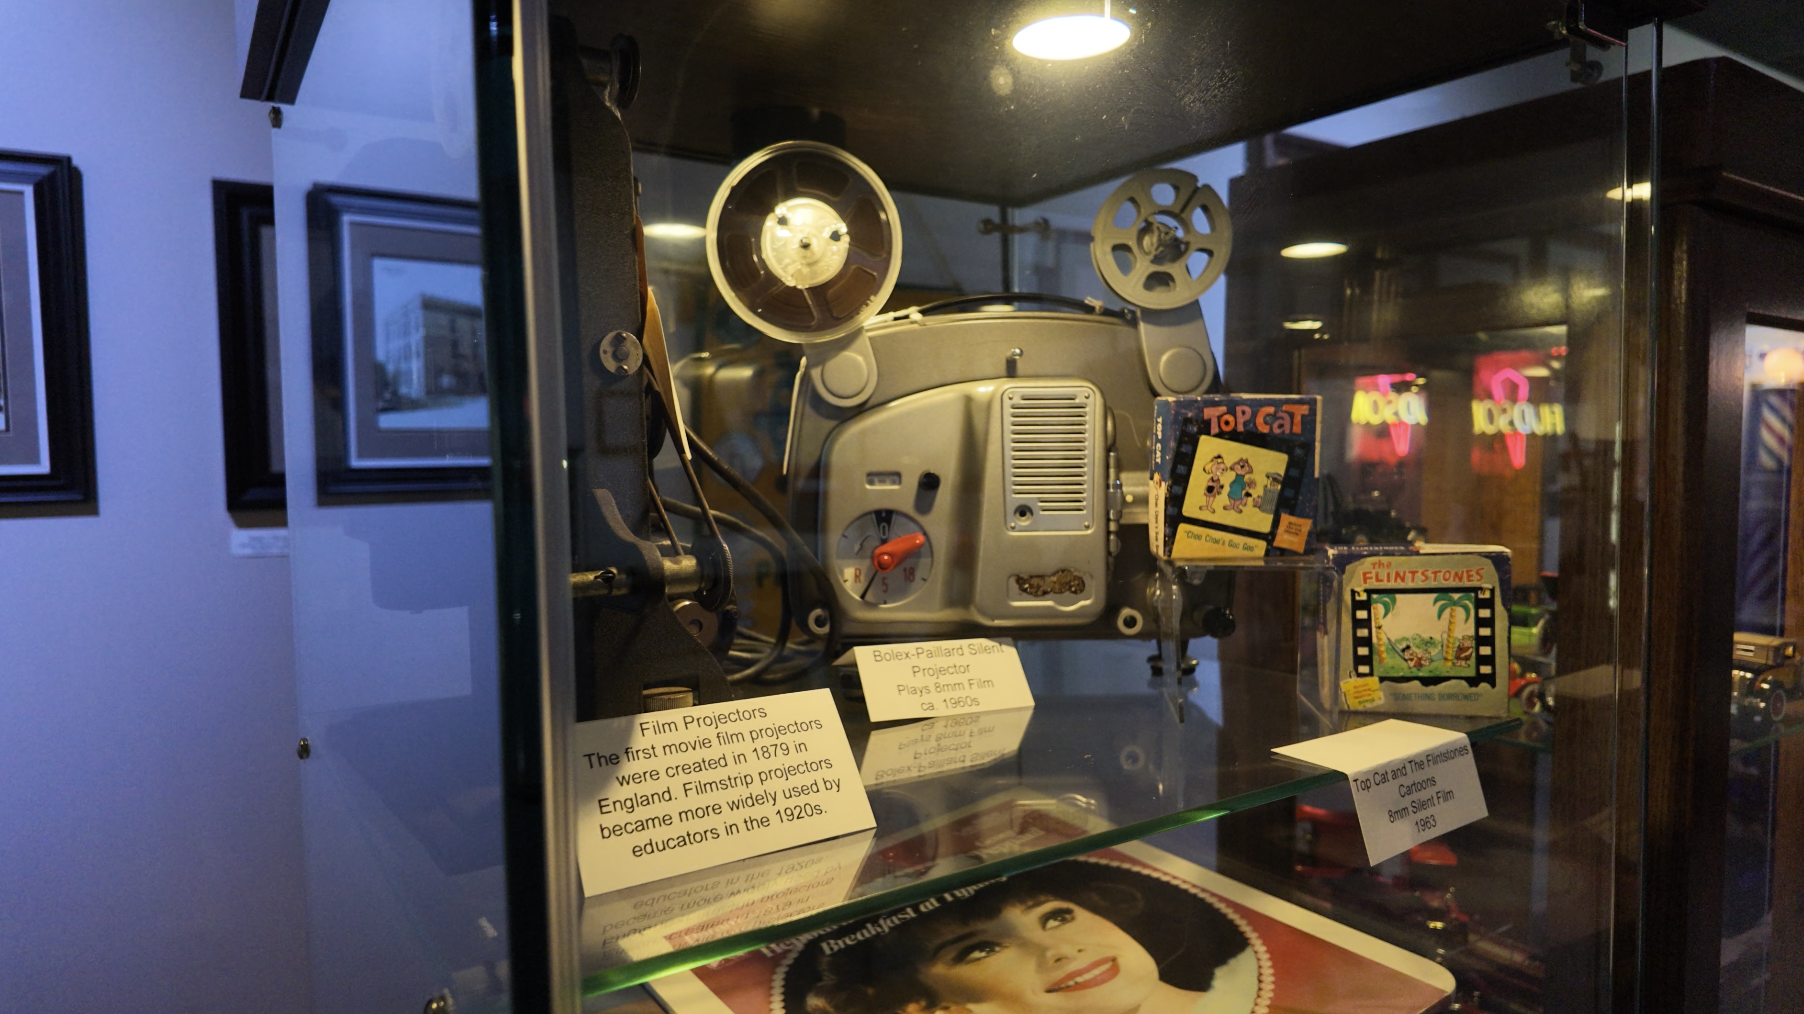
White balance controls how warm or cool your image appears.
Automatic white balance can be helpful when you need to work quickly, but it may also change during a shot as the camera sees different colors or lighting conditions.
That can create distracting color shifts and make it more difficult to match clips during editing.
I explain how white balance works, how to recognize when it is incorrect, and how I choose a consistent value for different lighting environments.
Proper white balance can improve skin tones, color accuracy, and consistency between shots.
Bright Sunlight and ND Filters
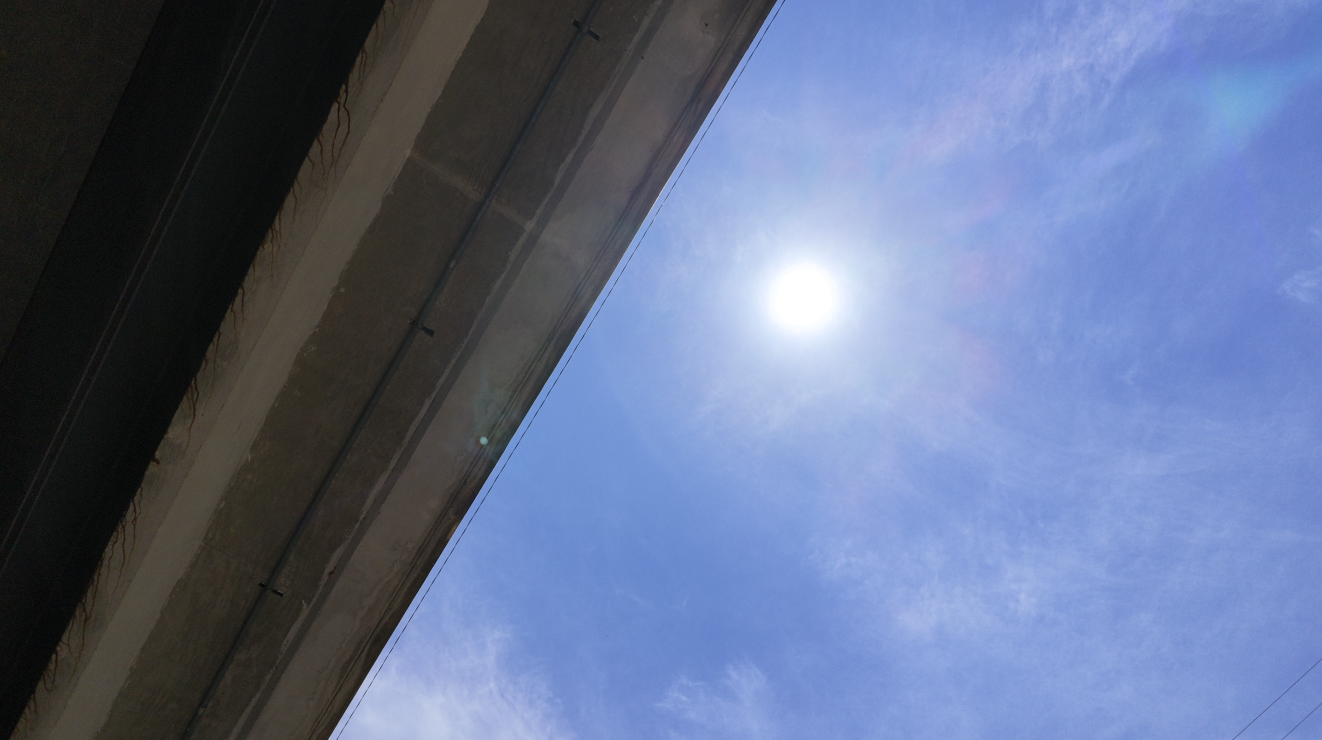
Bright sunlight can make it difficult to maintain the exposure and motion you want.
In this lesson, I explain how I approach filming outside and how ND filters can help reduce the amount of light reaching the camera.
This can give you greater control over shutter speed and exposure without forcing you to completely change the look of the shot.
I also explain how to select an ND filter based on the available light and why you may not need one in every situation.
The purpose is to help you understand what ND filters actually do instead of using them simply because someone says they make footage look cinematic.
Shooting in Low Light
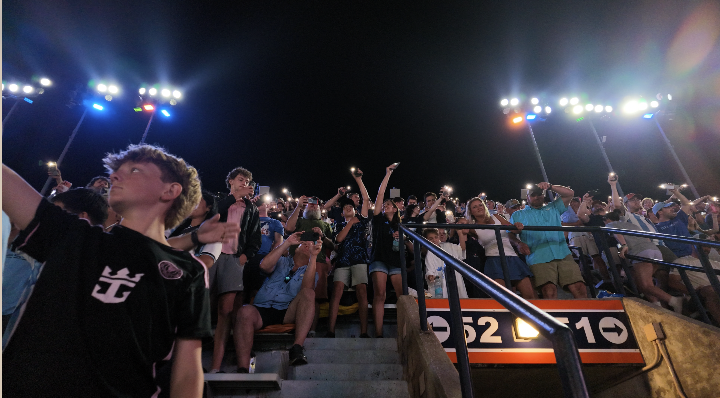
Low-light environments are challenging for every camera.
When there is not enough light, the camera may increase ISO, introduce more noise, reduce fine detail, or apply stronger processing.
In the low-light lesson, I show you how I approach exposure, ISO, shutter speed, and available lighting with the Osmo Pocket 4.
I also explain why making the image as bright as possible is not always the best option.
Sometimes a slightly darker but cleaner image will look better than a brighter image filled with noise and processing artifacts.
Understanding the Four Osmo Pocket 4 Color Profiles
The Osmo Pocket 4 includes four color profile options:
Normal, HDR 10-bit, D-Log 10-bit, and D-Log 2.
Each one is designed for a different type of shooter and post-production workflow.
Normal Color Profile
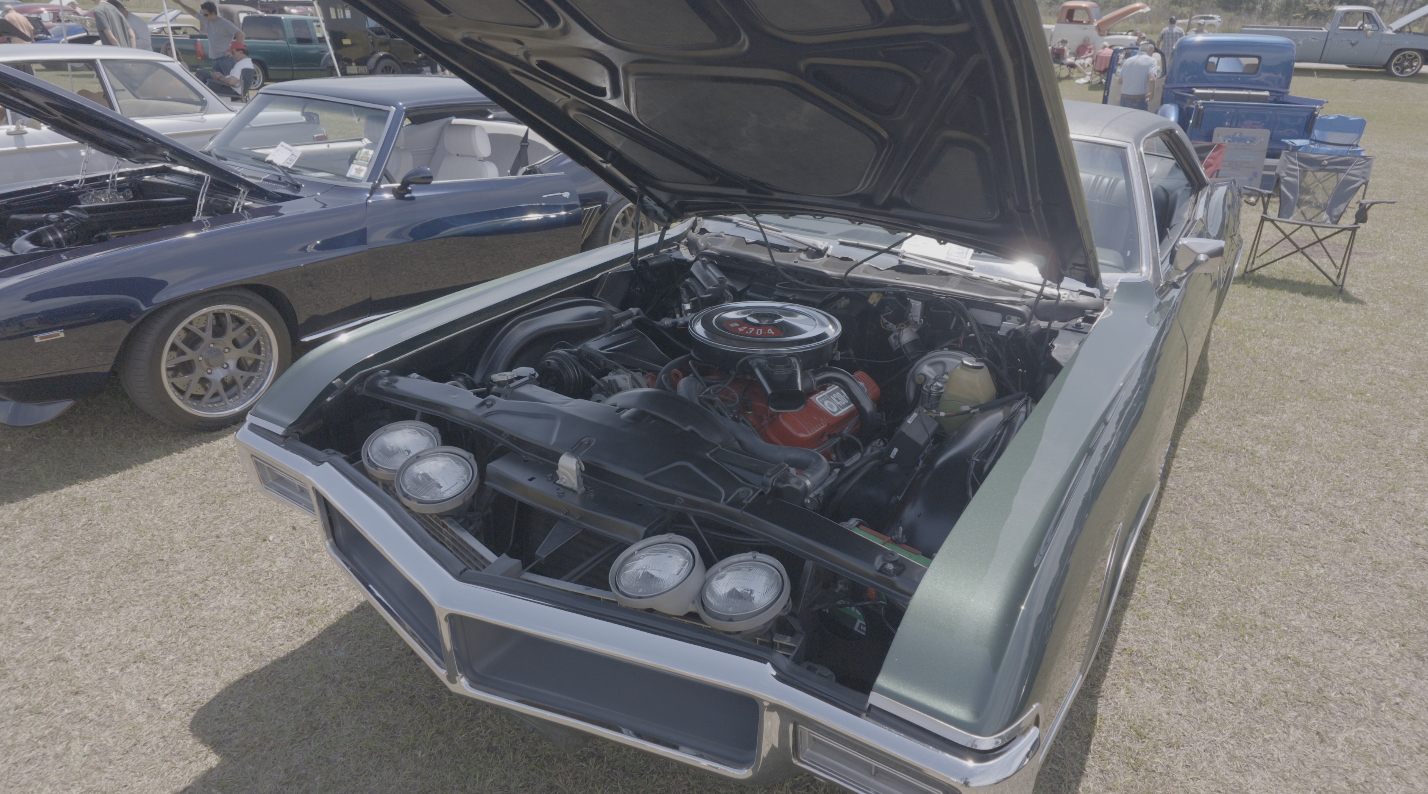
Normal provides a finished-looking image directly from the camera.
The camera applies contrast, saturation, and color so that the footage can be edited and shared quickly without requiring extensive color grading.
I often recommend Normal for beginners or creators who value speed and simplicity.
It is also useful when you need footage that looks good immediately and do not want to spend additional time grading every clip.
HDR 10-Bit
HDR 10-bit is designed to retain additional brightness and color information while still producing an image that looks more finished than traditional log footage.
It may be useful in scenes with bright highlights and darker shadow areas, but it is important to understand how HDR footage fits into your editing and delivery workflow.
Inside the course, I explain the practical differences so you can decide whether HDR 10-bit is appropriate for the type of content you create.
D-Log 10-Bit
D-Log 10-bit produces a flatter image with reduced contrast and saturation.
The footage may initially appear washed out, but it is designed to give you more control during color grading.
This can be useful when you want to create a specific look or match the Osmo Pocket 4 with another camera.
I explain how D-Log footage should be approached and why recording in a log profile does not automatically make a video look cinematic.
Exposure, lighting, white balance, composition, and grading still matter.
D-Log 2
D-Log 2 is the most advanced log option available on the Osmo Pocket 4.
It is designed for users who want greater flexibility over the final image during post-production.
However, the additional flexibility also requires a more careful approach to exposure and color grading.
In the course, I help you understand how D-Log 2 differs from the other profiles and whether it makes sense for your workflow.
The most advanced profile is not always the best choice for every creator. The correct profile is the one that allows you to consistently achieve the result you want.
Osmo Pocket 4 Stabilization
The built-in mechanical gimbal is one of the biggest reasons people choose the Osmo Pocket 4.
It can create incredibly smooth footage, but your movement still matters.
I explain how your grip, walking technique, body position, and direction of movement affect the final image.
Good stabilization is not only about allowing the camera to do all the work. It is about learning how to move with the gimbal so the footage looks smoother and more intentional.
Osmo Pocket 4 Film 202: Take Your Skills Further
Once you understand the foundational settings, Film 202 helps you use the Osmo Pocket 4 with more creativity and control.
This part of the bundle focuses on focus modes, gimbal behavior, intelligent auto features, cinematic techniques, slow motion, photography, and creative shooting modes.
Film 202 is where you begin moving beyond proper setup and start learning how to build more interesting shots.
Osmo Pocket 4 Focus Modes
Focus is one of the most important parts of a usable image.
A shot can have perfect exposure, beautiful lighting, and smooth movement, but if the subject is not properly focused, the footage may still be unusable.
In the focus modes lesson, I explain how the different options behave and when I would use each one.
We look at filming people, objects, moving subjects, talking-head videos, product shots, and scenes where the distance between the camera and subject changes.
I also explain how the camera may react when something passes in front of your subject or when multiple possible subjects are inside the frame.
The goal is to help you avoid distracting focus changes and keep the most important part of the shot sharp.
Osmo Pocket 4 Gimbal Modes
The gimbal is one of the camera’s most powerful creative tools, but the selected gimbal mode has a major effect on how the camera moves.
Some modes are designed to follow your movement more freely. Others restrict an axis or prioritize keeping the horizon level.
In Film 202, I explain how each mode behaves and which types of shots it may be best suited for.
I also cover how gimbal speed and responsiveness can change the feeling of a shot.
Fast movement may work better when following action, while slower movement may produce smoother pans, reveals, and establishing shots.
The goal is not simply to eliminate camera shake. It is to create movement that looks controlled and supports the scene.
Intelligent Auto Modes and Subject Tracking
The Osmo Pocket 4 includes intelligent features that can help identify, frame, and follow a subject.
These options can be extremely helpful for solo creators who do not have another person operating the camera.
I explain how the tracking features work, when I would trust them, and the situations where they may become less reliable.
Tracking may behave differently when a subject turns away, moves behind an object, leaves the frame, or enters a crowded environment.
Understanding those limitations allows you to use the feature more effectively and recognize when manual control may be the safer choice.
Cinematic Settings for the Osmo Pocket 4
There is no single setting that makes footage cinematic.
A cinematic image usually comes from the combination of frame rate, shutter speed, exposure, lighting, white balance, composition, camera movement, depth, and color.
In the cinematic settings section, I explain how these elements work together.
I also explain why copying someone else’s settings may not produce the same result in a different environment.
A setup that works outdoors in bright sunlight may not work inside. A setting used for a stationary talking-head video may not be ideal for walking footage.
Rather than giving you one setup to copy forever, I want to help you understand how to build the settings around the scene you are filming.
We also look at composition, foreground elements, controlled camera movement, lighting direction, and other creative choices that can make a shot feel more intentional.
Using the DJI Mimo App for Content Creation
Film 101 introduces the DJI Mimo app for activation and setup, while Film 202 goes deeper into how it can be used during filming.
The app can help you monitor the image, adjust settings, control the camera remotely, and manage footage.
Remote monitoring is especially useful when recording yourself.
You can check your framing, exposure, and composition from your phone instead of repeatedly walking back and forth between your position and the camera.
This can be useful for talking-head videos, product demonstrations, interviews, tutorials, and solo content creation.
Slow Motion With the Osmo Pocket 4
Slow motion can turn ordinary movement into something more dramatic and visually interesting.
But higher frame rates also require more light and may change how you need to approach shutter speed, exposure, and camera movement.
In the slow-motion lesson, I explain how to choose a frame rate based on how much you want to slow the clip down.
I also discuss which subjects tend to work best, including sports, water, clothing movement, hair, product shots, and fast actions that may be difficult to appreciate at normal speed.
Slow motion should support the moment rather than being added randomly.
The course helps you plan the shot before recording so the final result feels intentional.
Osmo Pocket 4 Photography
Although the Osmo Pocket 4 is mainly known for video, it can also capture photographs.
In this lesson, I explain how the photography settings differ from video and how I approach exposure, focus, image format, and composition.
Photography can be useful for thumbnails, social media content, travel images, behind-the-scenes photos, and moments when you do not have another camera with you.
Learning photography can also help improve your video composition because it forces you to think more carefully about every element inside the frame.
Timelapse, Hyperlapse and Motionlapse
The Osmo Pocket 4 includes several creative modes that allow you to show the passage of time in different ways.
Timelapse
A timelapse keeps the camera mostly stationary while the scene changes over time.
This can work well for clouds, sunsets, traffic, crowds, weather, construction, or behind-the-scenes footage of a long process.
I explain how the interval, recording duration, and final playback time are connected so you can better plan the finished clip.
Hyperlapse
A hyperlapse adds movement through the environment.
This can be useful when walking through a city, moving between locations, traveling, or showing the passage of time while the camera changes position.
Because the camera is moving, your path, stabilization, and composition become especially important.
I explain how to plan the movement so the final clip feels smooth rather than disorienting.
Motionlapse
A motionlapse combines timelapse recording with controlled gimbal movement.
You can set different positions and allow the camera to gradually move through the scene while time passes.
This can add visual interest to landscapes, sunrises, sunsets, changing light, and behind-the-scenes setups.
I walk you through how to plan the positions, movement, interval, and duration so the final result does not move too quickly or feel distracting.
Based on Real-World Testing, the User Manual and Firmware Updates
I wanted this Osmo Pocket 4 course bundle to be something I would personally feel comfortable recommending to a new camera owner.
That meant I needed to do more than simply use the camera for a few days and repeat the most common settings.
I spent time shooting with the Osmo Pocket 4 in real environments, testing the different features, studying the official user manual, reviewing the actual settings inside the camera, and paying attention to changes introduced through firmware updates.
The official documentation explains how DJI designed the camera to function.
Real-world testing reveals what those features actually feel like when you are filming people, walking, working in difficult light, or trying to record without another person behind the camera.
I believe a useful course needs both.
Throughout Film 101 and Film 202, I explain not only what a setting is supposed to do, but how I use it, where I find it helpful, and where I think you should be careful.
Quizzes Throughout the Entire Course Bundle
Each lesson includes a quiz designed to help reinforce the most important information.
It is easy to watch a lesson, understand it in the moment, and then forget the details a few days later.
The quizzes help you review the important settings, identify anything you may have missed, and retain the information before moving on.
They are not designed to make the course feel like school.
They are there because learning a camera requires more than passively watching videos.
When you are outside filming, you need to remember which setting to change, which gimbal mode to select, or which color profile fits your workflow.
The quizzes help turn the lessons into information you can actually use.
Downloadable PDF Guides for the Field
The bundle also includes downloadable PDF guides that you can keep on your phone, tablet, or computer.
These PDFs summarize the most important settings and techniques so you can quickly look something up while filming.
You should not need to reopen an entire lesson every time you forget an option.
The guides are especially helpful while you are learning exposure, color profiles, gimbal modes, slow motion, and the creative timelapse features.
You can take the PDFs into the field, refer to them as needed, and spend more time recording instead of searching through the camera menus.
Over time, many of these settings will become second nature. Until then, the PDFs act as a practical reference you can bring with you.
Who Is the Osmo Pocket 4 Film 101 and Film 202 Bundle For?
The complete course bundle is designed for anyone who wants to get more from the Osmo Pocket 4.
It is especially useful for:
-
New Osmo Pocket 4 owners
-
Beginner filmmakers
-
YouTube creators
-
Vloggers
-
Travelers
-
Solo content creators
-
Small-business owners
-
Educators
-
Family filmmakers
-
Social media creators
-
Talking-head video creators
-
Anyone who wants to create smoother and more professional-looking video
You do not need previous filmmaking experience.
Film 101 begins with the foundation and explains the terminology as we go. Film 202 builds on that knowledge and introduces the more advanced creative tools.
The bundle is also useful for someone who has already owned the camera for a while but feels like they are only using a small percentage of what it can do.
Why Choose the Complete Bundle Instead of Only One Course?
Film 101 and Film 202 are designed to work together.
Film 101 teaches you how to properly set up the camera and control the technical side of the image.
Film 202 teaches you how to use that foundation to create more intentional movement, tracking, slow motion, photography, and creative shots.
Without the Film 101 foundation, you may understand how to activate tracking or create a motionlapse but still struggle with exposure, white balance, color profiles, or audio.
Without Film 202, you may understand the basic settings but never fully explore the focus system, gimbal modes, intelligent features, or creative tools that make the Osmo Pocket 4 unique.
The bundle gives you the complete process.
You learn how to configure the camera, how to achieve a clean image, and how to use its more advanced tools to create better content.
What You Should Know by the End of the Bundle
By the end of the Osmo Pocket 4 Film 101 and Film 202 Bundle, you should feel confident navigating the camera and choosing settings based on the situation in front of you.
You should understand how to:
-
Properly set up and configure the camera
-
Adjust image and audio settings
-
Control white balance and exposure
-
Film in bright sunlight and low light
-
Choose between Normal, HDR 10-bit, D-Log 10-bit, and D-Log 2
-
Create smoother stabilized footage
-
Select the correct focus and gimbal modes
-
Use subject tracking and intelligent features
-
Build cinematic settings around the scene
-
Use the DJI Mimo app during filming
-
Capture slow motion and photographs
-
Create timelapses, hyperlapses, and motionlapses
Most importantly, you should understand why you are choosing each setting.
That is the difference between memorizing someone else’s setup and truly learning how to use the camera.
The Complete Osmo Pocket 4 Course
The Osmo Pocket 4 is capable of producing excellent video, but the camera can only take you so far if you do not understand its settings and creative tools.
The Film 101 and Film 202 Bundle is designed to give you the complete learning experience.
I have taken what I learned through real-world filming, camera testing, the official user manual, the current menu system, and the latest firmware updates and organized it into a step-by-step course that is practical and easy to follow.
Film 101 gives you the foundation.
Film 202 helps you take that foundation and use it more creatively.
Together, they help you understand the Osmo Pocket 4 from the initial setup all the way through advanced focus, gimbal movement, slow motion, photography, timelapse, hyperlapse, and motionlapse.
With quizzes throughout the entire course and downloadable PDF guides you can take into the field, the bundle is designed to help you comprehend the information, retain it, and apply it while you are actually filming.
My goal is for you to finish the complete course feeling confident with your Osmo Pocket 4 and capable of creating cleaner, smoother, and more intentional footage every time you turn the camera on.
Author