Osmo Pocket 4 Film 202: Advanced Settings, Gimbal Modes, Focus, Slow Motion and Creative Shooting
Aug 03, 2026Osmo Pocket 4 Film 202 Course - https://www.thefilmalliance.com/osmo-pocket-4-film-202-course
Once you understand the basic settings of the Osmo Pocket 4, the next step is learning how to use the camera with more control, creativity, and intention.
That is exactly why I created Osmo Pocket 4 Film 202.
Film 101 focuses on building a strong foundation. It covers the initial setup, buttons, menus, image and audio settings, white balance, bright sunlight, ND filters, low-light filming, color profiles, D-Log, and stabilization.
Film 202 takes everything further.
Instead of only understanding how to set up the Osmo Pocket 4, you will begin learning how to use its focus modes, gimbal movement, intelligent features, cinematic settings, slow motion, photography, and creative recording modes in real-world situations.
I designed this course for creators who want their footage to feel smoother, more intentional, and more visually interesting. It is not about turning on every feature simply because the camera offers it. It is about understanding which tools will actually improve a shot and when they should be used.
While creating Osmo Pocket 4 Film 202, I combined my experience filming with the camera with extensive research from the official Osmo Pocket 4 user manual, the camera’s current menu system, its actual settings, and the latest firmware updates.
That research matters because camera features can change over time. Firmware updates may adjust how a setting works, improve performance, or add new options that were not available when the camera was first released.
My goal was to create an Osmo Pocket 4 course that is practical, easy to understand, and technically accurate.
Why I Created Osmo Pocket 4 Film 202
The Osmo Pocket 4 is capable of creating incredibly smooth and professional-looking footage, but owning the camera does not automatically mean every shot will look cinematic.
The mechanical gimbal can smooth out movement, but you still need to understand how the different gimbal modes behave.
The camera can track a subject, but you need to know which tracking option makes sense for the shot.
It can capture slow motion, timelapses, hyperlapses, photographs, and automated camera movements, but those modes can become confusing when you do not understand what each one is designed to accomplish.
That is where Film 202 comes in.
This course is about moving beyond the basic operation of the camera and beginning to use it as a creative tool.
I want you to understand how to choose the correct focus mode, how to control the gimbal more naturally, how to use automated features without making the footage feel automated, and how to create movement that supports the story you are trying to tell.
The Osmo Pocket 4 is small enough to bring almost anywhere, and Film 202 is designed to help you take advantage of that portability without sacrificing creativity or image quality.
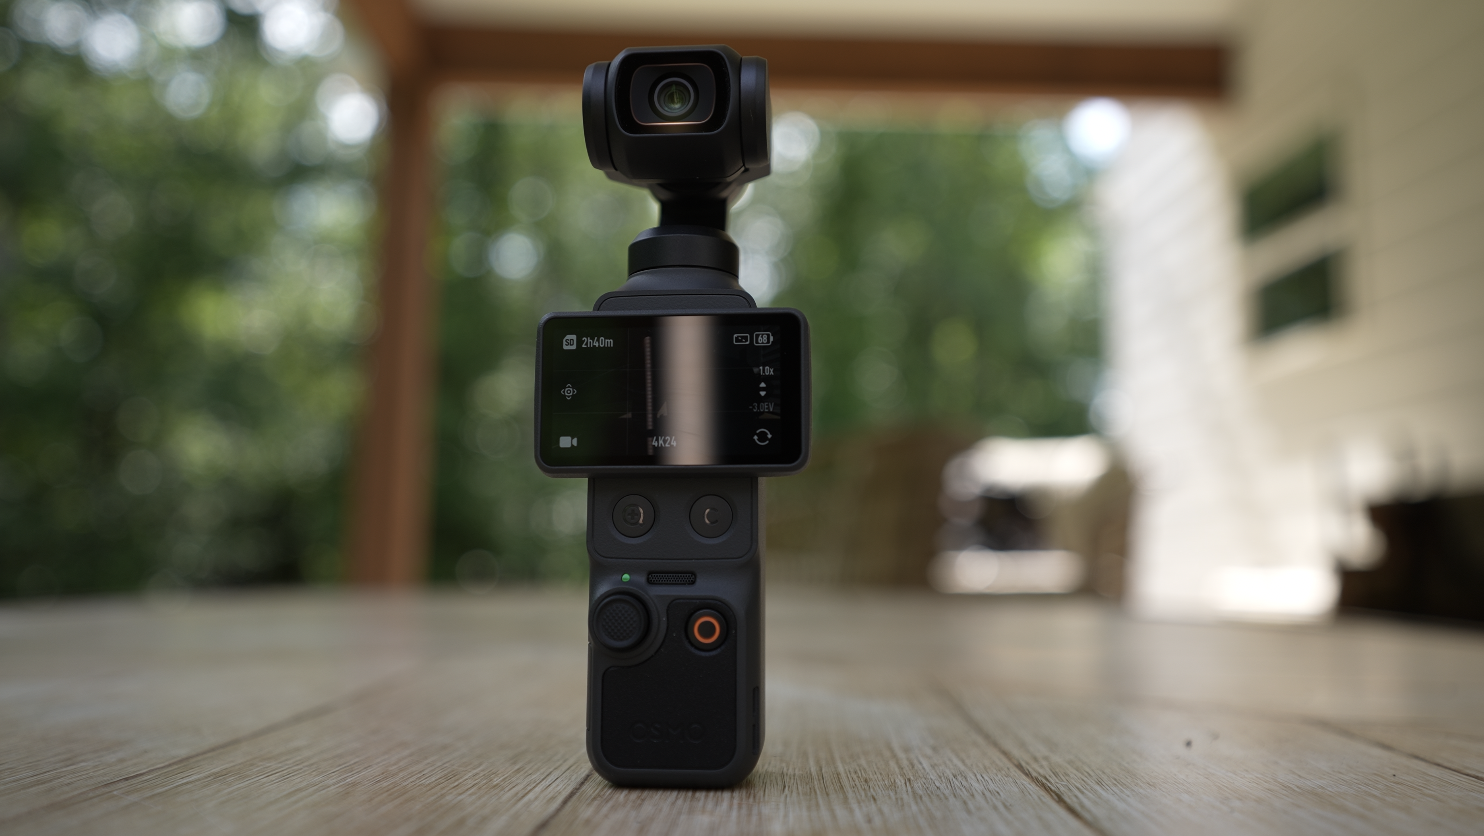
What Is Included in Osmo Pocket 4 Film 202?
The course is divided into focused lessons that gradually build your understanding of the camera’s more advanced features.
We begin with focus and gimbal control before moving into intelligent auto modes, cinematic settings, the DJI Mimo app, slow motion, photography, timelapse, hyperlapse, and motionlapse.
Module 1: Getting Started With Film 202
The first section introduces the purpose of Osmo Pocket 4 Film 202 and explains how this course builds upon the foundational skills taught in Film 101.
Before we begin exploring advanced settings, I explain what you should expect from the course and how the lessons are organized.
The goal is not to overwhelm you with every possible camera function.
Instead, I want to help you understand the features that can make the biggest creative difference in your footage and show you how I would use them while filming in the real world.
Module 2: Osmo Pocket 4 Modes
The second module focuses on three major areas of the camera: focus modes, gimbal modes, and intelligent auto modes.
These features are a major part of what makes the Osmo Pocket 4 different from a traditional handheld camera.
Osmo Pocket 4 Focus Modes
Focus is one of the most important parts of any shot.
You can have great lighting, good composition, and smooth movement, but if your subject is not properly focused, the footage may not be usable.
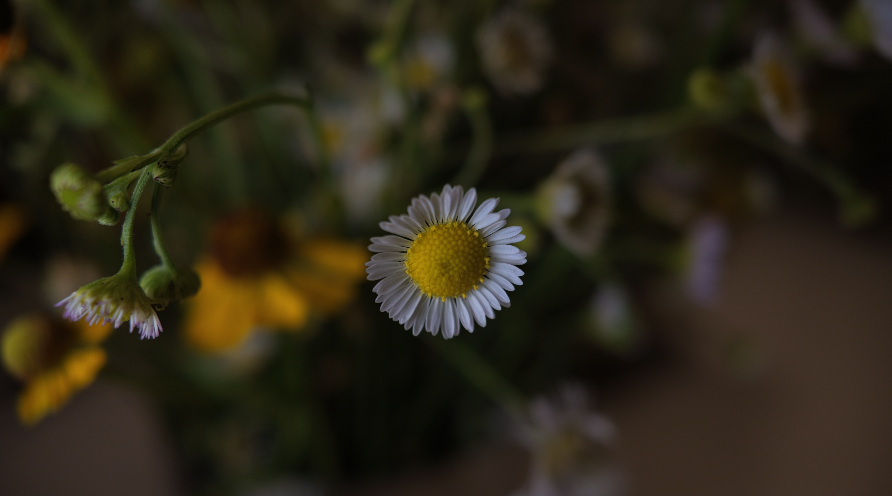
In the focus modes lesson, I break down the focus options available on the Osmo Pocket 4 and explain how they behave in different situations.
We look at how the camera focuses on people, objects, and moving subjects. I also explain how the focus system may respond when the subject changes distance or when something passes between the camera and the person you are filming.
This is especially important when filming talking-head videos, product shots, family videos, travel content, or anything involving a moving subject.
I also discuss the difference between allowing the camera to continuously adjust focus and choosing a more controlled focus approach.
The goal is to help you avoid distracting focus changes and make sure the most important part of the frame remains sharp.
Rather than simply showing you where the focus controls are located, I explain why I would choose one focus method over another based on the type of shot I am creating.
Osmo Pocket 4 Gimbal Modes
The mechanical gimbal is one of the biggest advantages of the Osmo Pocket 4.
It allows the camera to produce smooth footage without requiring a large external stabilizer. However, the way the gimbal moves depends heavily on the mode you select.
In this lesson, I explain the Osmo Pocket 4 gimbal modes and demonstrate how each one changes the camera’s movement.
Some gimbal modes are better for following a subject, while others are better for keeping the horizon stable or creating more controlled camera movement.
Choosing the wrong mode may cause the camera to resist the movement you are trying to create. It may follow too quickly, move too slowly, or hold an axis in place when you expected it to move.
Once you understand the behavior of each mode, it becomes much easier to select the correct option before recording.
I also explain how gimbal speed and responsiveness can affect the feeling of a shot.
Faster movement may work well when following action, but slower movement can make camera pans and reveals feel smoother and more cinematic.
The goal is not just stable footage. The goal is controlled movement that looks intentional.
Intelligent Auto Modes
The Osmo Pocket 4 includes several intelligent features designed to help with tracking, composition, and automated camera movement.
These features can be extremely helpful when you are filming yourself or working without another camera operator.
In the intelligent auto modes lesson, I explain how the major automated features work and where I believe they are most useful.
We look at how the camera can recognize and follow a subject, maintain framing, and assist with shots that would otherwise require another person behind the camera.
These tools can be especially valuable for vloggers, solo creators, educators, small-business owners, and anyone recording themselves.
However, intelligent features are not perfect in every situation.
A tracking system may become confused when the subject moves behind an object, leaves the frame, turns away from the camera, or enters a crowded environment.
That is why I focus on both the strengths and the limitations of these modes.
I want you to know when you can trust the camera and when it may be better to take more manual control.
Module 3: Content Creator Essentials
The third module focuses on the creative tools that can help you produce more polished content.
This includes cinematic settings, the DJI Mimo app, slow motion, photography, timelapse, hyperlapse, and motionlapse.
Cinematic Settings for the Osmo Pocket 4
A cinematic image does not come from one secret camera setting.
It comes from combining multiple decisions, including frame rate, shutter speed, exposure, white balance, lighting, camera movement, composition, focal length, and color.
In the cinematic settings section, I explain how these choices work together and how I personally approach them with the Osmo Pocket 4.
We discuss what people usually mean when they say they want their footage to look cinematic and which parts of that look can realistically be controlled inside the camera.
I also explain why copying another creator’s settings does not always produce the same result.
The settings that work outside in bright sunlight may not work inside a home. A setup designed for a stationary talking-head shot may not be ideal for walking footage. The correct choice depends on the environment, the subject, and the type of movement you are trying to capture.
Lighting is also a major part of this lesson.
The Osmo Pocket 4 can produce excellent image quality, but no camera setting can completely replace good lighting. I explain how the direction, intensity, and quality of light can change the appearance of your footage and why lighting is often more important than buying additional gear.
We also look at camera movement, foreground elements, depth, framing, and other techniques that can make a shot feel more intentional.
The purpose of this section is to give you a repeatable approach rather than one group of settings that you use for every situation.
Using the DJI Mimo App
The DJI Mimo app can be much more than an activation tool.
It can become an important part of your filming workflow, especially when you are recording yourself or need to control the camera from a distance.
In the DJI Mimo app lesson, I explain how to connect the Osmo Pocket 4, monitor the image, adjust settings, control the camera remotely, and manage footage.
Remote monitoring can be extremely useful for talking-head videos, product demonstrations, interviews, and solo content creation.
Instead of recording a full take and then walking back to the camera to check the framing, you can view the composition from your phone and make adjustments before you begin.
I also explain how the app fits into file transfers, firmware updates, and general camera management.
The goal is to show you how the DJI Mimo app can make filming more efficient rather than treating it as something you only open when the camera needs an update.
Shooting Slow Motion With the Osmo Pocket 4
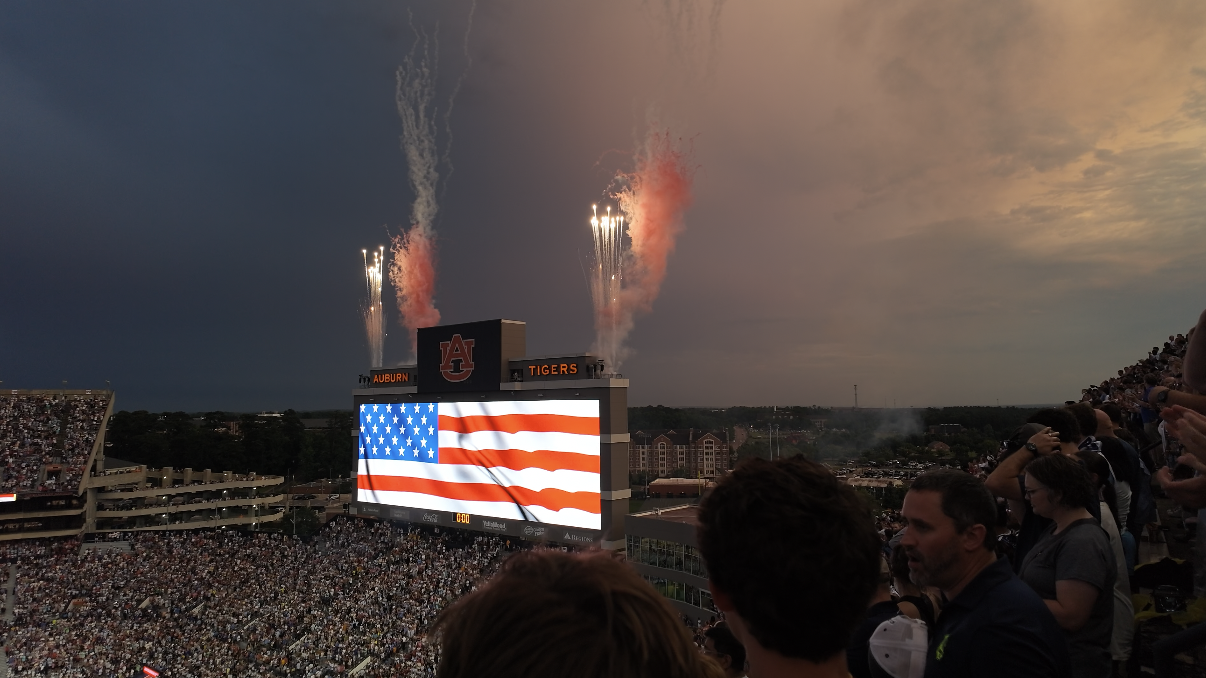
Slow motion can make everyday movement feel more dramatic, detailed, and cinematic.
However, slow motion works best when it is used intentionally.
In this lesson, I explain how frame rate affects slow-motion footage and how to choose a recording speed based on how much you want to slow the clip down.
We also discuss shutter speed, available light, camera movement, and the types of subjects that usually look best in slow motion.
Higher frame rates generally require more light. If you try to capture extreme slow motion in a dark environment, the camera may need to raise the ISO or make other compromises that affect image quality.
That is why I explain both the creative and technical sides of shooting slow motion.
I also cover situations where slow motion may improve the video, including movement, sports, water, hair, clothing, product shots, establishing shots, and small details that may happen too quickly at normal speed.
Slow motion should support the moment rather than becoming something added to every clip. Film 202 helps you understand when it adds value and when normal-speed footage may be the better choice.
Osmo Pocket 4 Photography
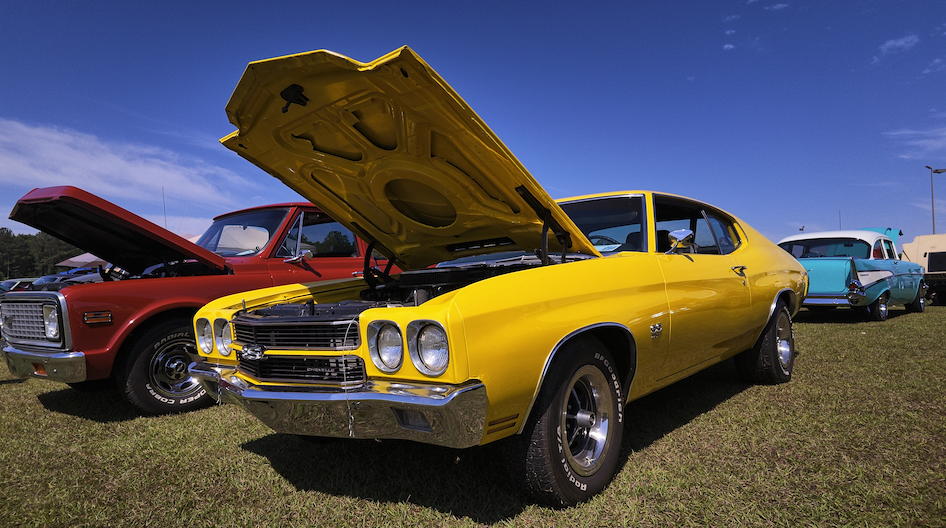
Although the Osmo Pocket 4 is best known as a video camera, it can also be used to capture photographs.
The photography lesson explains the camera’s available photo controls and how taking a still image differs from recording video.
We look at exposure, composition, focus, image format, and the advantages and limitations of using a small gimbal camera for photography.
The stabilized design can be helpful when framing a shot, and the camera’s portability means it may already be in your pocket when a photo opportunity appears.
I also explain how I approach composition with the Osmo Pocket 4 and how to avoid relying entirely on the center of the frame.
Even when your main goal is video, learning the photography features can help you create thumbnails, social media images, behind-the-scenes photos, travel photographs, and additional content without carrying another camera.
Timelapse, Hyperlapse and Motionlapse
Timelapse, hyperlapse, and motionlapse can compress a long period of time into a short, visually interesting clip.
Although these modes are related, they do not create the same result.
In this lesson, I explain the differences between each one and show you how to decide which mode fits the scene you are filming.
Timelapse
A timelapse is useful when the camera remains mostly stationary while the scene changes over time.
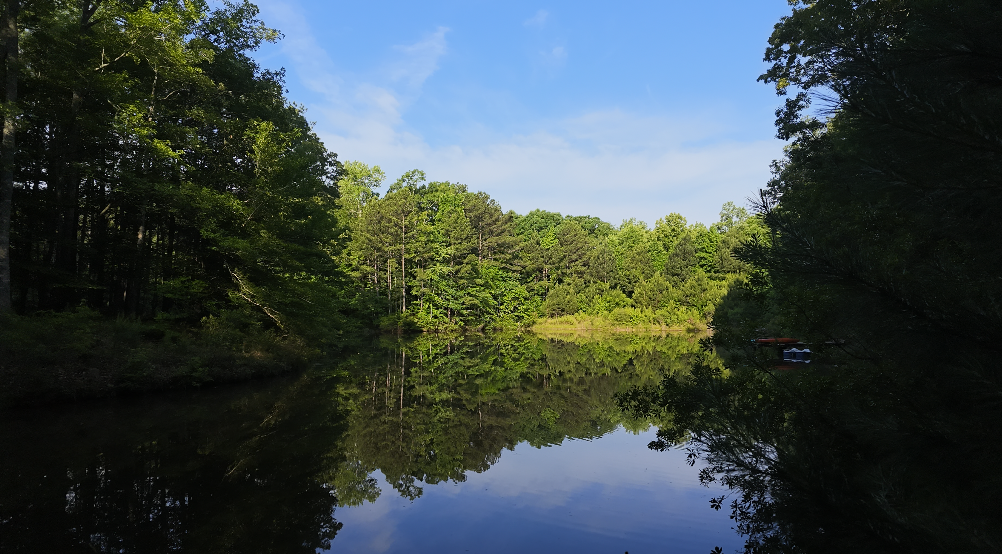
This can work well for clouds, sunsets, traffic, crowds, construction, weather, or behind-the-scenes footage of a longer process.
I explain how the interval and recording duration affect the finished clip and how to estimate how much footage you will create.
Hyperlapse
A hyperlapse combines the passage of time with movement through a scene.
This can be useful while walking, traveling, moving through a city, or showing the transition from one location to another.
Because the camera is moving, stabilization, composition, and your walking path become extremely important.
I explain how to plan the movement so the final hyperlapse feels smooth rather than random or disorienting.
Motionlapse
A motionlapse allows the camera to create controlled gimbal movement while recording a timelapse.
This can add more visual interest than a completely stationary shot because the frame gradually moves between selected positions.
Motionlapse can work especially well for landscapes, sunrises, sunsets, changing light, behind-the-scenes setups, and scenes where you want to reveal more of the environment over time.
In Film 202, I walk you through how to plan the starting and ending positions, choose the timing, and avoid movement that feels too fast or distracting.
These creative modes can initially appear complicated, but once you understand the relationship between the interval, duration, movement, and final playback speed, they become much easier to use.
Based on Real-World Testing and Official DJI Information
I did not want Osmo Pocket 4 Film 202 to be a collection of random tips.
The course is based on real filming experience, careful testing, and research using the official Osmo Pocket 4 user manual, the camera’s current settings, and the latest firmware information.
The official manual helps establish how DJI designed the features to work. Real-world experience helps reveal how those tools behave when filming people, movement, changing light, and unpredictable environments.
I believe both are necessary.
A camera feature can sound great when reading its description, but that does not always tell you how reliable it will be during an actual shoot.
Throughout the course, I explain not only what each feature is supposed to do, but also where I find it most useful and where I would be cautious about relying on it.
Quizzes After Every Lesson
Each lesson in Osmo Pocket 4 Film 202 includes a quiz designed to help reinforce the information you just learned.
The quizzes cover the most important ideas from the lesson, including when to use a mode, how a setting behaves, and which option may be appropriate for a specific filming situation.
The purpose is not to make the course feel like a test.
It is to help you retain the information.
It is easy to watch a lesson about gimbal modes and feel like everything makes sense. A week later, when you are standing outside trying to record a moving subject, you may not remember which mode gives you the movement you want.
The quizzes help you review those decisions while the information is still fresh.
They also make it easier to identify sections you may want to revisit before moving forward.
Downloadable PDF Field Guides
Osmo Pocket 4 Film 202 also includes downloadable PDF guides that summarize the most useful information from the course.
These guides are designed to be taken with you while filming.
You can save them to your phone or tablet and quickly reference a setting without reopening an entire video lesson.
This is especially helpful for creative modes such as slow motion, timelapse, hyperlapse, and motionlapse, where you may need to remember several settings at once.
The PDFs give you a practical reference while you are still learning the camera.
Over time, the process will become easier and many of the settings will become second nature. Until then, having a field guide available can help you spend less time searching through menus and more time filming.
Who Is Osmo Pocket 4 Film 202 For?
Osmo Pocket 4 Film 202 is designed for creators who already understand the basic operation of the camera and are ready to explore its more advanced and creative capabilities.
It is a good fit for:
-
YouTube creators
-
Vloggers
-
Travelers
-
Solo filmmakers
-
Small-business owners
-
Social media creators
-
Educators
-
Family filmmakers
-
Content creators who film talking-head videos
-
Anyone who wants smoother and more intentional footage
You do not need to be a professional filmmaker.
I explain the features in a practical way and connect them to real shooting situations.
Film 202 is especially useful if you understand how to record a basic video but still feel unsure about focus, tracking, gimbal movement, slow motion, or the camera’s creative modes.
What You Will Learn in Osmo Pocket 4 Film 202
By the end of the course, you should have a much clearer understanding of how to use the Osmo Pocket 4 creatively.
You should understand how to choose an appropriate focus mode, select a gimbal mode based on the movement you want, and use intelligent features when filming yourself or tracking another subject.
You will also learn how I approach cinematic settings, how to use the DJI Mimo app as part of a real filming workflow, and how to plan slow-motion footage before pressing record.
You should feel more confident capturing photographs and creating timelapses, hyperlapses, and motionlapses without guessing your way through the process.
Most importantly, you should understand why you are choosing each mode.
That understanding allows you to adapt when the lighting, location, subject, or creative goal changes.
Take Your Osmo Pocket 4 Skills Beyond the Basics
Osmo Pocket 4 Film 202 is about turning technical knowledge into creative control.
Once you understand the basic camera settings, you can begin focusing more on movement, composition, timing, subject tracking, and visual storytelling.
The Osmo Pocket 4 gives you access to tools that would normally require a larger camera setup, a separate gimbal, or another person operating the camera. Film 202 shows you how to use those tools effectively without making the process unnecessarily complicated.
I created this course using a combination of extensive manual research, firmware research, real-world shooting, and practical camera testing.
With detailed lessons, quizzes after every lesson, and downloadable PDF field guides, Osmo Pocket 4 Film 202 is designed to help you understand the information, retain it, and apply it while you are actually out filming.
My goal is for you to finish the course feeling more comfortable using the Osmo Pocket 4 as a creative camera, not just a device you turn on and point at a subject.
The better you understand its focus system, gimbal behavior, intelligent features, and creative recording modes, the easier it becomes to produce footage that feels smooth, deliberate, and professional.
Author