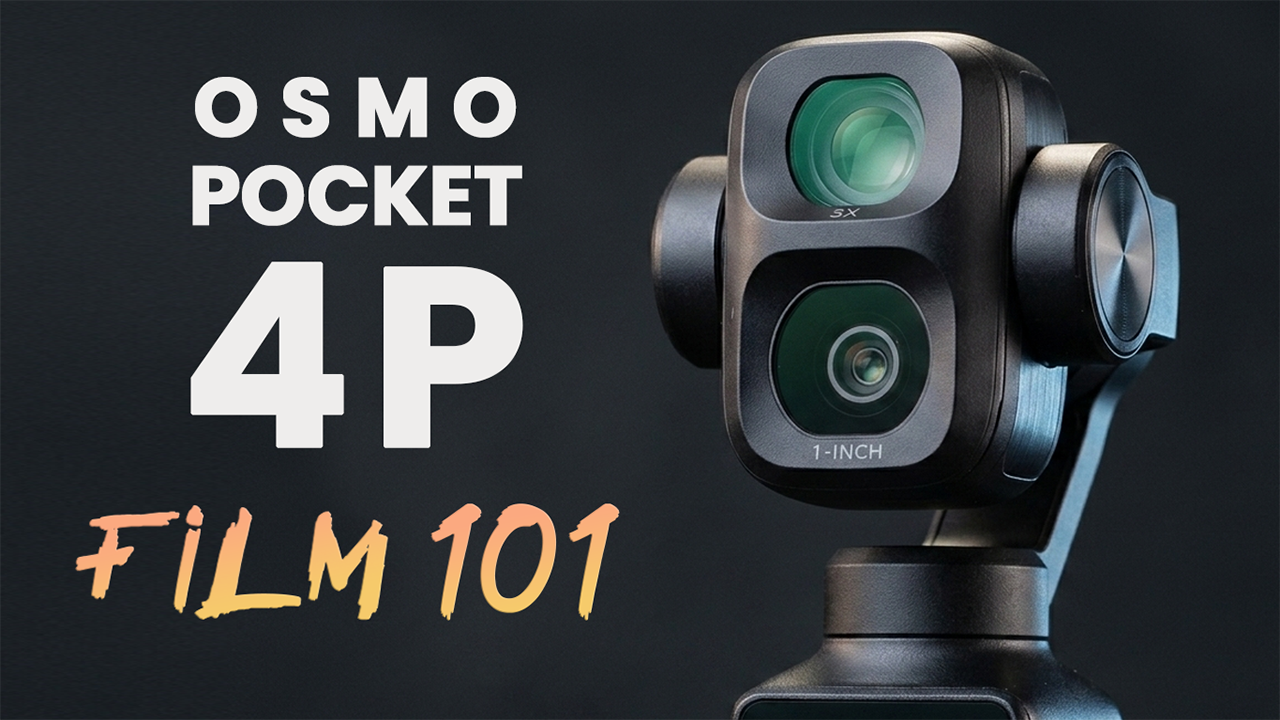
Osmo Pocket 4P Film 101 Course: Learn Every Setting and Start Shooting Better Video
Aug 05, 2026Osmo Pocket 4P Film 202 Bundle Course - https://www.thefilmalliance.com/osmo-pocket-4p-film-101-course
The DJI Osmo Pocket 4P may look like a simple little camera, but once you start digging into the menus, shooting modes, color profiles, audio settings, gimbal controls, and two-camera system, you quickly realize there is a lot going on inside this thing.
That is exactly why I created the Osmo Pocket 4P Film 101 Course.
My goal with this course is not to quickly run through a list of features and leave you to figure everything else out on your own. I want to help you understand how the Osmo Pocket 4P actually works, why certain settings matter, and how to use those settings in real-world shooting situations.
I have spent extensive time filming with the Osmo Pocket 4P in bright daylight, difficult backlighting, indoor environments, low-light situations, talking-head setups, cinematic B-roll, family videos, product shots, and everyday handheld shooting. Along with that real-world experience, I built this course around DJI’s official Osmo Pocket 4P User Manual, Quick Start Guide, official specifications, and the latest firmware release notes.
That combination is important because this camera has already evolved through firmware updates. For example, DJI added HDR 10-bit color mode and Auto Media Transfer for supported iPhones after the original manual was published. The course clearly separates features that were available at launch from features that were added or changed later through firmware.
This is not just a menu walkthrough. It is a complete beginner-friendly guide designed to help you confidently set up the camera, understand its controls, choose the right shooting mode, properly expose your footage, record cleaner audio, work with the four color profiles, and get smoother, more professional-looking video.
 Who Is the Osmo Pocket 4P Film 101 Course For?
I created this course for anyone who owns an Osmo Pocket 4P and wants to do more than simply turn it on and press record. Whether you’re brand new to video, creating YouTube content, filming travel videos, running a small business, capturing family memories, or you’re an experienced filmmaker looking for a smaller everyday camera, this course will help you get more out of the Pocket 4P. It’s also a great fit for vloggers and solo creators who regularly film themselves.
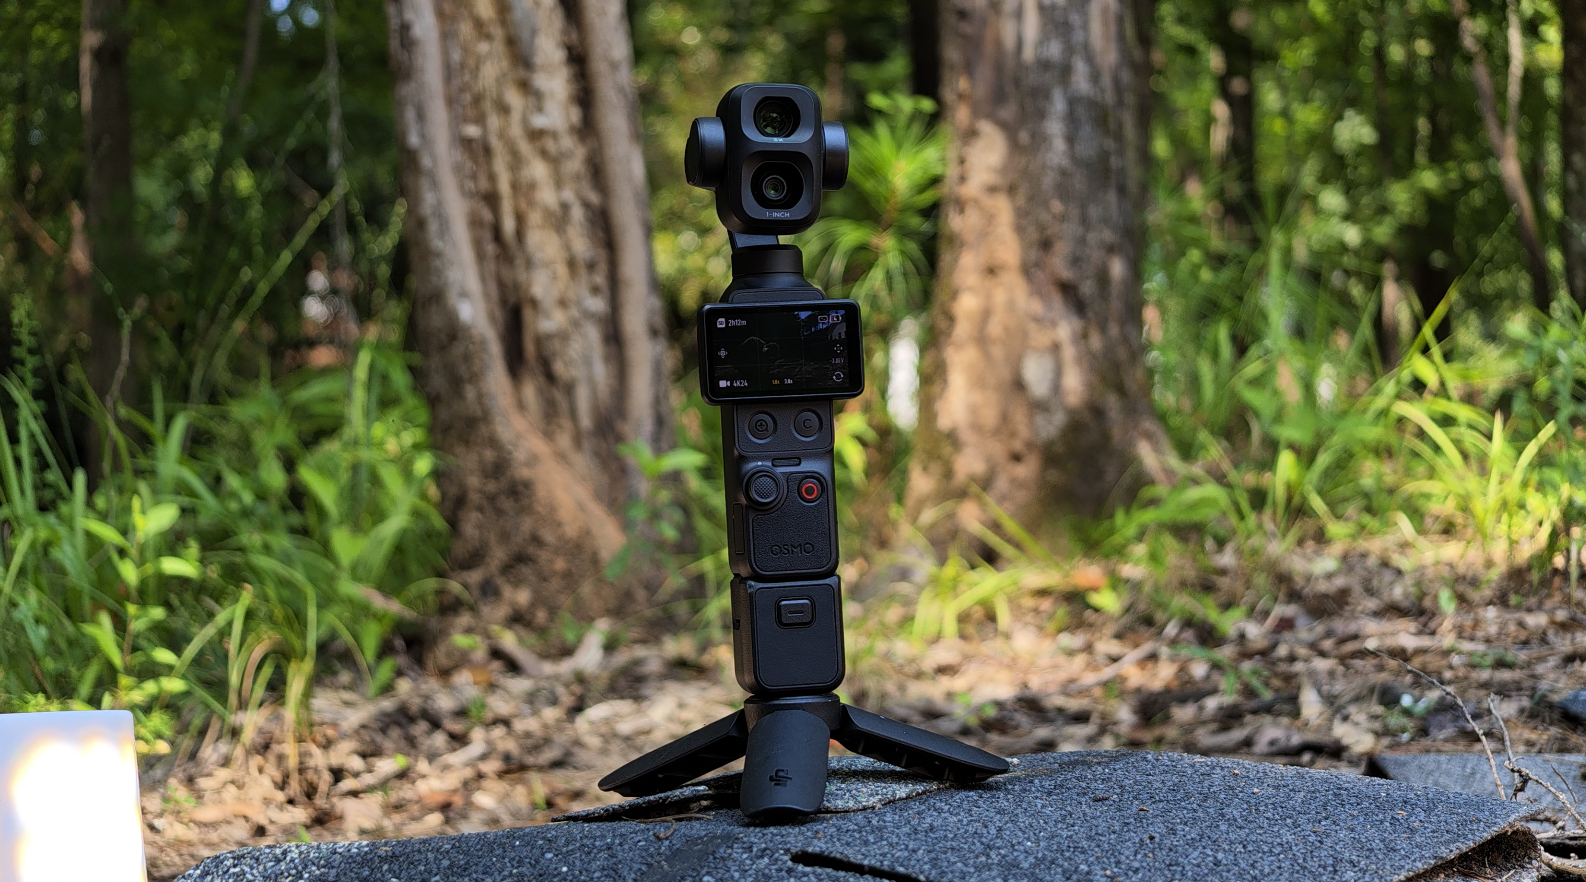
The Pocket 4P is compact enough to carry almost anywhere, but it still provides manual exposure controls, multiple color profiles, 10-bit recording options, a three-axis mechanical gimbal, wireless microphone support, subject tracking, and separate 1× and 3× cameras.
The wide-angle camera uses a 1-inch sensor with a 20mm-equivalent lens, while the medium-telephoto camera uses a 1/1.28-inch sensor with a 60mm-equivalent lens. That gives you two very different creative looks from one pocket-sized camera.
The 1× camera is excellent for vlogging, establishing shots, landscapes, interiors, handheld movement, and filming yourself at arm’s length. The 3× camera is one of my favorite additions because it gives you stronger background compression and more natural-looking proportions for talking heads, portraits, products, and detail shots.
However, the two cameras do not perform identically. They use different sensor sizes, support different shooting options in certain modes, and may require different decisions when it comes to exposure, low light, and color grading. We cover those differences throughout the course so you understand when to use each camera instead of just switching between them randomly.
What Makes This Osmo Pocket 4P Course Different?
There are plenty of videos online that show you where the settings are located. That can be helpful, but knowing where a setting is located is not the same thing as knowing when to use it.
Throughout the course, I explain both the setting and the practical reason behind it.
For example, I do not just show you how to change white balance. I explain why automatic white balance can shift during a shot, how to choose a manual Kelvin value, and how locking your white balance can make your footage easier to edit.
I do not just show you where the ISO control is. I explain what increasing ISO does to the image, why the 1× and 3× cameras behave differently in low light, and how to balance brightness against unwanted noise and processing.
I also do not treat every feature as something you must use. Some settings are incredibly useful for specific situations but unnecessary for others. My goal is to help you build a dependable setup that makes filming easier, not overwhelm you with options you may never need.
Introduction to the Osmo Pocket 4P
The first module gives you a complete foundation for using the camera. Before we jump into cinematic shooting techniques, we need to make sure you understand the hardware, buttons, menus, shooting modes, audio controls, and system settings.
We begin by laying out exactly how the course works and what you should be able to do by the end.
The main goal is to help you operate the Osmo Pocket 4P without constantly stopping to search through menus or wondering whether you selected the correct setting.
By the end of Film 101, you should understand how to:
- Set up and activate the camera
- Navigate the touchscreen and Control Center
- Customize the physical controls
- Choose the correct video mode
- Adjust resolution and frame rate
- Configure image and audio settings
- Set white balance
- Control exposure in bright sunlight with ND filters
- Select the correct color profile
- Use the gimbal more intentionally
This foundation prepares you for more advanced filmmaking techniques later in the Film 202 course.
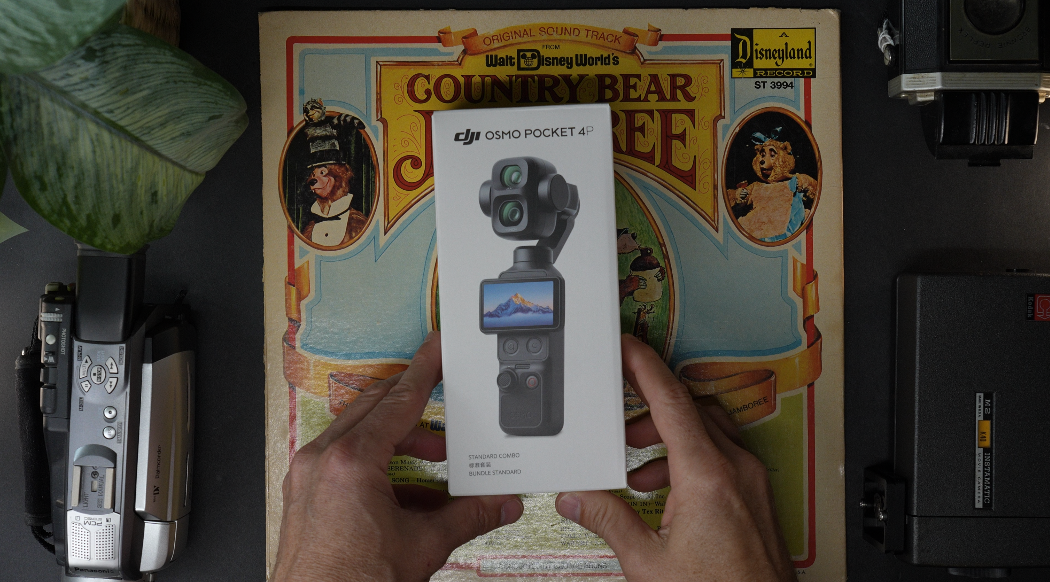
DJI offers several combinations, and the included accessories can vary. Depending on the bundle, you may receive items such as the handle with a 1/4-inch thread, fill light, mini tripod, battery handle, wide-angle lens, DJI microphone transmitter, or Osmo FrameTap remote controller. The official manual includes a complete chart showing which accessories are included with each package.
I show you how the detachable handle connects, how to release it correctly, how the tripod attaches, and how to safely install and remove accessories without placing unnecessary pressure on the gimbal.
We also cover the camera’s built-in storage and microSD card slot. The Pocket 4P includes approximately 103GB of internal storage, which is extremely convenient when you need to start filming quickly or forget to bring a memory card. Storage can also be expanded with a microSD card.
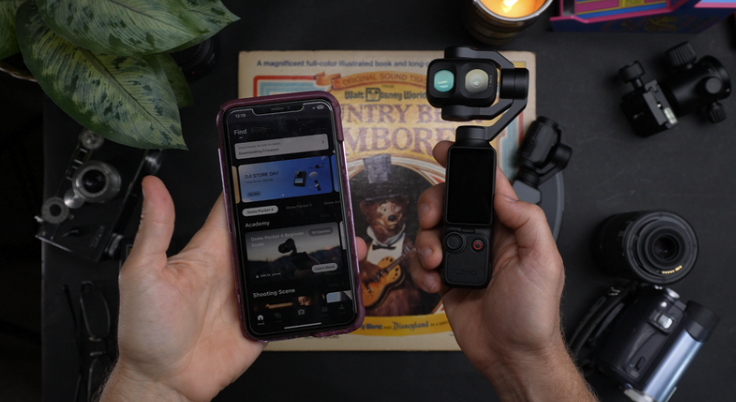
Before using the Osmo Pocket 4P for the first time, it must be activated through the DJI Mimo app.
I walk you through downloading the app, enabling Wi-Fi and Bluetooth, connecting the camera, and completing the activation process. DJI states that the Mimo app can also be used to monitor the camera, adjust camera parameters, control the gimbal, and manage firmware updates.
We also discuss why firmware updates matter.
The original manual documents how the camera operated when that version was released, but DJI has continued adding features and making changes. Firmware updates have added features such as HDR 10-bit recording, Auto Media Transfer on compatible iPhones, automatic fill-light adjustments, Frame Tracking, Multi-Person Tracking, and additional press-and-hold control options.
Throughout the course, I point out when a feature requires newer firmware so you are not confused when your camera behaves differently from an older tutorial.
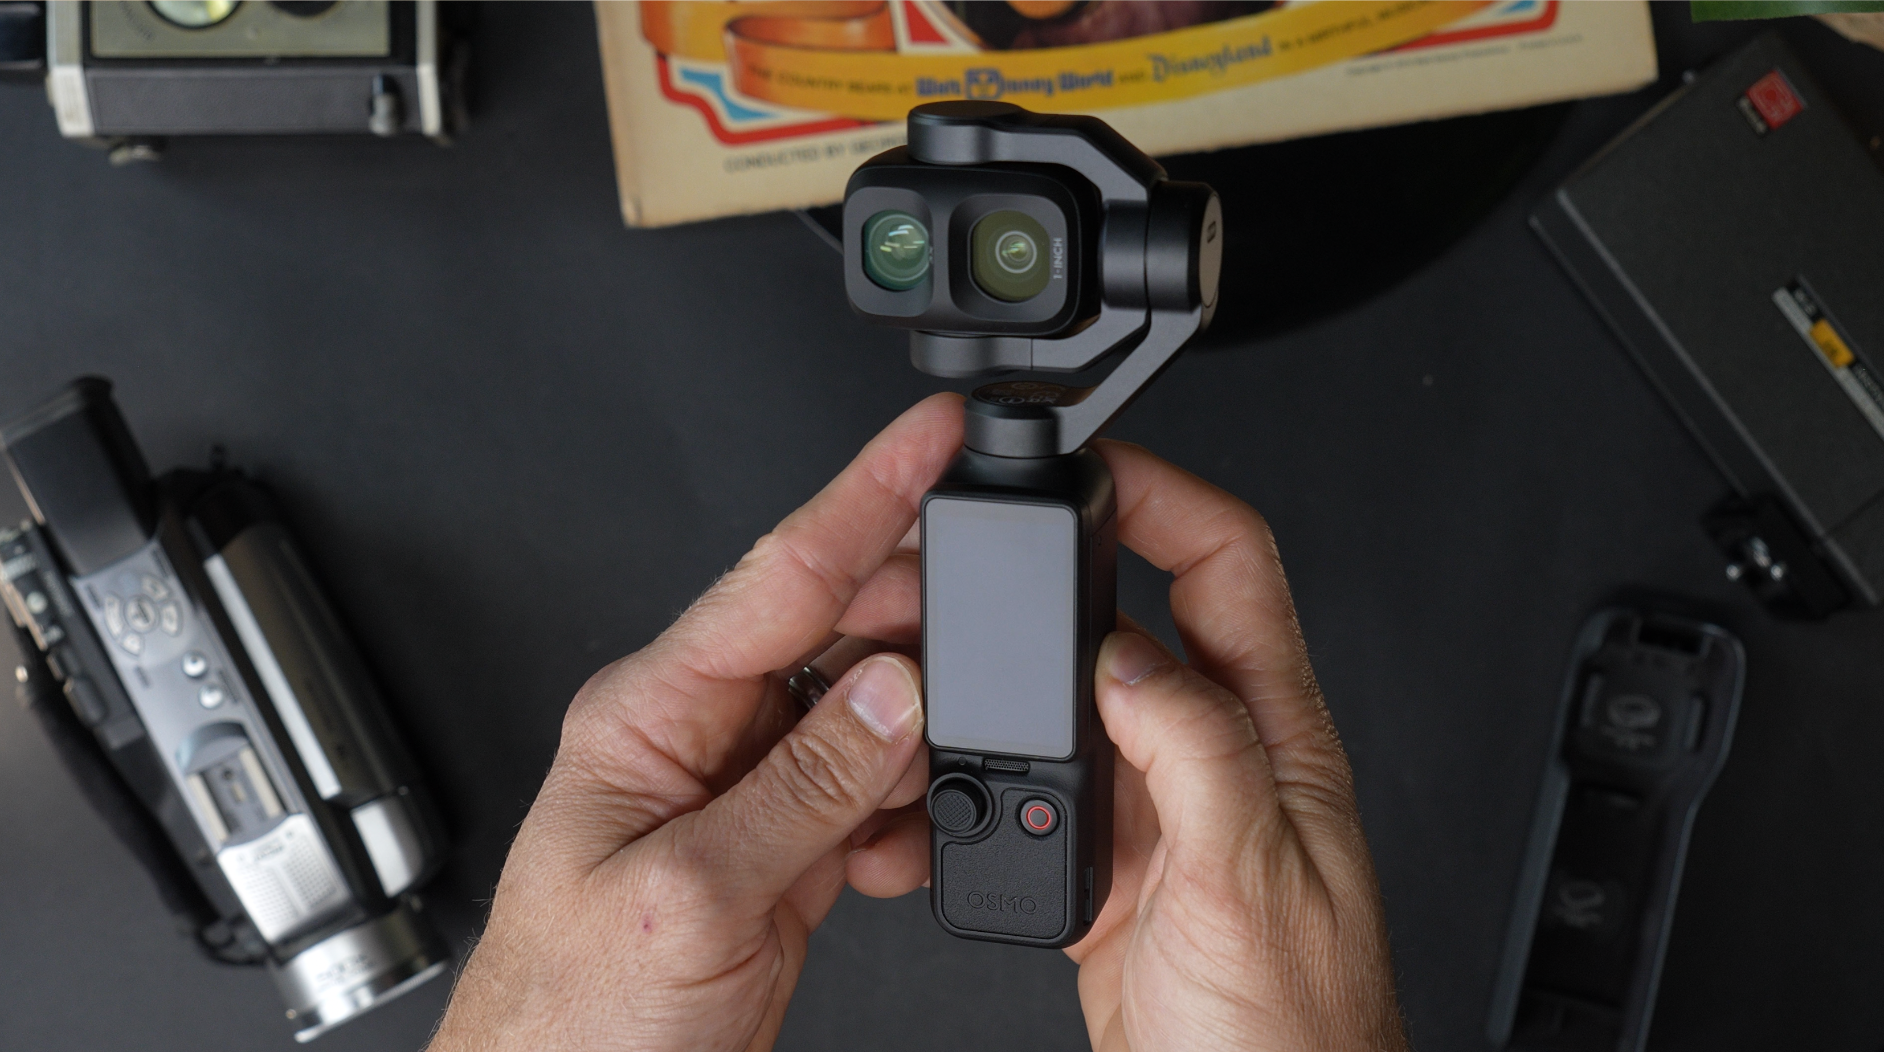
The Pocket 4P has more physical control than earlier Pocket cameras, and understanding those controls can dramatically speed up your workflow.
We cover the:
- Shutter and record button
- Zoom button
- Custom button
- Five-direction joystick
- Rotating touchscreen
- Status light
- Touchscreen gestures
The dedicated zoom button can quickly switch between focal lengths. According to DJI’s manual, pressing it once moves to 3×, pressing it twice moves to 6×, and holding it provides continuous zoom. Pressing the button again can return you to 1×.
We also go through every joystick command, including recentering the gimbal, turning the camera around, exiting tracking, controlling tilt, controlling zoom, and locking either the gimbal or the camera’s direction.
The custom button can be configured for different operations. I explain how I prefer to set mine up and why your ideal setup may change depending on whether you are vlogging, shooting B-roll, recording a talking head, or working from a tripod.
The Control Center is where you’ll find many of the Osmo Pocket 4P’s most important controls and system settings. In this lesson, we’ll go through each option one at a time, including screen brightness, wireless connections, input lock, screen rotation, auto power off, custom-button assignments, joystick behavior, gimbal and camera-direction locking, audio connections, storage, firmware information, Auto Media Transfer, and fill-light controls, so you understand exactly what everything does.
This is also where we discuss the difference between features documented in the original user manual and those added by later firmware.
For example, Auto Media Transfer was added through the July 2026 firmware update. With a supported iPhone and compatible software version, newly recorded files can automatically transfer after the camera powers off.
 The Osmo Pocket 4P also gives you several different shooting modes, with each one designed for a specific type of shot. In this lesson, we’ll walk through Normal Video, Slow Motion, Low-Light Video, Photo, Panorama, Timelapse, Motionlapse, and Hyperlapse so you understand when to use each mode and what it’s best suited for.
Normal video supports resolutions up to 4K at 60 frames per second. The wide-angle camera can shoot 4K slow motion at up to 240 frames per second.
However, higher frame rates come with compromises. Certain color profiles, zoom options, and advanced functions may become unavailable depending on the shooting mode. We cover those limitations so you do not discover them after an important shoot.
I also explain the practical difference between recording at 24, 30, 60, 120, 200, and 240 frames per second, including how frame rate affects motion, playback speed, shutter speed, exposure, and low-light performance.
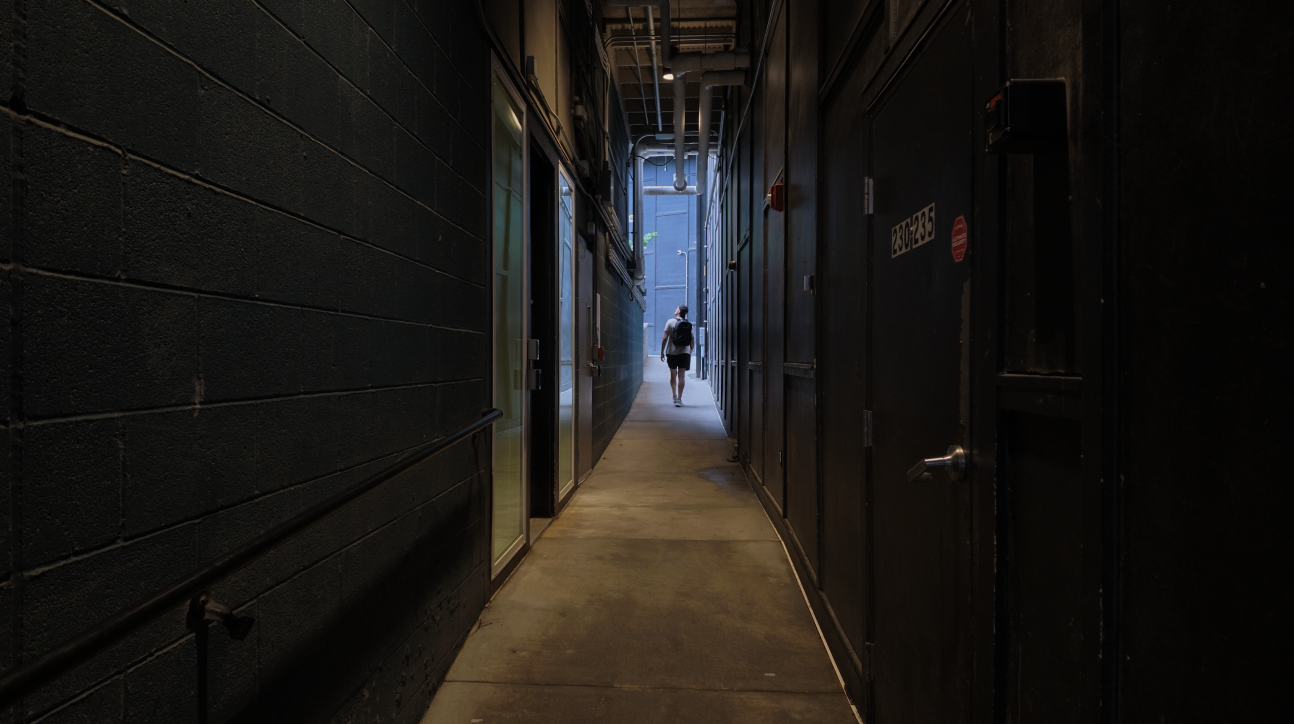
The Pocket 4P has three built-in microphones and supports direct wireless connections with compatible DJI microphone transmitters without requiring a separate receiver.
I show you how to choose the correct audio option and avoid some of the most common mistakes, including recording levels that are too low, clipping caused by levels that are too high, blocked microphones, and relying too heavily on automatic processing.
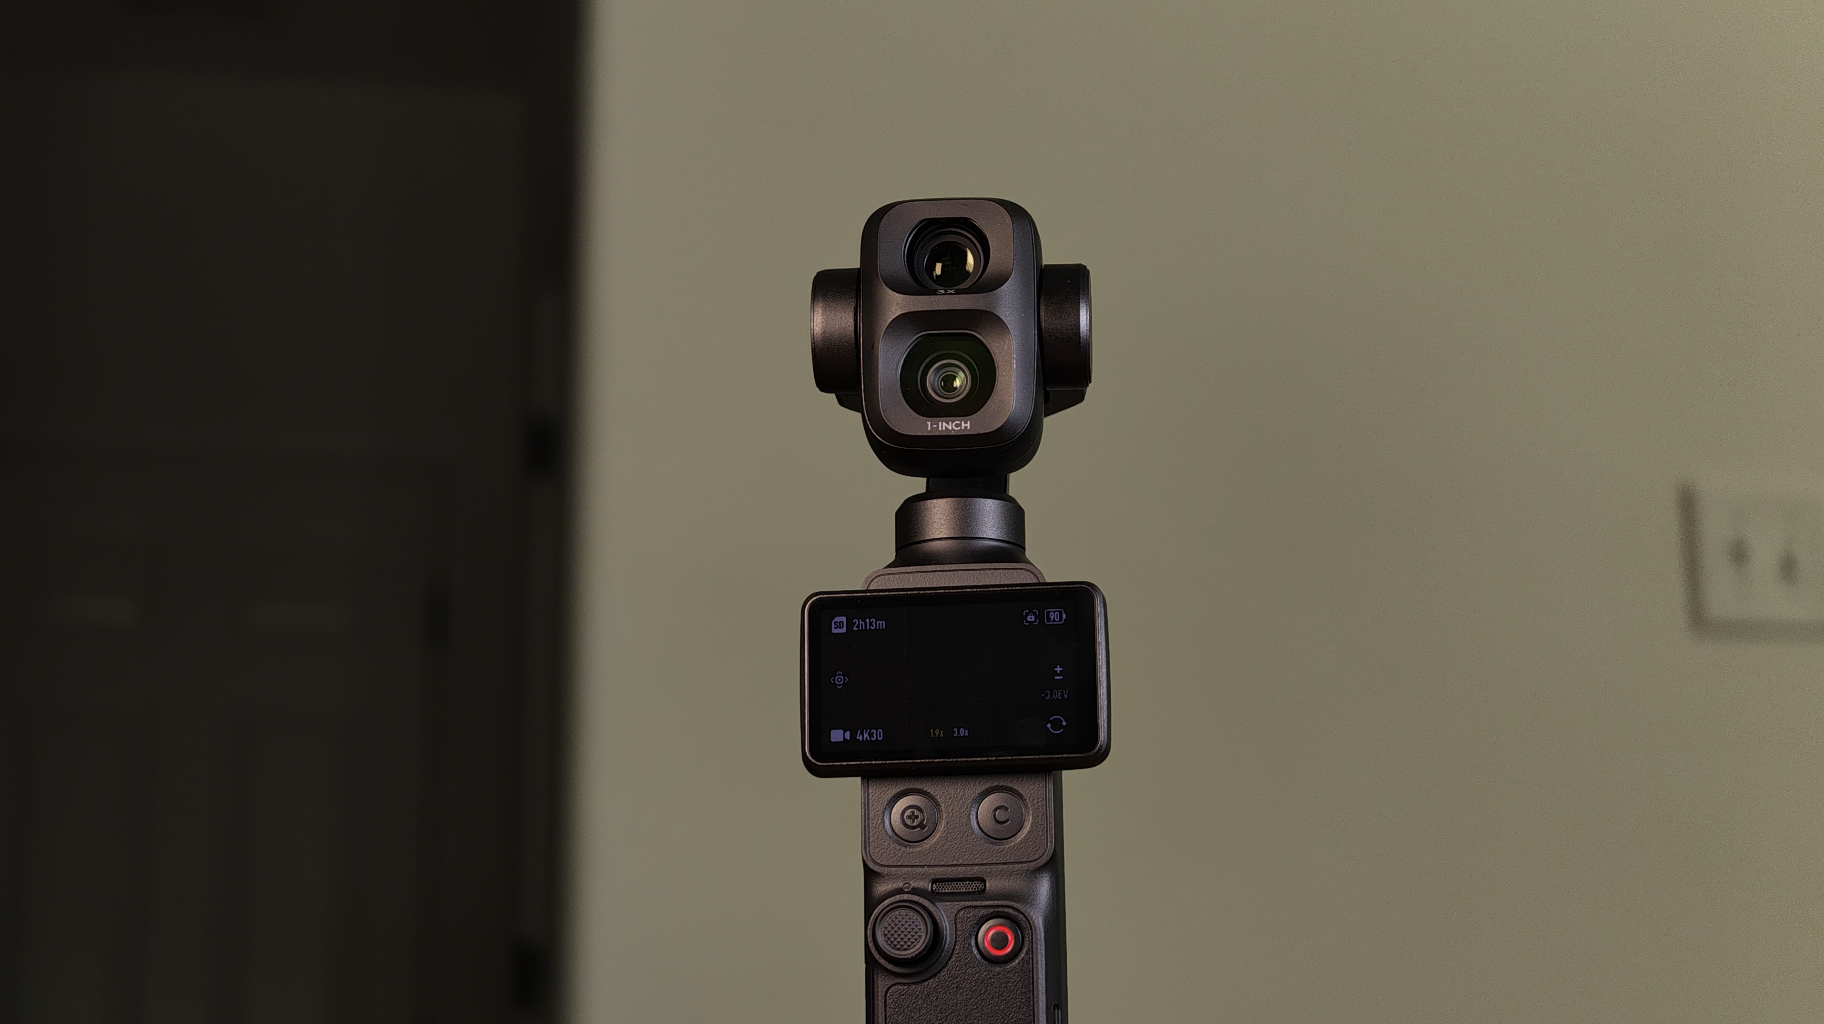
The Deep Settings goes into the controls that many owners overlook.
These settings may not be the first things you change, but they can make the camera much more enjoyable and predictable to use.
We cover options affecting:
- Tracking behavior
- Gimbal response
- Joystick speed
- Zoom control
- Screen operation
- Button customization
- Audio processing
- File management
- Power behavior
- Wireless connectivity
- Accessory behavior
This lesson is designed to help you build a personalized configuration rather than copying someone else’s settings without understanding them.
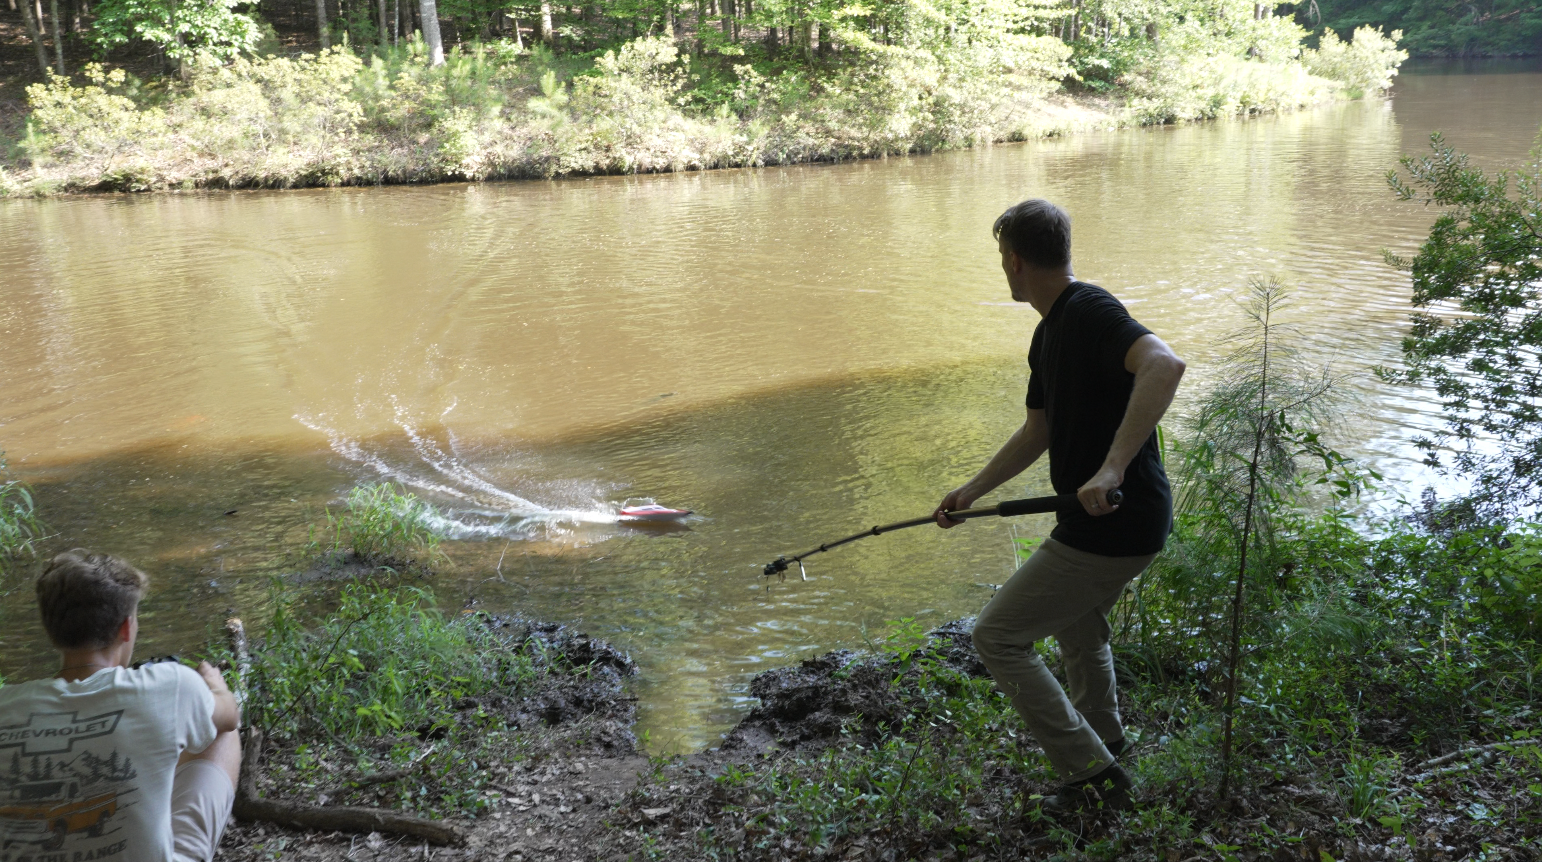
Once the camera is set up correctly, we move into the techniques that have the greatest impact on image quality.
This module covers white balance, bright sunlight, ND filters, low-light shooting, the Pocket 4P’s four color profiles, and gimbal stabilization.
White balance controls how the camera interprets color temperature.
When it is incorrect, skin tones can look overly orange, indoor footage can appear yellow, or outdoor shadows can become too blue. Automatic white balance can work well, but it can also change during a shot when the lighting or composition shifts.
I explain how to use automatic white balance, when to lock it, and how to set a manual Kelvin value.
We also look at how different lighting conditions can affect your footage, including daylight, shade, cloudy weather, golden hour, household lighting, LED lighting, and mixed lighting. This helps you understand how to adjust your settings and keep your colors looking natural in real-world situations.The goal is not to memorize one perfect number. It is to understand what the number changes and how to make a consistent decision based on the environment.
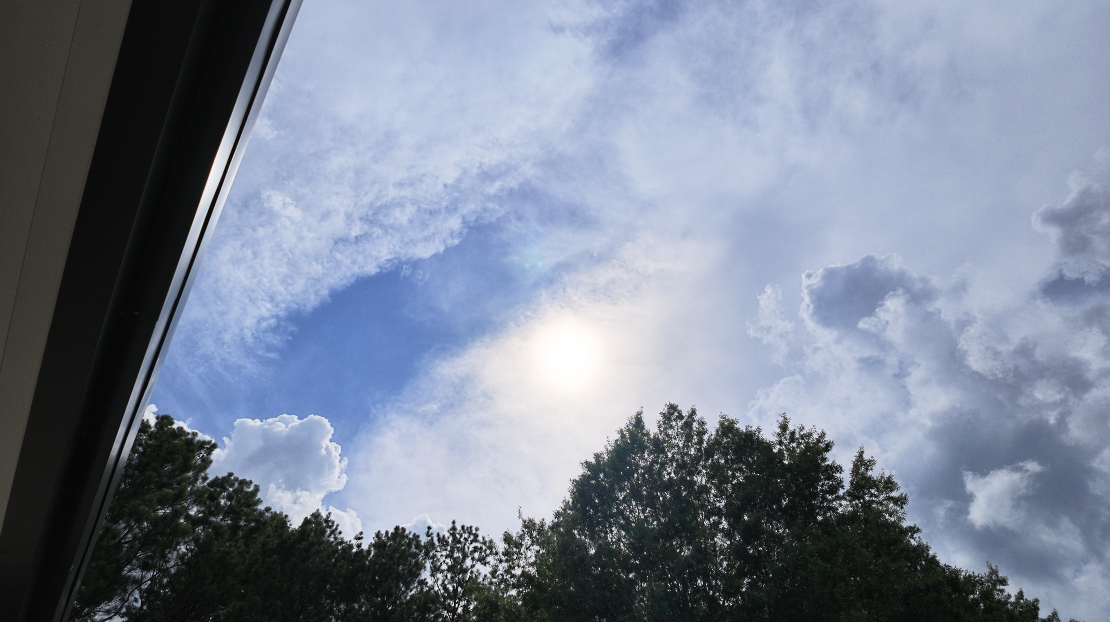
Bright sunlight can be surprisingly difficult to manage with the Osmo Pocket 4P because both lenses have fixed apertures.
The wide-angle camera uses an f/2.0 aperture, while the medium-telephoto camera uses an f/1.8 aperture.
Because you cannot physically close the aperture, the camera must control brightness through shutter speed, ISO, or an ND filter.
In this lesson, I explain how ND filters work and why they are essentially sunglasses for your camera. We discuss how to choose between common strengths such as ND8, ND16, ND32, and ND64 based on the lighting conditions.
We also cover the relationship between frame rate and shutter speed. Following the traditional 180-degree shutter guideline can help movement look natural, but it often requires an ND filter when shooting outdoors.
I also explain when it is completely acceptable to allow the camera to use a faster shutter speed. The goal is to make informed decisions, not blindly follow a rule when it makes filming unnecessarily difficult.
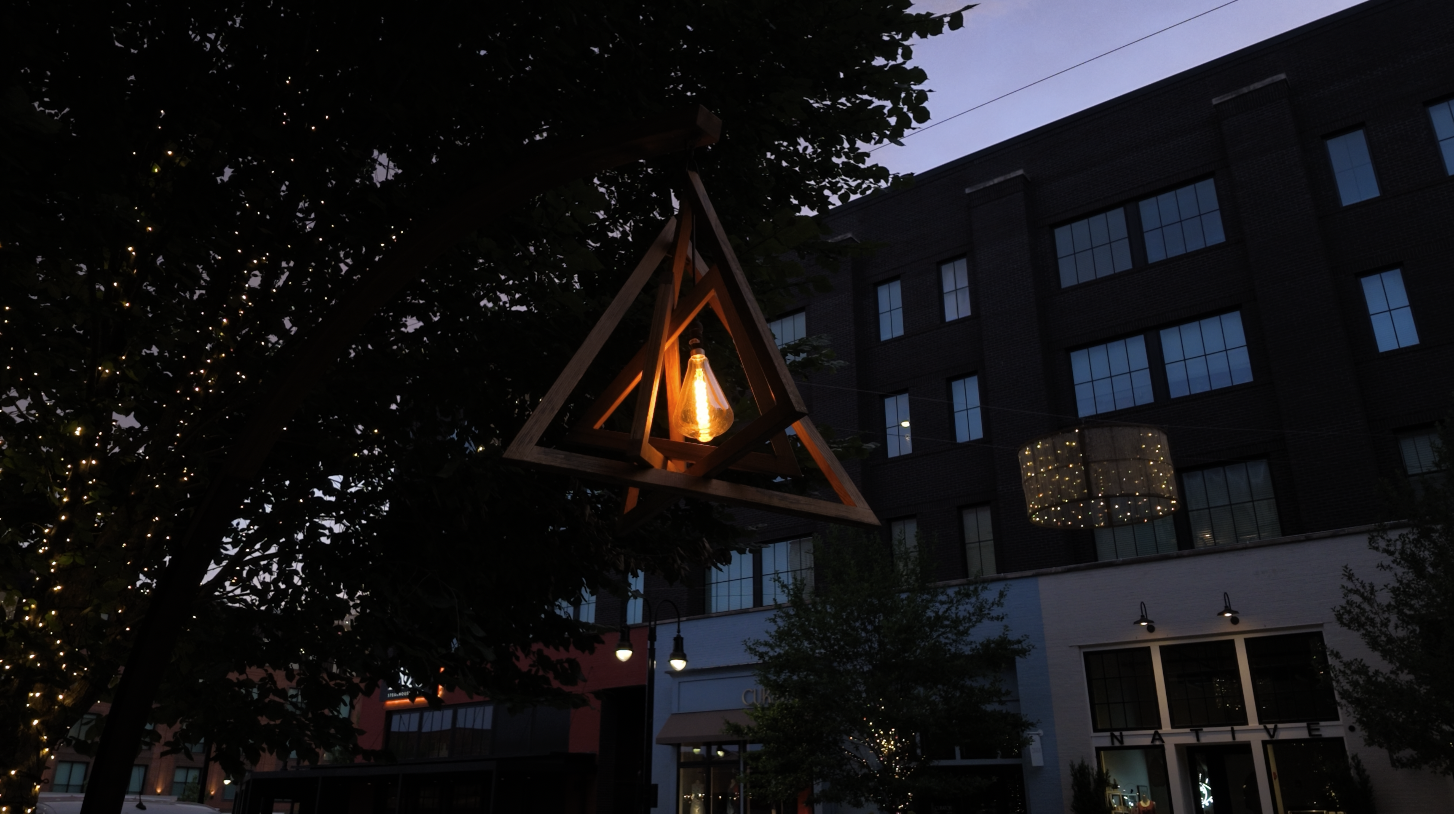
The Osmo Pocket 4P performs surprisingly well in low light for such a small camera, especially when you’re using the 1× wide-angle camera. However, the final image quality still depends heavily on the settings you choose, and the 1× and 3× cameras don’t perform exactly the same because they use different sensor sizes and have different maximum ISO ranges. In this lesson, we’ll compare Normal Video with Low-Light Video mode, automatic and manual exposure, ISO limits, shutter speed, motion blur, noise reduction, sharpness, finding usable light, exposing faces, protecting bright highlights, and choosing between the 1× and 3× cameras.
I also explain why brighter footage is not always better footage. Raising ISO can make the image easier to see, but it may also increase noise, reduce detail, and trigger stronger processing.
The goal is to balance brightness, motion, and image cleanliness based on what you are filming.
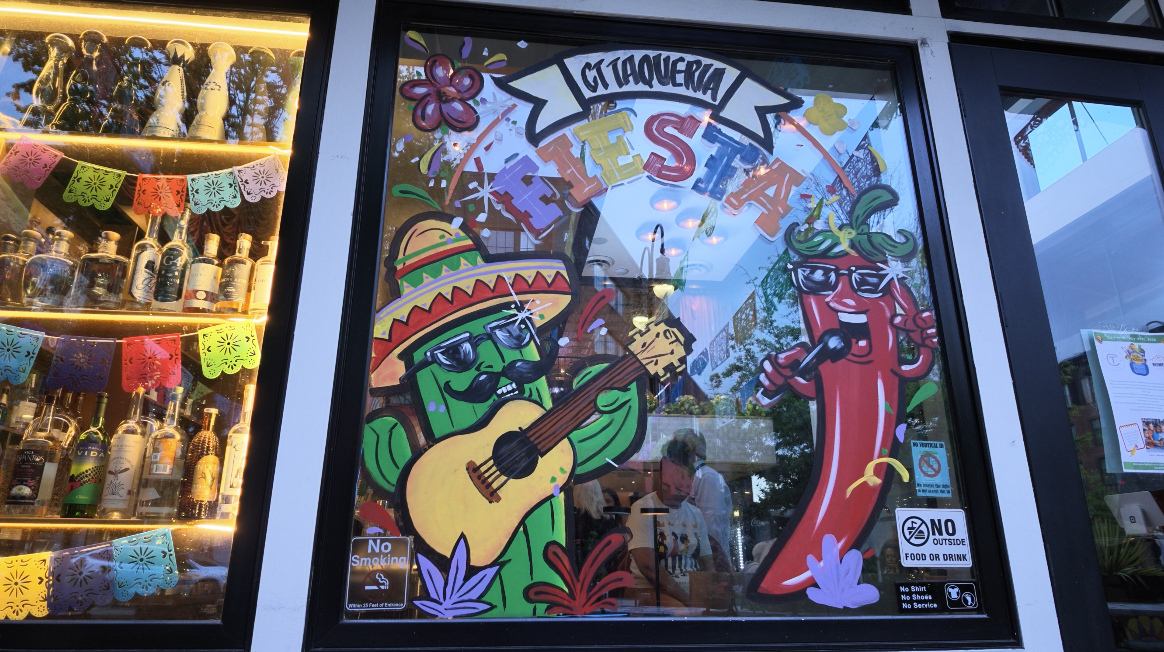
The Osmo Pocket 4P offers four main color-profile options:
- Normal
- HDR 10-bit
- D-Log 10-bit
- D-Log 2
Each profile is intended for a different workflow.
Normal
Normal is designed to produce a finished-looking image directly out of the camera.
It includes contrast, saturation, sharpening, and other processing, making it a great choice when you want to record, transfer, and share footage quickly.
I personally use Normal more often than some people might expect. When it is exposed correctly and the white balance is controlled, it can look excellent without requiring a complicated color-grading workflow.
HDR 10-bit
HDR 10-bit was added through a firmware update rather than being included in the original release version of the manual. DJI describes it as a 10-bit high-dynamic-range video mode intended for playback on a device that supports HDR display.
HDR 10-bit is useful for creators who want additional tonal information and an HDR delivery workflow without using a traditional flat log profile.
However, HDR footage must be handled correctly during editing and export. If your timeline, display, or delivery platform is not configured for HDR, the footage may not look the way you expect.
D-Log 10-bit
D-Log 10-bit records a flatter-looking image with greater flexibility for color correction and grading than Normal.
It is available when working with the 3× camera, which is important because the 3× camera does not support D-Log 2. The regular D-Log profile provides a way to retain more grading flexibility while using the medium-telephoto lens.
The 3× camera uses a smaller sensor and does not have the same dynamic-range performance as the 1× camera, but D-Log 10-bit can still be a strong option for talking heads, product footage, portraits, and compressed telephoto shots.
D-Log 2
D-Log 2 is the most flexible profile offered by the Pocket 4P, but it is limited to the 1× main camera.
DJI advertises up to 17 stops of dynamic range from the wide-angle camera when using D-Log 2. The profile was designed to take advantage of the main camera’s 1-inch LOFIC sensor and provide more flexibility for recovering highlights and shadows during color grading.
D-Log 2 is useful when you are filming high-contrast scenes such as sunsets, bright windows, harsh daylight, or subjects standing against a bright sky.
However, it is not automatically the best choice for every situation. It requires color correction, careful exposure, and a more involved post-production workflow. It also comes with limitations involving lens selection, zoom, ISO, and certain shooting modes.
In the course, I help you decide which profile fits your workflow rather than simply recommending that everyone shoot in the flattest profile available.
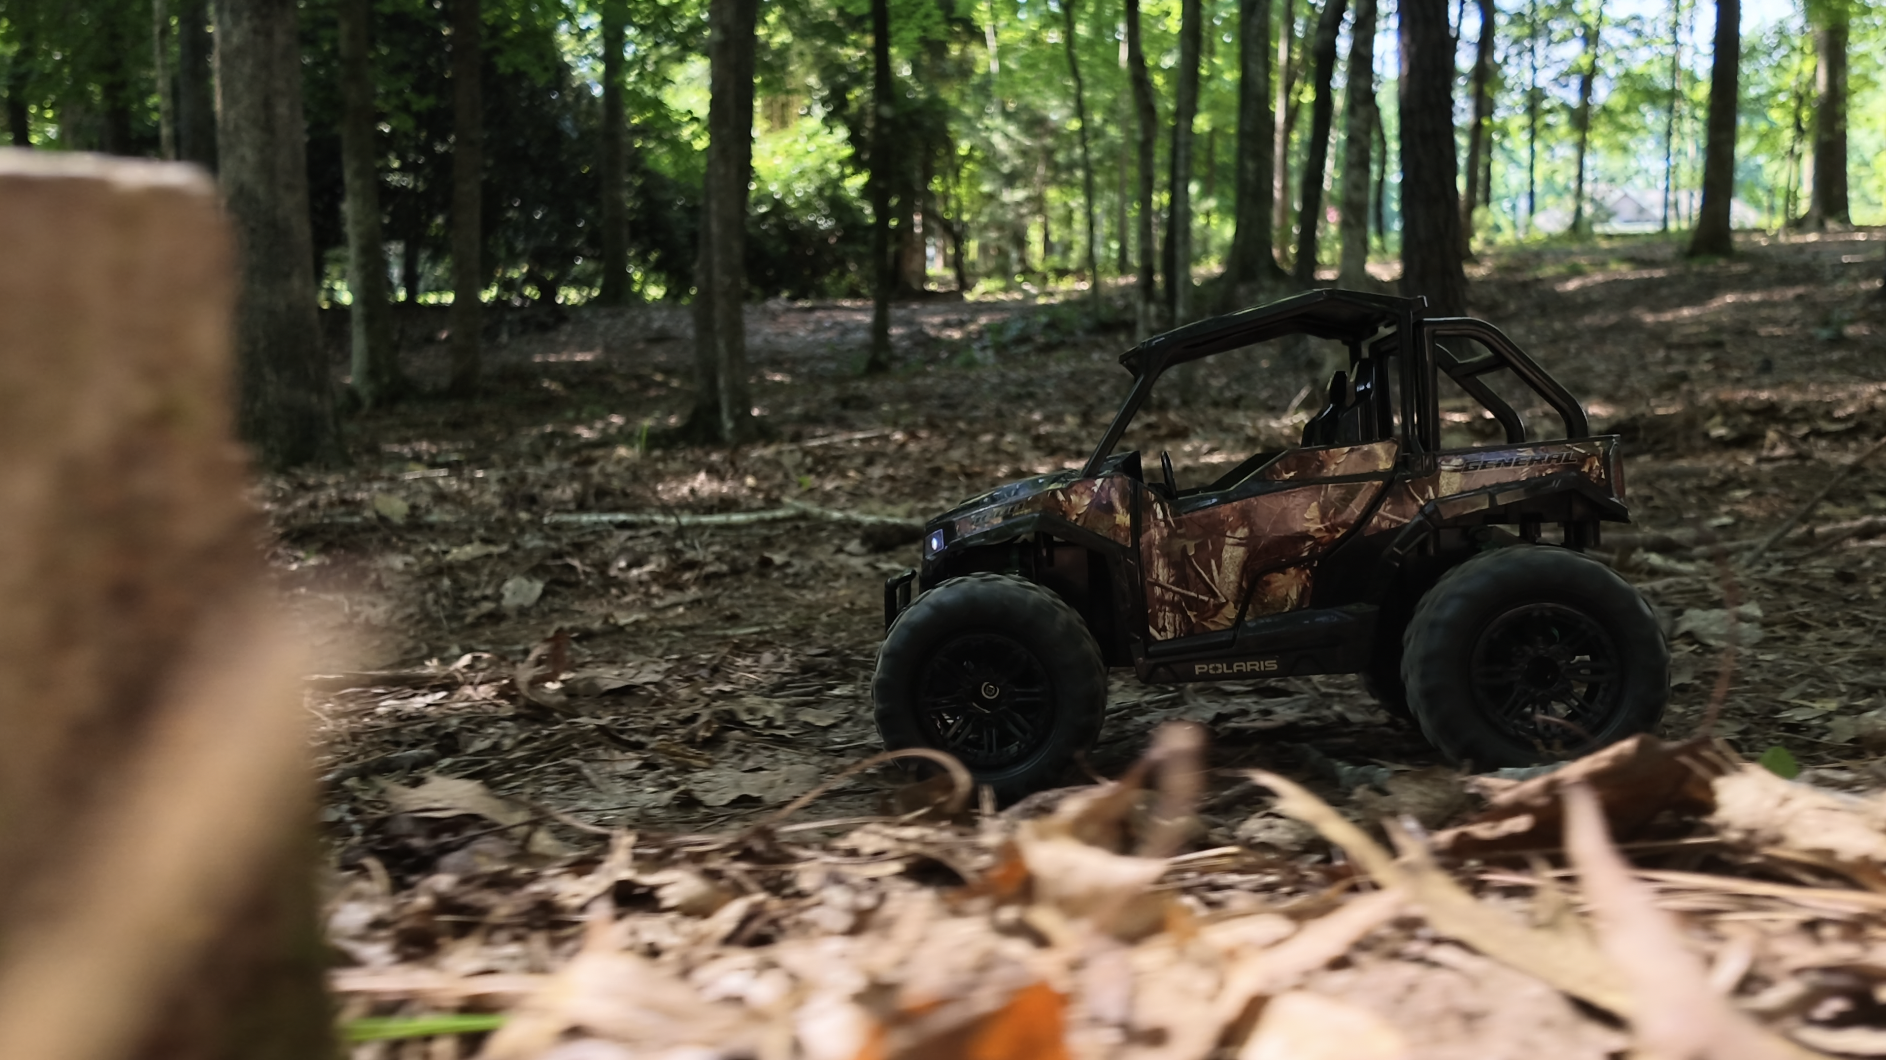
The built-in three-axis mechanical gimbal is one of the biggest reasons to choose the Osmo Pocket 4P over a smartphone or traditional handheld camera, but simply owning a gimbal doesn’t guarantee perfectly smooth footage. In this lesson, we’ll break down how each gimbal mode responds to your movement and when to use it, while also covering practical techniques like walking smoothly, reducing vertical bounce, panning, tilting, tracking subjects, reframing, using the joystick, locking the gimbal or camera direction, moving with both the 1× and 3× cameras, and avoiding footage that looks overly robotic.
A three-axis gimbal can stabilize pan, tilt, and roll, but it cannot completely eliminate the vertical movement created by your footsteps. That is why proper walking technique still matters.
I show you how to work with the gimbal instead of expecting it to fix every movement after the fact.
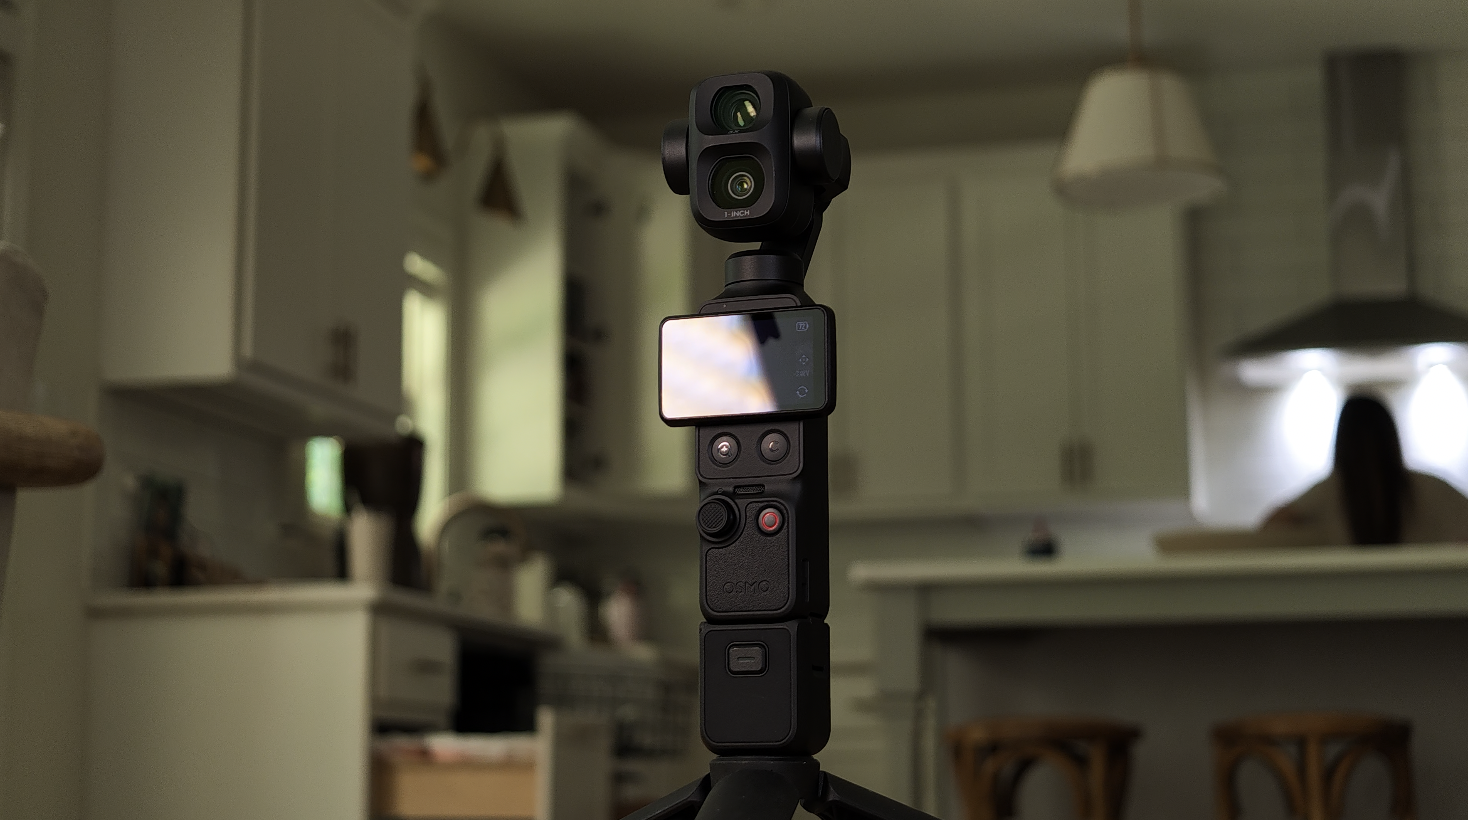
Quizzes Throughout the Osmo Pocket 4P Course
Watching a lesson doesn’t always mean the information will stick, which is why I’ve included quizzes throughout the Film 101 course. They’re designed to reinforce the most important concepts and help you spot anything you may want to review before moving forward, including button functions, menu navigation, frame rates, exposure, white balance, audio, color profiles, low-light settings, ND filters, and stabilization.
They are not designed to trick you. They are there to help you remember the information and become more confident using the camera.
Downloadable Osmo Pocket 4P PDFs
The course also includes downloadable PDF guides.
These PDFs are designed to give you a fast reference when you are away from the course and filming in the real world.
Instead of trying to remember every menu location or scrolling through a long video while standing outside, you can take the guides with you on your phone or tablet.
The downloadable materials are designed to reinforce what you learn in the videos and give you quick reminders when you’re out shooting.
Based on Real-World Testing and Official DJI Documentation
One of the most important parts of creating this course was making sure it was based on more than my personal preferences.
My real-world shooting experience plays a major role because I want to show you what actually works outside of a controlled specification sheet. However, I also carefully researched DJI’s official documentation to verify controls, supported resolutions, frame rates, lens limitations, accessories, activation requirements, shooting modes, and firmware changes.
The official Osmo Pocket 4P specifications confirm features such as the 1-inch wide-angle sensor, 1/1.28-inch medium-telephoto sensor, 20mm and 60mm-equivalent lenses, 4K recording, high-frame-rate slow motion, 103GB of internal storage, and the camera’s supported zoom ranges.
The user manual provides the foundation for the camera’s original operation, while the firmware release notes document later additions and changes.
That means the course is not based on assumptions or copied settings. It combines official information with actual shooting experience.
Start Getting More From the Osmo Pocket 4P
The Osmo Pocket 4P is capable of producing incredible video, but the camera becomes much more valuable once you understand how to control it.
You do not need to become a professional colorist or memorize every technical specification. You simply need a clear understanding of the settings that affect your footage and a dependable process you can repeat.
That is what the Osmo Pocket 4P Film 101 Course is designed to provide.
We begin with activation and the basic controls, then work through the menus, shooting modes, image settings, audio options, white balance, ND filters, low light, all four color profiles, and stabilization.
By the end of the course, you should be able to pick up the Osmo Pocket 4P, configure it for the situation in front of you, and start filming with confidence instead of guessing your way through the menus.
Whether you are creating YouTube videos, filming your family, recording travel content, shooting talking heads, capturing cinematic B-roll, or building content for your business, this course will help you understand the camera and get better results from it.
Author