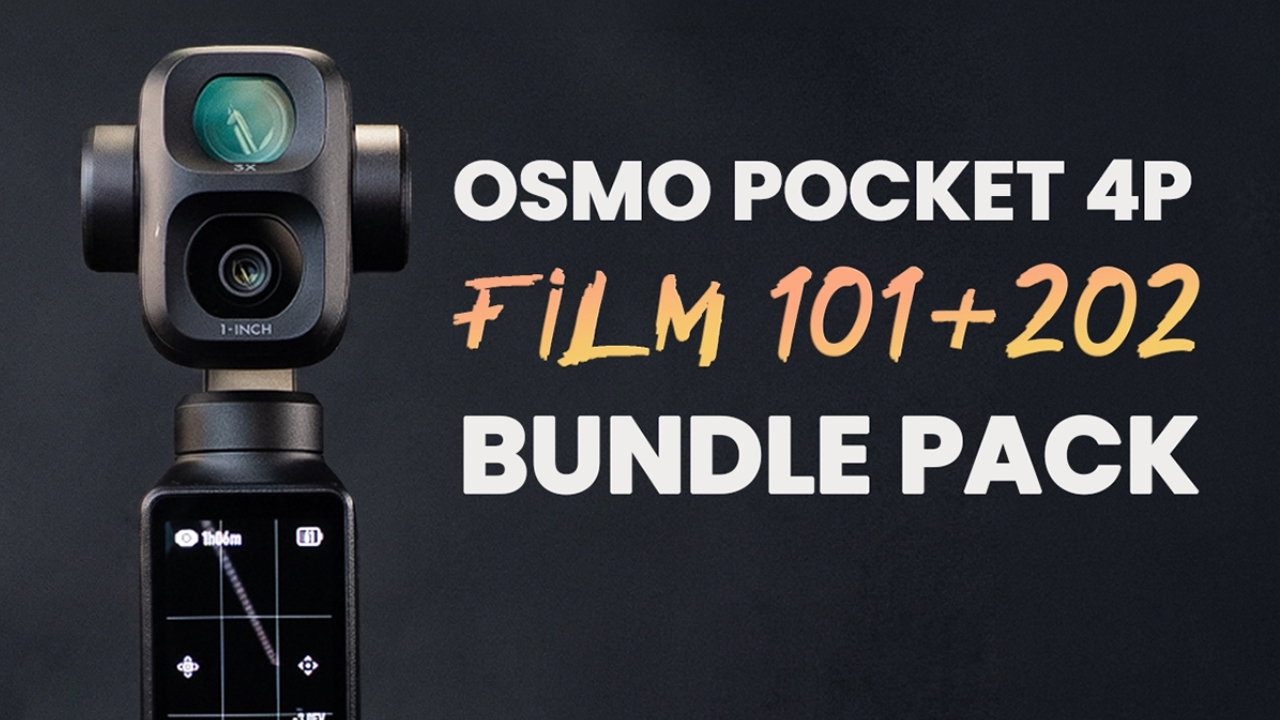
Osmo Pocket 4P Film 101 and Film 202 Bundle: The Complete Course for Learning the Camera and Creating Better Videos
Aug 19, 2026Osmo Pocket 4 Film 101 + Film 202 Bundle Course -https://www.thefilmalliance.com/osmo-pocket-4p-bundle-pack-101-202-course
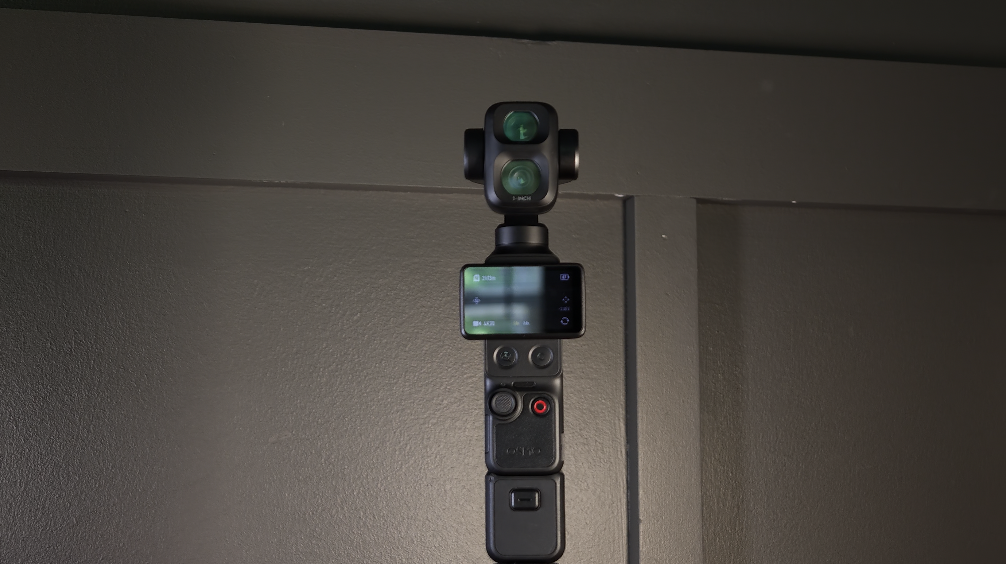
The DJI Osmo Pocket 4P is one of the most capable compact cameras I have ever used, but it is also a lot more advanced than it first appears.
You can take it out of your pocket, turn it on, and start recording within seconds. That simplicity is one of the biggest reasons I enjoy using it. However, underneath that simple design is a complete video system with two cameras, a three-axis mechanical gimbal, manual exposure controls, multiple shooting modes, intelligent tracking, wireless audio support, high-frame-rate slow motion, photography tools, time-compression modes, and four different color profiles.
That is why I created the Osmo Pocket 4P Film 101 and Film 202 Bundle.
The bundle combines both of my complete Osmo Pocket 4P courses into one step-by-step learning experience. Film 101 teaches you how the camera works and how to set it up correctly. Film 202 builds on that knowledge and shows you how to use the camera more creatively for cinematic footage, talking heads, slow motion, photography, tracking shots, timelapses, and other real-world content.
My goal is not to quickly show you where a few popular settings are located and then leave you to figure everything else out on your own. I want to help you understand the entire camera, from the first time you turn it on to the point where you can confidently choose your settings and create intentional-looking footage.
I built these courses around extensive real-world shooting experience, but I also based the lessons on DJI’s official Osmo Pocket 4P User Manual, Quick Start Guide, official specifications, and firmware release notes.
That official research is important because the Pocket 4P has already received meaningful updates. Features including HDR 10-bit, Auto Media Transfer, Frame Tracking, Multi-Person Tracking, automatic fill-light adjustments, and HDR Enhancement for photos were added or expanded through firmware. Throughout the bundle, I clearly explain when something was available in the original manual and when it was introduced or changed later through an update.
Why I Created the Osmo Pocket 4P Film 101 and 202 Bundle
The Pocket 4P can produce incredible footage, but it is easy to leave a lot of its capability unused.
Many people purchase the camera because they want something smaller and easier than a mirrorless camera. They do not want to carry multiple lenses, a large camera body, a separate gimbal, external monitors, and a bag full of accessories.
The Pocket 4P solves a lot of those problems.
It gives you a complete stabilized camera system in a body that weighs approximately 230 grams. It includes a 2-inch touchscreen, built-in storage, a microSD card slot, three microphones, physical camera controls, a 5D joystick, and two different lenses.
The 1× camera uses a 1-inch sensor with a 20mm-equivalent f/2.0 lens. The 3× camera uses a 1/1.28-inch sensor with a 60mm-equivalent f/1.8 lens.
Those two cameras give you very different creative options.
The 1× camera is excellent for:
-
Vlogging
-
Landscapes
-
Establishing shots
-
Interiors
-
Walking footage
-
Handheld B-roll
-
Filming yourself
-
Low-light shooting
-
Wide environmental shots
The 3× camera is especially useful for:
-
Talking heads
-
Portraits
-
Product videos
-
Detail shots
-
Compressed backgrounds
-
Interview-style compositions
-
Cinematic close-ups
-
Subjects that are farther away
The problem is that the two cameras do not behave exactly the same.
They have different sensor sizes, different focus ranges, different low-light capabilities, and different color-profile limitations. The 1× camera supports D-Log 2, while the 3× camera does not. The 3× camera can use regular D-Log 10-bit, but matching that footage with 1× D-Log 2 footage may require additional work during editing.
The bundle helps you understand those differences before they become frustrating.
Who Is This Osmo Pocket 4P Course Bundle For?
The Film 101 and Film 202 Bundle is designed for anyone who wants a complete guide to the Osmo Pocket 4P instead of piecing together information from dozens of unrelated videos.
It is a good fit for:
-
First-time Osmo Pocket owners
-
New filmmakers
-
YouTube creators
-
Travel filmmakers
-
Vloggers
-
Solo content creators
-
Small-business owners
-
Family filmmakers
-
Social media creators
-
Product videographers
-
Talking-head creators
-
Experienced filmmakers who want a smaller camera
-
Anyone who wants to get better footage without carrying a large setup
You do not need to understand complicated filmmaking terminology before beginning the course.
Film 101 starts with the basics and walks you through the camera in a logical order. Film 202 then takes the foundation from Film 101 and helps you apply it to more creative shooting situations.
What Is Included in the Osmo Pocket 4P Bundle?
The bundle includes both complete courses:
Osmo Pocket 4P Film 101
Film 101 focuses on understanding and operating the camera.
It covers:
-
Course objectives
-
Unboxing and initial setup
-
Activation
-
DJI Mimo
-
Firmware updates
-
Buttons
-
Joystick controls
-
Custom controls
-
Control Center
-
Shooting modes
-
Image settings
-
Audio settings
-
Deep system settings
-
White balance
-
Bright sunlight
-
ND filters
-
Low-light filming
-
Color profiles
-
Stabilization
Osmo Pocket 4P Film 202
Film 202 focuses on using the camera creatively.
It covers:
-
Focus modes
-
Gimbal modes
-
Intelligent automatic modes
-
ActiveTrack
-
Frame Tracking
-
Multi-Person Tracking
-
Cinematic settings
-
DJI Mimo remote operation
-
Slow motion
-
Photography
-
Timelapse
-
Hyperlapse
-
Motionlapse
Together, the two courses take you from opening the box to confidently using the Pocket 4P in a wide range of real-world situations.
Osmo Pocket 4P Film 101
Film 101 provides the foundation for the entire bundle.
The goal is to make sure you understand what the controls do, where the settings are located, and how those settings affect your footage.
Module 1: Introduction to the Course
The first module walks you through the physical camera and its core operation.
Lesson 1.1: Objectives and Goals
We begin by explaining how the course is structured and what you should be able to do by the end.
The goal is not to make you memorize every single menu item. It is to help you develop a dependable workflow so you can prepare the camera quickly and make good decisions without constantly guessing.
By the end of Film 101, you should understand how to:
-
Set up the camera
-
Activate it
-
Update the firmware
-
Use the touchscreen
-
Customize the buttons
-
Navigate the menus
-
Choose a shooting mode
-
Set resolution and frame rate
-
Control exposure
-
Set white balance
-
Record better audio
-
Choose a color profile
-
Use the gimbal
-
Film in bright and dark environments
Lesson 1.2: Unboxing and Initial Setup
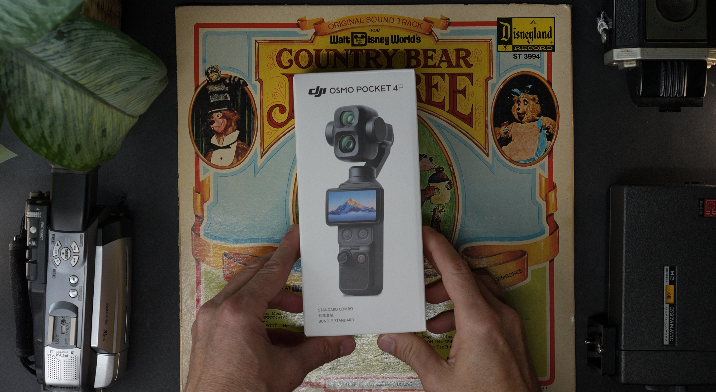
The Pocket 4P is sold in different bundles, and the accessories included with your camera may vary.
DJI’s manual lists several possible accessories, including:
-
Handle with a 1/4-inch thread
-
Battery handle
-
Fill light
-
Wide-angle lens
-
Mini tripod
-
DJI microphone transmitter
-
Osmo FrameTap remote controller
The official manual also includes a chart showing which accessories are included with each package.
In this lesson, I show you how the detachable parts connect, how to remove them correctly, and how to avoid putting unnecessary pressure on the camera or gimbal.
We also discuss internal storage.
The Pocket 4P includes approximately 103GB of built-in storage, along with support for a microSD card. That built-in storage is incredibly useful when you need to begin filming quickly or forget to bring a card.
Lesson 1.3: Activation and the DJI Mimo App
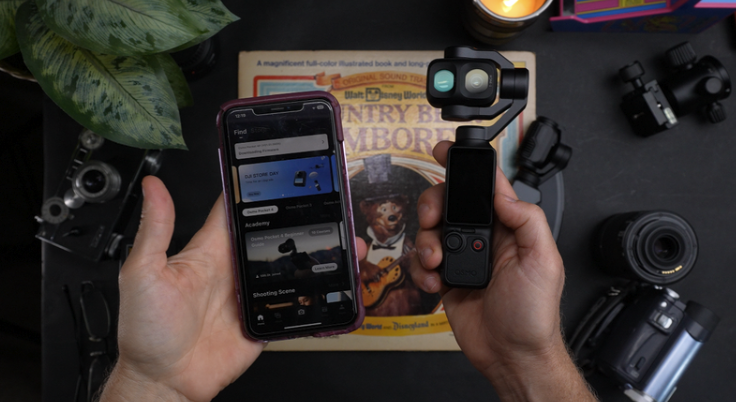
The Pocket 4P must be activated through the DJI Mimo app before its first use.
I walk you through:
-
Downloading DJI Mimo
-
Enabling Wi-Fi and Bluetooth
-
Connecting the camera
-
Completing activation
-
Checking for firmware updates
-
Troubleshooting connection problems
-
Using your phone as a monitor
-
Adjusting settings remotely
-
Transferring footage
According to DJI’s manual, the Mimo app can display the live camera view, control the camera, and adjust shooting parameters.
Firmware updates are also handled through the app.
This lesson is especially important because the Pocket 4P’s features have continued to change. For example, HDR 10-bit and Auto Media Transfer were added through firmware after the original user manual was released.
Lesson 1.4: Buttons and Functionality
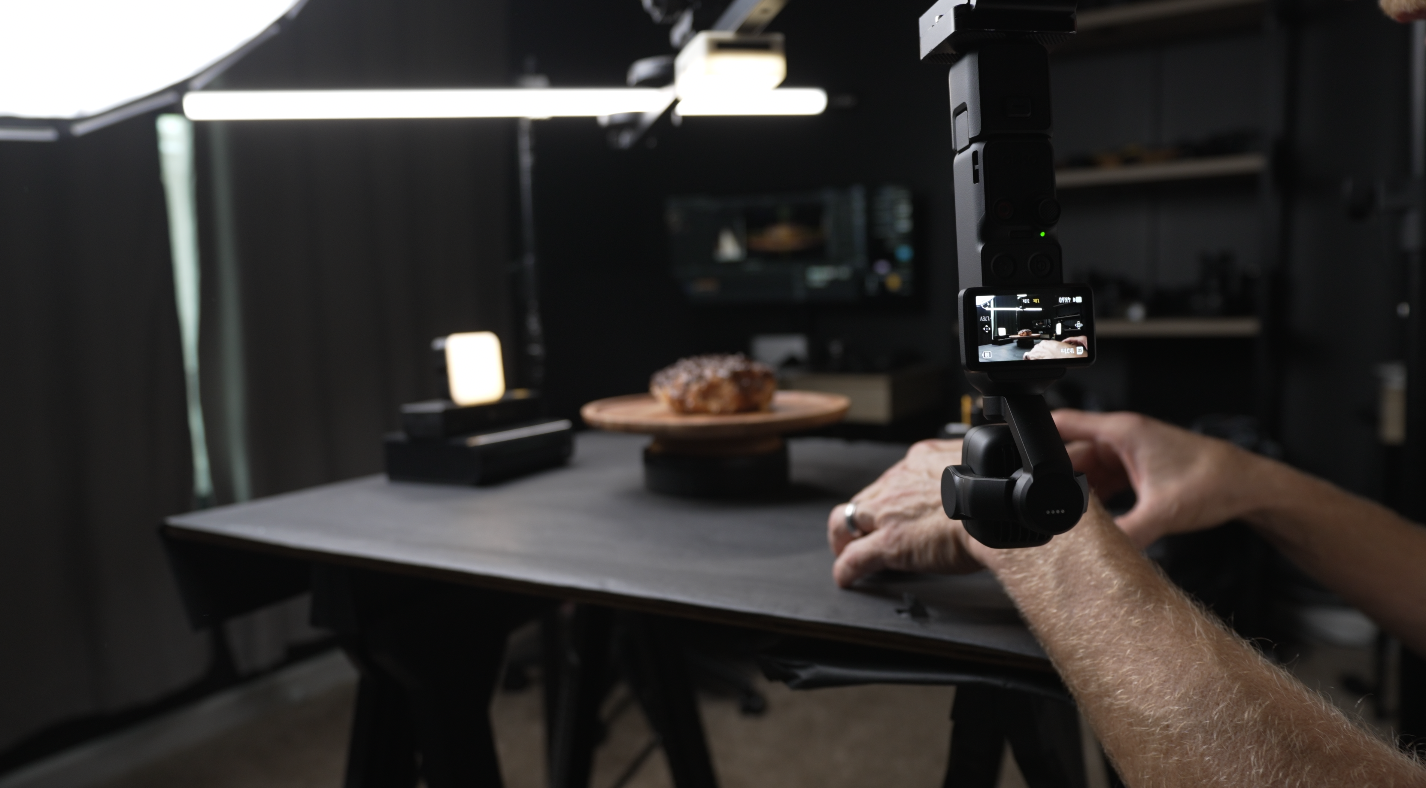
The Pocket 4P includes several physical controls:
-
Shutter and record button
-
Zoom button
-
Custom button
-
5D joystick
-
Rotating touchscreen
The zoom button can quickly move between focal lengths. DJI’s manual states that pressing once switches to 3×, pressing twice switches to 6×, and holding the button continuously zooms in.
The joystick can control the gimbal, control zoom, recenter the camera, reverse the camera, exit tracking, and lock the gimbal or camera direction.
The custom button can also be programmed for different actions. By default, it supports single, double, triple, and press-and-hold operations.
I explain how each control works and how I personally prefer to configure the camera for different types of filming.
Lesson 1.5: Control Center
The Control Center contains many of the camera’s system-level options.
We cover settings related to:
-
Brightness
-
Wireless connection
-
Screen rotation
-
Input lock
-
Auto power off
-
Joystick behavior
-
Custom-button functions
-
Gimbal locking
-
Camera direction locking
-
Storage
-
Microphones
-
Fill light
-
Firmware
-
Auto Media Transfer
The goal is to help you understand the settings you may want to configure once and leave alone, as well as the settings you may change regularly.
Lesson 1.6: Shooting Modes
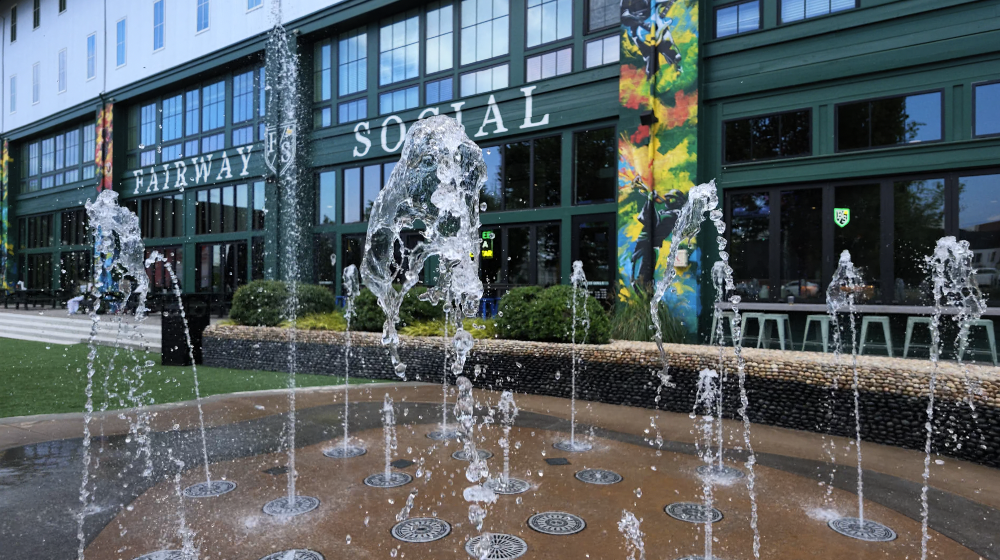
The Pocket 4P offers several shooting modes:
-
Normal Video
-
Slow Motion
-
Low-Light Video
-
Photo
-
Panorama
-
Timelapse
-
Motionlapse
-
Hyperlapse
-
Webcam mode
Normal video supports 4K recording up to 60 frames per second.
The 1× camera can record 4K slow motion at up to 240 frames per second, while the 3× camera can record 4K slow motion at up to 200 frames per second.
We discuss what each mode is designed to do and which features become unavailable in certain modes.
That includes limitations involving:
-
Log profiles
-
Zoom
-
Tracking
-
Frame rates
-
Low-light processing
-
Lens selection
Lesson 1.7: Image and Audio Settings
This lesson goes through the controls that directly affect how your footage looks and sounds.
Image settings include:
-
Resolution
-
Frame rate
-
Aspect ratio
-
Shutter speed
-
ISO
-
Exposure compensation
-
White balance
-
Sharpness
-
Noise reduction
-
Focus
-
Color profile
-
Zoom
-
Image monitoring
Audio settings include:
-
Built-in microphones
-
Wireless microphone connections
-
Gain
-
Noise cancellation
-
Wind reduction
-
Backup audio
-
Recording levels
-
One-person and two-person microphone setups
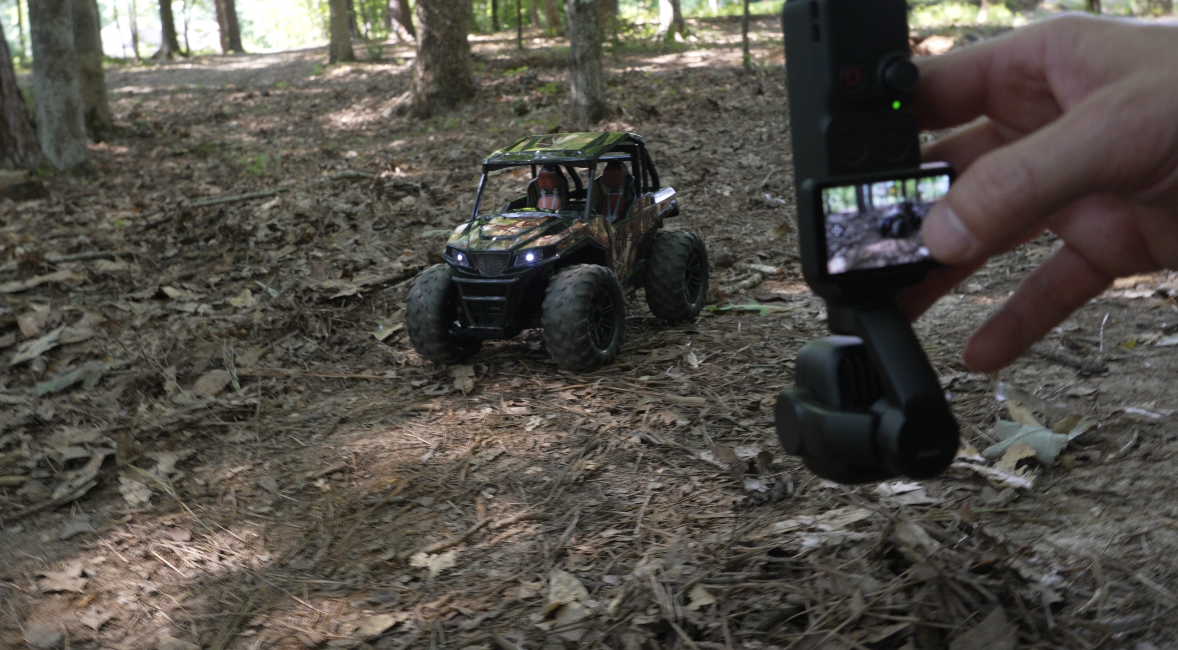
The camera includes three built-in microphones and can connect directly to compatible DJI microphone transmitters without requiring an external receiver.
I explain how to choose practical audio settings and avoid common problems such as clipping, low recording levels, wind noise, and blocked microphones.
Lesson 1.8: Deep Settings
The Deep Settings lesson covers options that are easy to overlook but can make the camera far more predictable.
We dig into settings affecting:
-
Gimbal response
-
Joystick sensitivity
-
Tracking
-
Camera locking
-
Zoom behavior
-
Screen operation
-
Audio processing
-
Power behavior
-
Storage
-
Wireless connections
-
Accessory updates
This is where you begin turning the Pocket 4P into a camera that behaves the way you want it to behave.
Film 101 Module 2: Mastering Video Shooting Techniques
Once the camera is configured correctly, Film 101 moves into the settings that have the greatest impact on image quality.
Lesson 2.1: White Balance
White balance controls how the camera interprets color temperature.
Incorrect white balance can make skin tones look orange, indoor footage look yellow, or shaded outdoor scenes look overly blue.
We cover:
-
Auto white balance
-
Manual Kelvin
-
Locking white balance
-
Daylight
-
Shade
-
Cloudy conditions
-
Artificial lighting
-
Mixed lighting
-
Skin-tone consistency
I explain when automatic white balance works well and when it can create visible color shifts during a shot.
Lesson 2.2: Bright Sunlight and ND Filters
Both Pocket 4P cameras have fixed apertures.
The 1× camera uses an f/2.0 aperture, while the 3× camera uses an f/1.8 aperture.
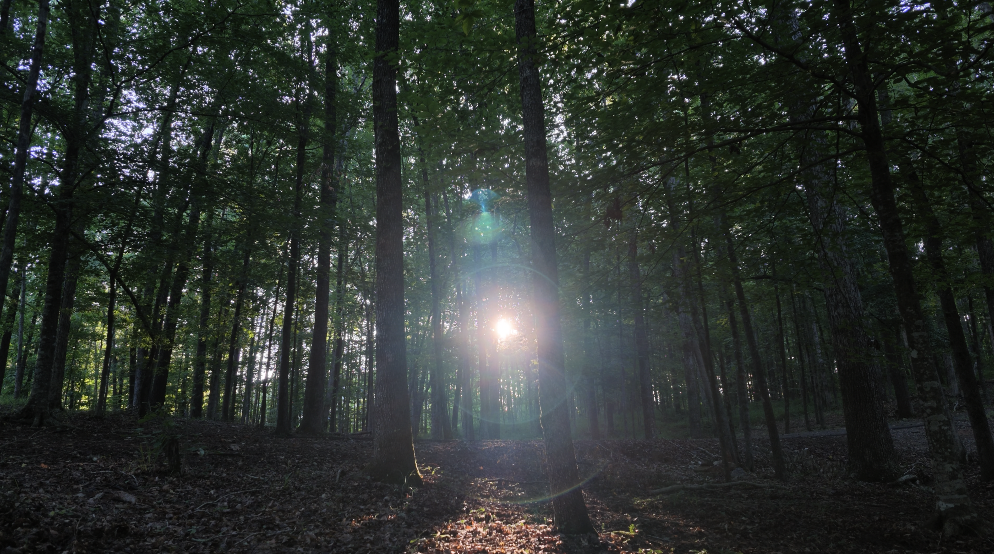
Because you cannot physically close the aperture to reduce exposure, bright sunlight must be controlled through shutter speed, ISO, or an ND filter.
We cover:
-
What ND filters do
-
ND8
-
ND16
-
ND32
-
ND64
-
Shutter speed
-
Frame rate
-
The 180-degree shutter guideline
-
When a faster shutter speed is acceptable
-
Shooting in harsh daylight
-
Golden-hour exposure
Lesson 2.3: Shooting in Low Light
Low-light performance is one of the Pocket 4P’s strengths, especially when using the 1× camera.
However, the two cameras have different sensor sizes and ISO ranges. The 1× camera generally provides better low-light performance than the smaller-sensor 3× camera.
We compare:
-
Normal Video
-
Low-Light Video
-
Manual exposure
-
Automatic exposure
-
ISO limits
-
Shutter speed
-
Motion blur
-
Noise
-
Sharpness
-
Noise reduction
-
Available light
-
1× versus 3×
I also explain why the brightest image is not always the best image.
Lesson 2.4: The Four Osmo Pocket 4P Color Profiles
The Pocket 4P includes four color profiles:
-
Normal
-
HDR 10-bit
-
D-Log 10-bit
-
D-Log 2
Normal
Normal produces a finished-looking image directly from the camera.
It is the best option for creators who want to film, transfer, and publish quickly without a complicated color-grading workflow.
HDR 10-bit
HDR 10-bit was added through firmware.
It is designed to capture high-dynamic-range video for use with compatible HDR displays and workflows.
D-Log 10-bit
D-Log 10-bit produces a flatter image with greater flexibility for color correction and grading.
It is also the Log option available on the 3× camera.
D-Log 2
D-Log 2 is designed to take advantage of the 1× camera’s 1-inch LOFIC sensor.
DJI advertises up to 17 stops of dynamic range from the main camera when recording in D-Log 2.
However, D-Log 2 is only available on the 1× camera.
If you plan to switch regularly between the 1× and 3× cameras while recording in Log, D-Log 10-bit may provide a more consistent workflow because both cameras support it.
Lesson 2.5: Stabilization
The three-axis mechanical gimbal is one of the main reasons the Pocket 4P can produce such smooth footage.
However, stabilization still depends on how you move.
We cover:
-
Walking technique
-
Vertical bounce
-
Pans
-
Tilts
-
Tracking shots
-
Push-ins
-
Pull-backs
-
Gimbal locking
-
Camera-direction locking
-
Joystick movement
-
1× versus 3× movement
-
Avoiding robotic-looking footage
The 3× camera magnifies small movements, so slower and more deliberate operation becomes even more important.
Osmo Pocket 4P Film 202
Film 202 takes the technical foundation from Film 101 and applies it to more creative shooting.
Module 1: Getting Started
Lesson 1.1: Introduction to Film 202
Film 202 begins by explaining how the second course builds on Film 101.
At this point, you should already understand:
-
Exposure
-
White balance
-
Frame rates
-
Color profiles
-
Basic stabilization
-
Menu navigation
-
Audio
-
Button controls
Film 202 moves into focus, gimbal behavior, tracking, cinematic settings, creative shooting modes, and advanced content-creation workflows.
Film 202 Module 2: Modes
Lesson 2.1: Focus Modes
Focus becomes much more important when filming close subjects, talking heads, products, or footage with stronger background separation.
The two cameras also have different minimum focusing distances.
The official specifications list:
-
1× wide-angle focus range: approximately 0.09 meters to infinity
-
3× medium-telephoto focus range: approximately 0.2 meters to infinity
We cover:
-
Continuous focus
-
Single focus
-
Face detection
-
Subject tracking
-
Tap-to-focus
-
Talking-head focus
-
Product focus
-
Moving subjects
-
Close-up limitations
-
Focus changes during recording
-
1× versus 3×
Lesson 2.2: Gimbal Modes
The gimbal can behave differently depending on the mode you select.
We work through:
-
Follow
-
Tilt-locked behavior
-
FPV-style movement
-
Recenter controls
-
Gimbal lock
-
Camera-direction lock
-
Joystick movement
-
Pan speed
-
Tilt speed
-
1× operation
-
3× operation
We also apply those modes to practical shots such as:
-
Reveals
-
Orbits
-
Push-ins
-
Pull-backs
-
Tracking shots
-
Low-angle movement
-
Product videos
-
Walking footage
The goal is not just smooth footage. It is controlled and motivated movement.
Lesson 2.3: Intelligent Auto Modes
The Pocket 4P includes intelligent features that can help it recognize, frame, and track subjects.
We cover:
-
ActiveTrack
-
Face tracking
-
Frame Tracking
-
Multi-Person Tracking
-
Spotlight Follow
-
Dynamic Framing
-
Subject selection
-
Tracking at 1×
-
Tracking at 3×
-
Tracking while zoomed
-
Recovering a lost subject
Firmware updates added or expanded several of these features, including Frame Tracking and Multi-Person Tracking.
These modes are especially helpful for solo creators, but I also explain when tracking can become distracting and when it is better to lock the camera in place.
Film 202 Module 3: Content Creator Essentials
Lesson 3.1: Cinematic Osmo Pocket 4P Settings
There is no single setting that makes footage cinematic.
A cinematic look comes from a combination of:
-
Frame rate
-
Shutter speed
-
Exposure
-
ISO
-
White balance
-
Lighting
-
Color profile
-
Focal length
-
Camera movement
-
Composition
-
Subject selection
This lesson includes detailed starting points for:
-
Bright daylight
-
Cloudy conditions
-
Golden hour
-
Indoor lighting
-
Low light
-
Talking heads
-
Product videos
-
1× cinematic footage
-
3× cinematic footage
-
Normal
-
HDR 10-bit
-
D-Log 10-bit
-
D-Log 2
We also discuss how to use the 3× lens more effectively for portraits, products, and talking heads.
Its 60mm-equivalent perspective creates stronger background compression and more natural-looking facial proportions, but it also requires more distance, more careful focus, and smoother movement.
Lesson 3.2: DJI Mimo App
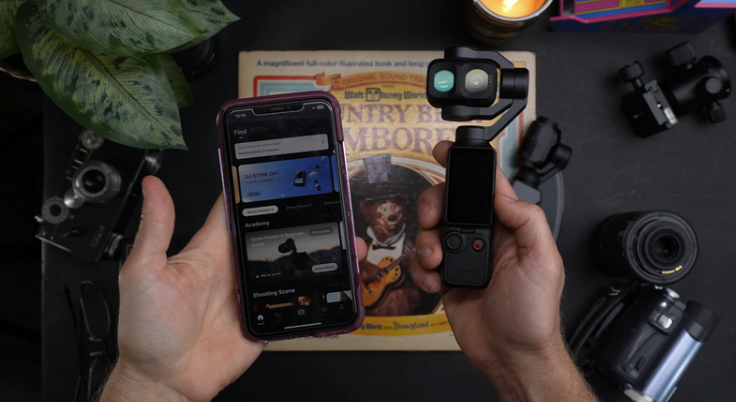
The Mimo app can be used as a larger monitor and remote control.
We cover:
-
Live monitoring
-
Remote gimbal movement
-
Changing settings
-
Starting and stopping recording
-
Reviewing footage
-
File transfer
-
Firmware updates
-
Histogram
-
Self-filming
-
Connection troubleshooting
-
Auto Media Transfer
The app can be especially helpful when the camera is on a tripod and you are filming yourself from a distance.
Lesson 3.3: Slow Motion
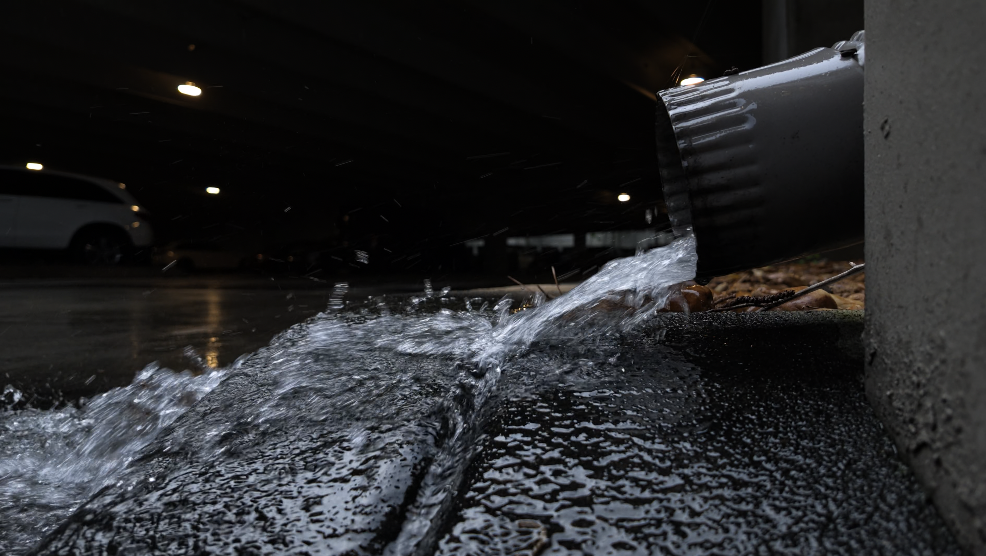
The Pocket 4P can record extremely high frame rates.
The 1× camera supports 4K slow motion up to 240 fps, while the 3× camera supports 4K slow motion up to 200 fps.
We cover:
-
100 fps
-
120 fps
-
200 fps
-
240 fps
-
Playback speed
-
Shutter speed
-
Lighting requirements
-
Noise
-
Flicker
-
1× slow motion
-
3× slow motion
-
Slow-motion B-roll
-
Sports
-
Water
-
Product footage
We also discuss the trade-off between high-frame-rate slow motion and Log recording. Dedicated slow-motion modes disable Log profiles.
Lesson 3.4: Photography
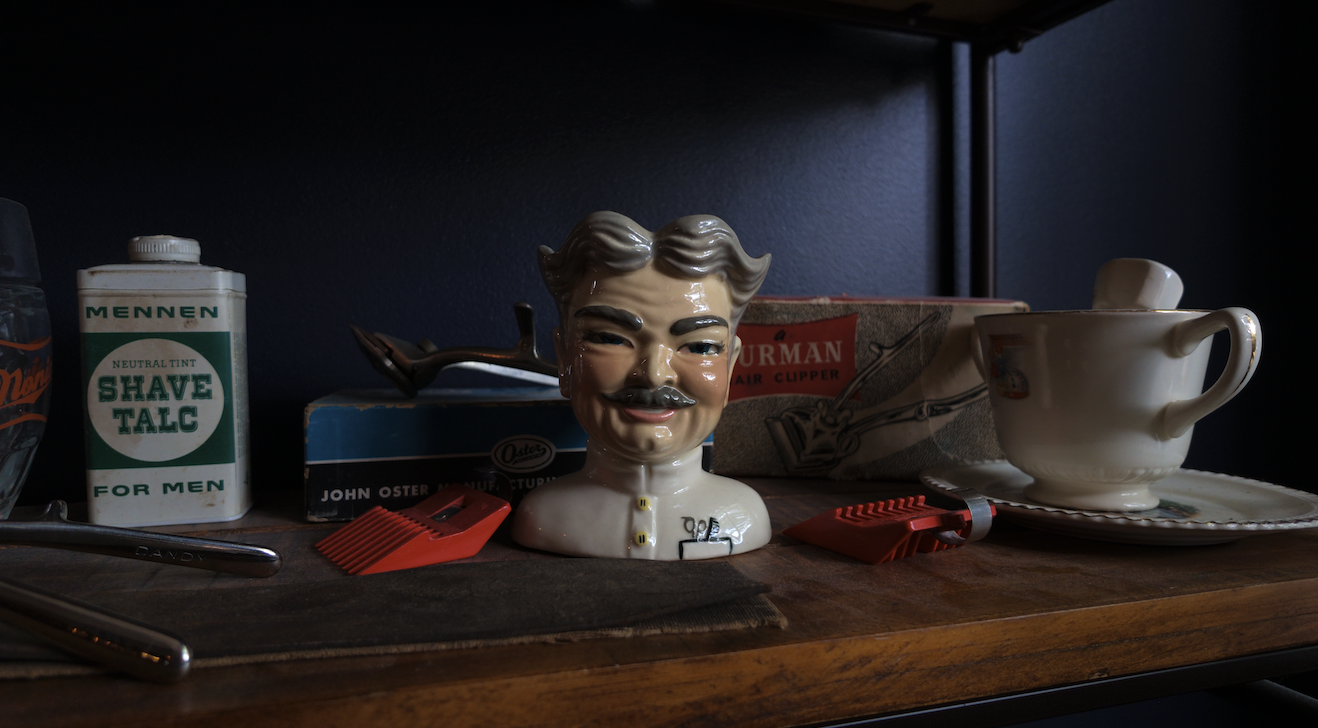
The Pocket 4P can capture approximately 37-megapixel still images.
It supports:
-
JPEG
-
DNG
-
JPEG plus DNG
-
Countdown timer
-
Panorama
-
HDR Enhancement
-
1× photography
-
3× photography
DJI lists support for both JPEG and DNG formats, which gives you the choice between fast sharing and more flexible editing.
HDR Enhancement for photos was also added through firmware.
Lesson 3.5: Timelapse, Hyperlapse, and Motionlapse
Film 202 finishes by covering the Pocket 4P’s time-compression modes.
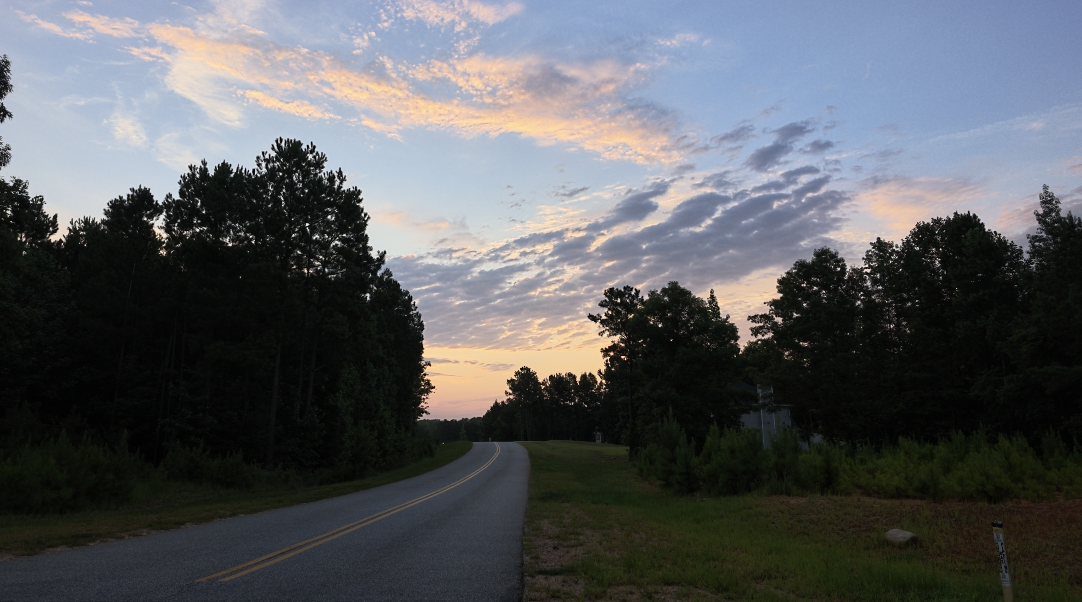
Timelapse
Timelapse records individual frames over a longer period while the camera remains stationary.
It works well for:
-
Sunsets
-
Clouds
-
Traffic
-
Events
-
Crowds
-
Construction
-
Changing light
Hyperlapse
Hyperlapse compresses time while the camera moves.
The built-in gimbal makes it easier to create smooth walking hyperlapses.
Motionlapse
Motionlapse adds programmed gimbal movement to a timelapse.
DJI’s specifications state that Motionlapse supports setting four camera positions.
This can create smooth, controlled movement across a longer sequence.
Quizzes Included Throughout Both Courses
The Film 101 and Film 202 Bundle includes quizzes throughout the lessons.
The quizzes are designed to help you retain the information rather than simply watch it once and forget it.
They cover topics such as:
-
Buttons
-
Menus
-
Control Center
-
Frame rates
-
Exposure
-
White balance
-
Audio
-
Color profiles
-
Low-light settings
-
ND filters
-
Stabilization
-
Focus modes
-
Gimbal modes
-
Tracking
-
Cinematic settings
-
Slow motion
-
Photography
-
Timelapse
-
Hyperlapse
-
Motionlapse
They are not meant to trick you or make the course feel overly academic.
They are short reinforcement tools that help you identify what you understand and what you may want to review.
Downloadable Osmo Pocket 4P PDF Guides
The bundle also includes downloadable PDFs and checklists.
The video lessons help you understand why a setting matters. The PDFs give you something quick to reference while you are filming.
You can save them to your phone or tablet and bring them with you into the field.
The guides may include quick references for:
-
Buttons
-
Custom controls
-
Frame rates
-
Shutter speeds
-
ISO
-
White balance
-
Color profiles
-
Low-light settings
-
ND filters
-
Audio
-
Gimbal modes
-
Focus
-
Tracking
-
Cinematic settings
-
Slow motion
-
Photography
-
Timelapse intervals
-
Motionlapse setup
This makes it much easier to apply the information after you leave the course.
Real-World Testing Combined With Official Research
The Film 101 and Film 202 Bundle is based on actual use of the Pocket 4P.
I have used it for:
-
Cinematic B-roll
-
Talking heads
-
Product videos
-
Family filming
-
Vlogging
-
Low-light scenes
-
Harsh daylight
-
Tracking shots
-
Slow motion
-
Photography
-
Timelapses
-
Camera comparisons
-
Everyday content creation
However, I also wanted to make sure the technical information was accurate.
That is why I verified the course against DJI’s official documents.
The specifications confirm the camera’s two sensors, focal lengths, focus ranges, supported resolutions, frame rates, zoom options, storage, slow-motion capabilities, and photography formats.
The user manual provides the original operating instructions for activation, button controls, touchscreen gestures, accessories, tracking, gimbal modes, and file transfer.
The firmware release notes document features and changes added later, including HDR 10-bit, Auto Media Transfer, Frame Tracking, Multi-Person Tracking, and HDR Enhancement for photography.
That combination allows me to explain both how DJI says the camera works and how those features perform in actual shooting situations.
Learn the Entire Osmo Pocket 4P From Start to Finish
The Osmo Pocket 4P Film 101 and Film 202 Bundle is the complete learning path for anyone who wants to understand the camera and use it more creatively.
Film 101 teaches you how to set it up and control it.
Film 202 teaches you how to put those controls to work.
Together, the courses cover everything from activation and basic button functions to D-Log 2, intelligent tracking, cinematic settings, 240 fps slow motion, photography, and programmed motionlapses.
By the end of the bundle, you should be able to:
-
Set up the Pocket 4P correctly
-
Understand every major button and menu
-
Choose the right shooting mode
-
Control exposure
-
Set white balance
-
Record cleaner audio
-
Film in bright daylight
-
Film in low light
-
Choose between all four color profiles
-
Use the 1× and 3× cameras intentionally
-
Focus accurately
-
Choose the correct gimbal mode
-
Film yourself with tracking
-
Build cinematic settings
-
Use the DJI Mimo app
-
Record slow motion
-
Take photographs
-
Create timelapses
-
Film hyperlapses
-
Program motionlapses
The Pocket 4P may be small, but it is capable of producing extremely polished footage when you understand how the different settings and features work together.
Whether you are creating YouTube videos, filming your family, building content for a business, recording talking heads, capturing travel footage, or shooting cinematic B-roll, this bundle is designed to help you get more from the camera and spend less time guessing.
Author