Osmo Pocket 4P Film 202 Course: Advanced Shooting Modes, Cinematic Settings, Slow Motion, Photography, and More
Aug 01, 2026Once you understand the basic controls and settings of the Osmo Pocket 4P, the next step is learning how to actually use those features to create better-looking footage.
That is what the Osmo Pocket 4P Film 202 Course is all about.
Film 101 teaches you how the camera works. Film 202 focuses more heavily on what you can create with it.
In this course, we move beyond activation, menus, frame rates, white balance, exposure, and basic stabilization. We start digging into focus modes, gimbal behavior, intelligent tracking features, cinematic camera settings, the DJI Mimo app, slow motion, photography, timelapse, hyperlapse, and motionlapse.
The goal is not to simply show you another long list of settings. I want to help you understand how those features work together and how to use them in real-world situations.
I have spent extensive time shooting with the Osmo Pocket 4P for talking-head videos, cinematic B-roll, product shots, tracking shots, handheld vlogging, family filming, photography, slow motion, low light, and everyday content creation.
Along with that real-world testing, the course is based on DJI’s official Osmo Pocket 4P User Manual, Quick Start Guide, official specifications, and firmware release notes. That is especially important because several intelligent shooting features and control options have been added or changed through firmware since the original manual was released.
Who Is the Osmo Pocket 4P Film 202 Course For?
This course is designed for creators who already understand the basic operation of the Osmo Pocket 4P and want to get more creative with it.
It is especially useful for:
-
YouTube creators
-
Travel filmmakers
-
Vloggers
-
Solo content creators
-
Small-business owners
-
Family filmmakers
-
Product videographers
-
Social media creators
-
Beginners ready for more advanced techniques
-
Experienced filmmakers looking for a smaller camera system
The Osmo Pocket 4P is much more than a tiny camera with a built-in gimbal.
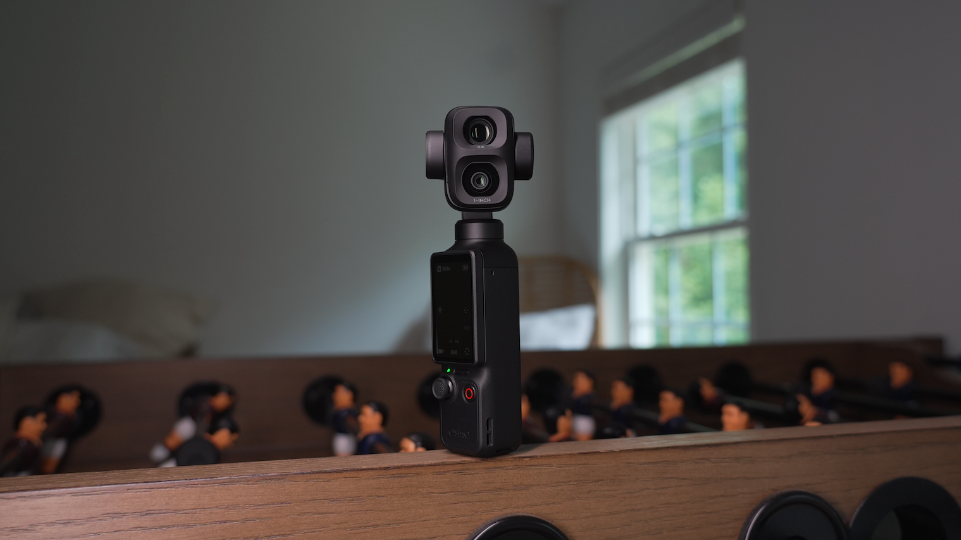
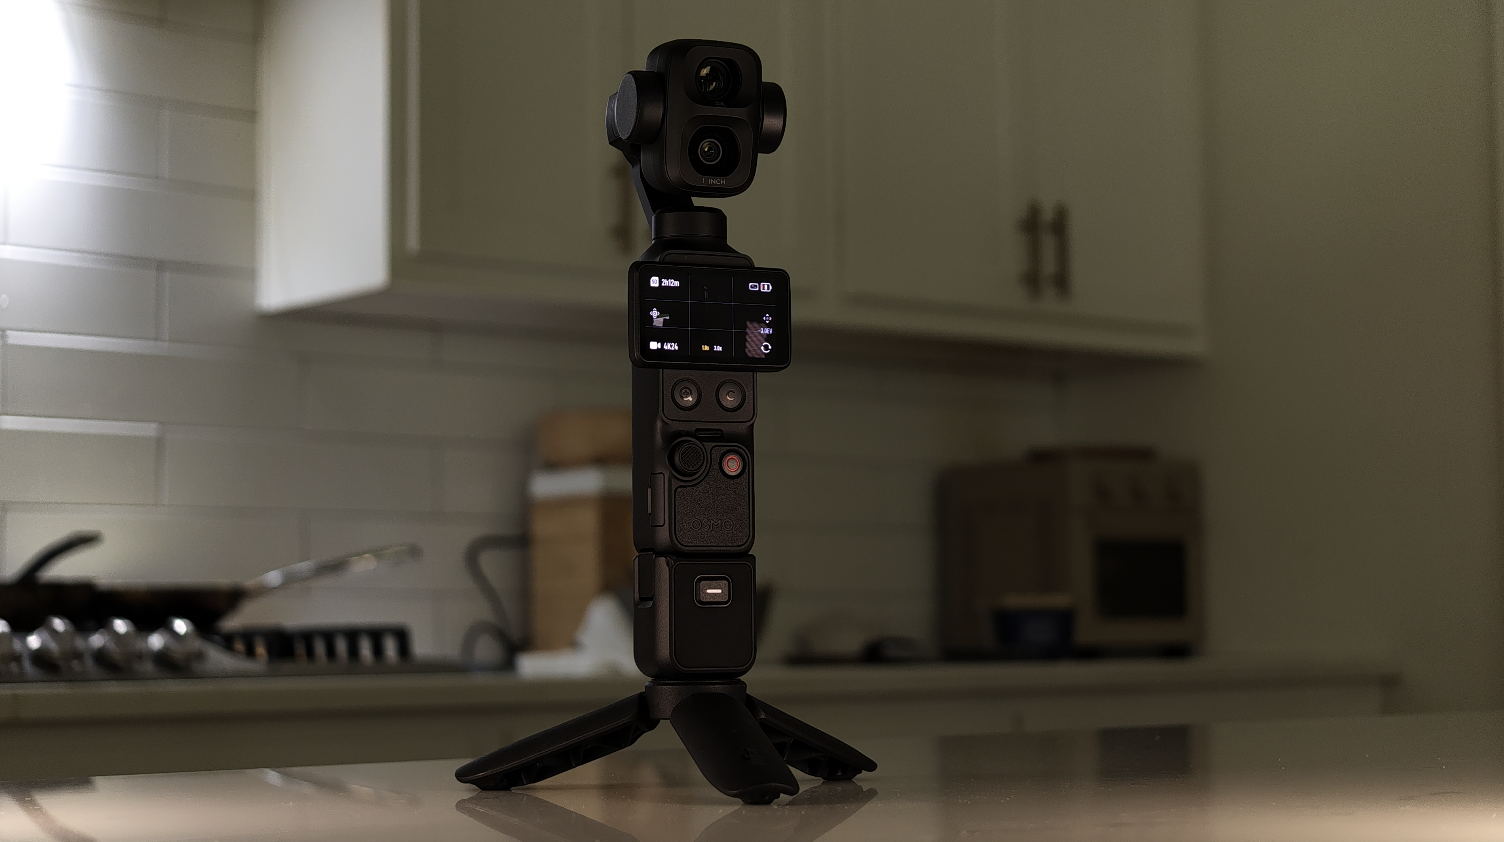
It has a 1× wide-angle camera with a 1-inch sensor and a 3× medium-telephoto camera with a 1/1.28-inch sensor. The wide-angle lens has a 20mm-equivalent field of view, while the 3× camera provides a 60mm-equivalent field of view.
That two-camera system gives you far more creative flexibility than earlier Pocket cameras.
The 1× camera works well for vlogging, landscapes, walking shots, establishing shots, interiors, and filming yourself at arm’s length.
The 3× camera gives you better background compression and a more natural perspective for talking heads, portraits, products, details, and cinematic cutaway shots.
Film 202 teaches you how to use those two cameras more intentionally instead of simply switching between them because one looks wider and the other looks closer.
Film 101 Versus Film 202
The Osmo Pocket 4P Film 101 and Film 202 courses are designed to work together, but they have different goals.
Film 101 focuses on operating the camera correctly. It covers activation, buttons, the Control Center, shooting modes, image and audio settings, white balance, ND filters, low light, color profiles, and stabilization.
Film 202 focuses on applying that knowledge.
This course is where we begin using the Pocket 4P more like a filmmaking tool. We look at how focus affects a shot, how gimbal modes change camera movement, how intelligent tracking can help solo creators, and how to build cinematic settings for different environments.
We also explore creative modes that may not be used every day but can dramatically expand what the camera is capable of producing.
Module 1: Getting Started With Osmo Pocket 4P Film 202
The first module introduces the structure and goals of the Film 202 course.
Lesson 1.1: Introduction to Osmo Pocket 4P Film 202
We begin by explaining what this course adds beyond Film 101.
At this point, you should already understand how to navigate the camera, choose a resolution and frame rate, control exposure, set white balance, and select an appropriate color profile.
Film 202 builds on that foundation by focusing more heavily on shooting technique and creative decision-making.
Throughout the course, I explain how I personally use these features, but I also make it clear where my preferences are not the only correct option.
Camera settings are not one-size-fits-all. The best setup depends on what you are filming, how much control you need, whether you are filming yourself, and how much editing you plan to do afterward.
Module 2: Osmo Pocket 4P Modes
The second module focuses on three areas that have a major effect on how the camera behaves: focus, gimbal movement, and intelligent automatic modes.
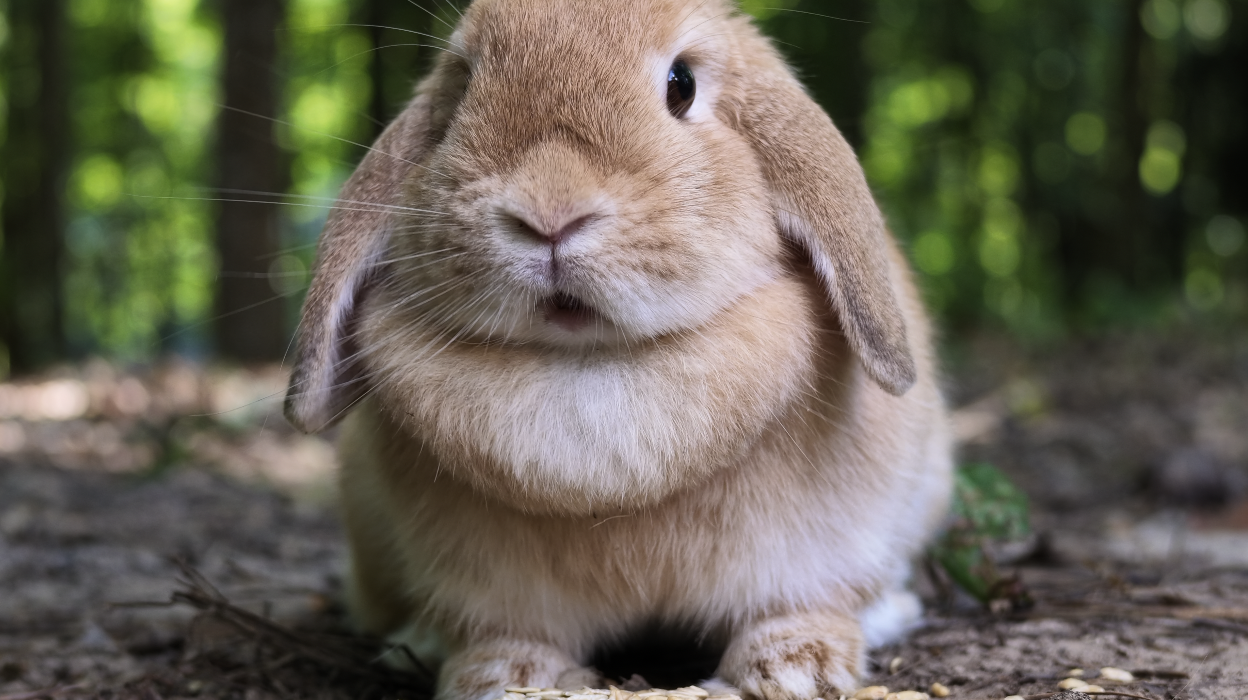
Lesson 2.1: Focus Modes
Focus is one of the easiest things to overlook when using a small camera.
The Osmo Pocket 4P often focuses quickly enough that it can feel completely automatic. However, understanding how focus behaves becomes much more important when you begin filming close-up subjects, talking heads, product shots, or anything with foreground and background separation.
The 1× and 3× cameras also have different focus ranges.
According to DJI’s official specifications, the wide-angle camera can focus from approximately 0.09 meters to infinity, while the medium-telephoto camera focuses from approximately 0.2 meters to infinity.
That difference matters when filming close objects.
The 1× camera can get significantly closer to a subject, while the 3× camera requires more distance. If you move the 3× lens too close to a product, face, or object, the camera may struggle to achieve focus.
In this lesson, we cover:
-
Single focus
-
Continuous focus
-
Face detection
-
Subject tracking
-
Focus during recording
-
Close-focus limitations
-
Focus using the 1× camera
-
Focus using the 3× camera
-
Product filming
-
Talking-head focus
-
Moving subjects
-
Preventing unwanted focus shifts
I also explain when it makes sense to tap the screen to set focus and when it is better to allow the camera to continuously follow a subject.
For talking-head videos, I typically want the camera to recognize and prioritize the face. For product shots, I may prefer to deliberately select the exact object I want sharp.
We also discuss how the 3× camera creates stronger subject separation, but that more compressed look can make missed focus more noticeable.
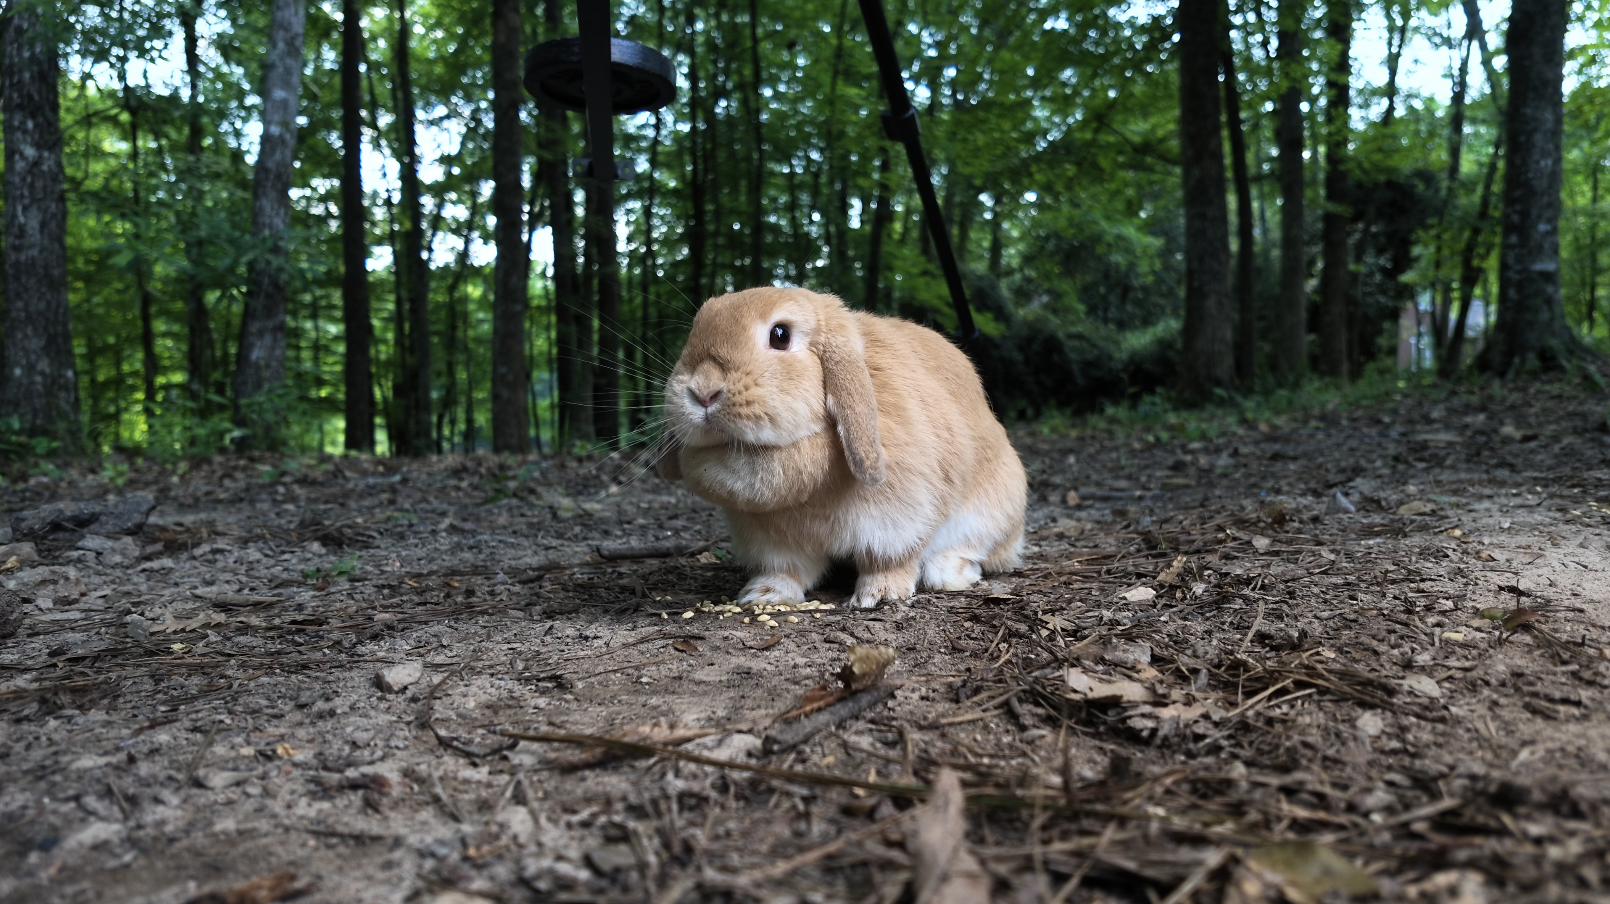
Lesson 2.2: Gimbal Modes
The built-in three-axis gimbal is one of the Osmo Pocket 4P’s most important features.
However, the gimbal does more than simply smooth out shaky footage. Its behavior changes depending on the mode you select.
DJI’s manual separates the available gimbal behavior into different modes designed to control how the camera follows your movement.
In this lesson, we compare the major gimbal modes and demonstrate how each one changes the look of a shot.
We cover:
-
Follow mode
-
Tilt-locked behavior
-
FPV-style movement
-
Recenter controls
-
Forward-facing and selfie-facing positions
-
Gimbal locking
-
Camera-direction locking
-
Joystick control
-
Pan speed
-
Tilt response
-
Gimbal movement with the 1× camera
-
Gimbal movement with the 3× camera
A wide-angle shot at 1× can hide small movements more easily. The 3× lens magnifies those movements and can make fast pans, sudden stops, or small hand movements more obvious.
Because of that, a gimbal movement that looks good at 1× may feel too aggressive at 3×.
I show you how to slow down your movements, use the joystick more carefully, and match the gimbal mode to the type of shot you are creating.
We also cover how to use the gimbal for:
-
Reveal shots
-
Push-ins
-
Pull-backs
-
Orbiting a subject
-
Low-angle shots
-
Tracking shots
-
Product shots
-
Walking shots
-
Static tripod shots
The goal is to make the camera movement feel intentional rather than simply smooth.
Lesson 2.3: Intelligent Auto Modes
The Osmo Pocket 4P includes several intelligent features designed to help the camera recognize, frame, and track subjects.
These features are especially valuable for solo creators because they allow the camera to behave more like a camera operator.
DJI’s firmware updates added or expanded features including Frame Tracking, Multi-Person Tracking, and new joystick behavior.
In this lesson, we cover features such as:
-
ActiveTrack
-
Face tracking
-
Frame Tracking
-
Multi-Person Tracking
-
Spotlight Follow
-
Dynamic Framing
-
Smart Gimbal modes
-
Subject selection
-
Tracking while zoomed
-
Tracking with the 1× camera
-
Tracking with the 3× camera
-
Recovering a subject after tracking is lost
The Osmo Pocket 4P’s tracking and stabilization work together. The camera can identify a subject, keep that subject in the frame, and move the gimbal as the subject moves.
That can be incredibly useful when filming yourself walking, presenting to the camera, moving around a studio, or demonstrating a product.
However, tracking is not always the right choice.
There are situations where the camera may move more than you want, change the composition, or become confused by multiple faces or objects. We go through those situations so you understand when intelligent tracking helps and when it is better to lock the camera in place.
We also look at how tracking behaves with the 3× camera. The tighter field of view creates a stronger talking-head look, but it gives the camera less room to recover if the subject moves quickly toward the edge of the frame.
Module 3: Content Creator Essentials
The third module is the largest section of Film 202.
This is where we take everything covered in Film 101 and the first part of Film 202 and begin applying it to complete creative workflows.
Lesson 3.1: Cinematic Osmo Pocket 4P Settings
The word “cinematic” gets used constantly, but cinematic footage is not created by one magic setting.
It comes from a combination of exposure, frame rate, shutter speed, white balance, color, focal length, camera movement, composition, lighting, and subject choice.
In this lesson, I break down the settings I use as starting points for creating more cinematic footage with the Osmo Pocket 4P.
We cover:
-
Resolution
-
Frame rate
-
Shutter speed
-
ISO
-
White balance
-
Exposure compensation
-
Color profiles
-
Sharpness
-
Noise reduction
-
ND filters
-
Gimbal speed
-
Tracking behavior
-
1× versus 3× lens selection
We also discuss how those settings should change depending on the environment.
Cinematic Daylight Settings
Bright outdoor conditions usually require the most exposure control.
If you want to use a shutter speed that produces natural motion blur, you may need an ND filter because the Pocket 4P has fixed apertures.
The 1× camera uses an f/2.0 aperture, while the 3× camera uses an f/1.8 aperture.
Because the apertures cannot close down, ND filters become one of the main ways to reduce the amount of light reaching the sensor.
We work through practical starting points for:
-
Bright midday sun
-
Cloudy daylight
-
Golden hour
-
Backlit subjects
-
Outdoor talking heads
-
Landscape footage
-
Cinematic B-roll
Cinematic Indoor Settings
Indoors, the main challenge is usually balancing exposure against image noise.
We discuss when to allow ISO to rise, when to lower the shutter speed, and when adding light is the better solution.
We also cover mixed lighting and why manually setting white balance can prevent the camera from changing colors during a shot.
Cinematic Low-Light Settings
Low light is where the difference between the 1× and 3× cameras becomes especially important.
The 1× camera’s larger sensor generally gives it an advantage in darker environments. The 3× camera can still create an excellent compressed look, but it may require more light or a higher ISO.
We compare Normal Video mode with the dedicated Low-Light Video mode and explain why the brightest-looking setting is not always the cleanest-looking setting.
Cinematic Settings for the 3× Camera
The 3× camera is one of the defining features of the Osmo Pocket 4P.
Its 60mm-equivalent perspective works beautifully for:
-
Talking heads
-
Portraits
-
Product shots
-
Detail shots
-
Compressed landscapes
-
B-roll
-
Interview-style framing
The tighter lens makes backgrounds appear closer and helps separate the subject from the environment.
However, it also magnifies camera movement, requires more working distance, has a longer minimum focusing distance, and uses a smaller sensor than the 1× camera.
I explain how I adjust my movement, framing, focus, and exposure when switching to the 3× camera.
Cinematic Color Profiles
We revisit the four color-profile choices:
-
Normal
-
HDR 10-bit
-
D-Log 10-bit
-
D-Log 2
Normal is ideal for a fast workflow with minimal color grading.
HDR 10-bit is designed for high-dynamic-range capture and compatible HDR playback. DJI added this profile through a firmware update after the original manual was released.
D-Log 10-bit provides a flatter image and greater grading flexibility. It is especially important for the 3× camera because the 3× lens does not support D-Log 2.
D-Log 2 is designed to take advantage of the main 1× camera’s greater dynamic range. DJI advertises up to 17 stops of dynamic range when using the main camera in D-Log 2.
We also cover why matching 1× D-Log 2 footage with 3× D-Log footage may require additional color correction.
The profiles are different, the sensors are different, and the footage may not match perfectly without some work.
Lesson 3.2: DJI Mimo App
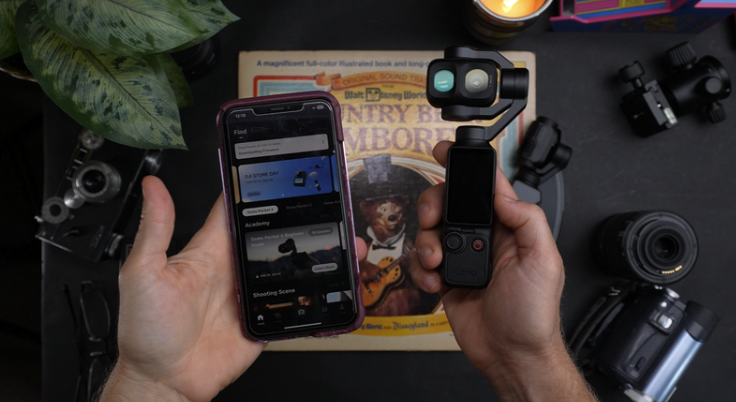
The DJI Mimo app gives you a larger screen and additional control over the Pocket 4P.
According to DJI’s manual, the app can display the live camera view, adjust parameters, and control the camera remotely.
In this lesson, I show you how to connect the Pocket 4P and use the app for real-world filming.
We cover:
-
Connecting the camera
-
Monitoring the live image
-
Changing settings
-
Controlling the gimbal
-
Starting and stopping recording
-
Reviewing footage
-
Transferring files
-
Updating firmware
-
Troubleshooting connection issues
-
Using the histogram
-
Filming yourself
-
Using a phone as a larger monitor
The Mimo app is particularly helpful when the Pocket 4P is placed farther away from you.
For example, you can place the camera on a tripod, frame yourself using the phone, start recording remotely, and monitor whether tracking is working correctly.
The app can also provide exposure tools that are not always available directly on the camera’s small built-in screen.
One reviewer specifically noted that the Mimo app provides access to a histogram, which can help when judging exposure, especially while shooting in a flat Log profile.
We also cover Auto Media Transfer, which was added through firmware for supported iPhones. When enabled, newly captured files can transfer to the phone after the camera powers off.
Lesson 3.3: Osmo Pocket 4P Slow Motion
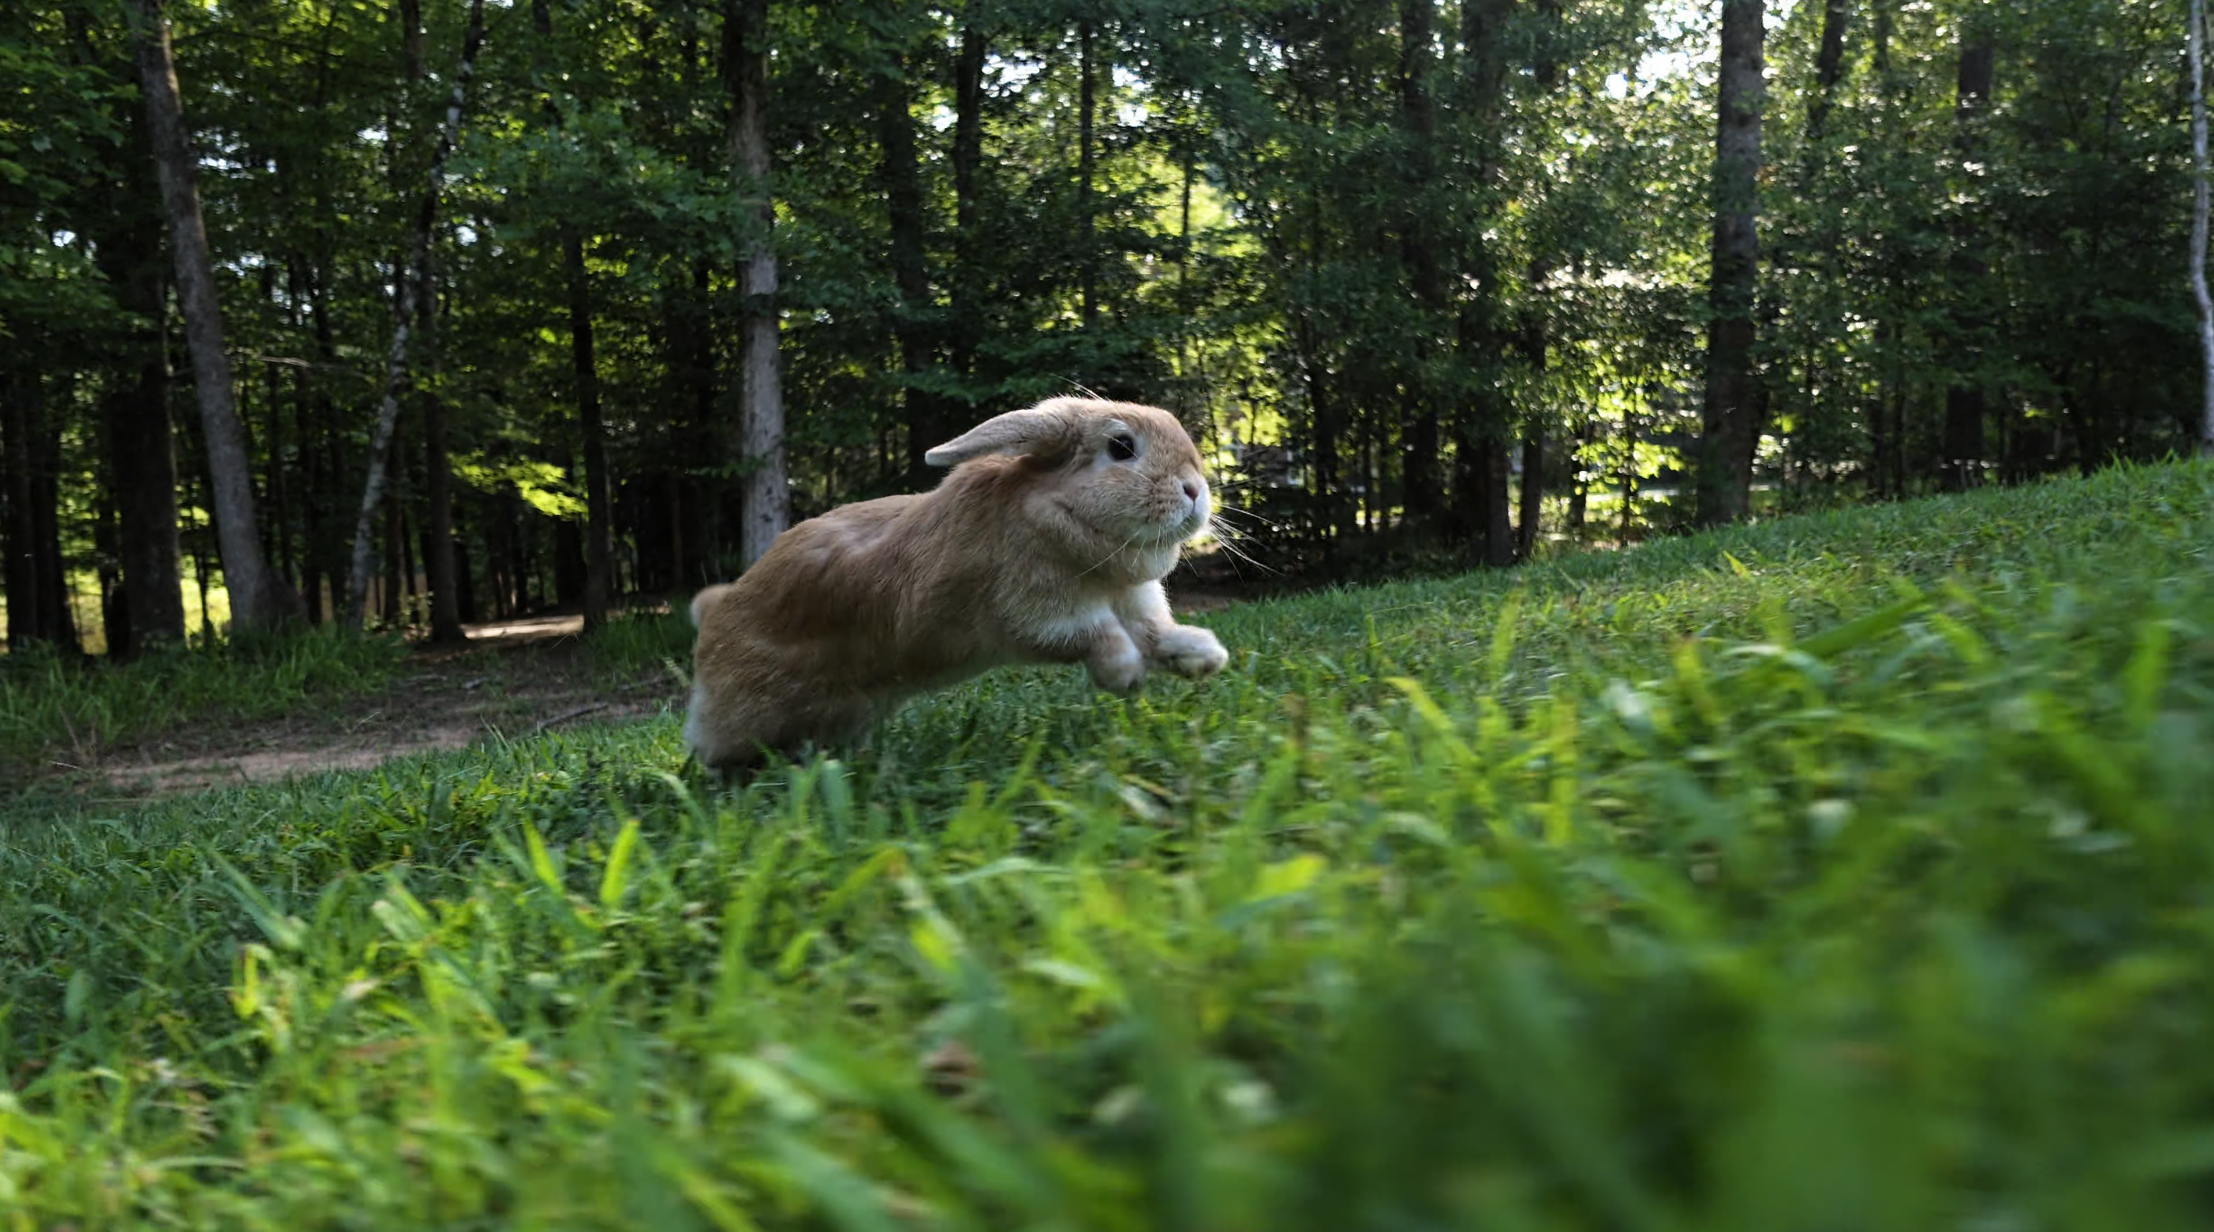
The Osmo Pocket 4P is capable of extremely high frame rates for such a small camera.
The 1× wide-angle camera can record 4K slow motion at:
-
100 fps
-
120 fps
-
200 fps
-
240 fps
The 3× medium-telephoto camera can record 4K slow motion at:
-
100 fps
-
120 fps
-
200 fps
Both cameras can also record high-frame-rate 1080p footage.
In this lesson, we cover how slow motion works and when each frame rate makes sense.
100 and 120 Frames Per Second
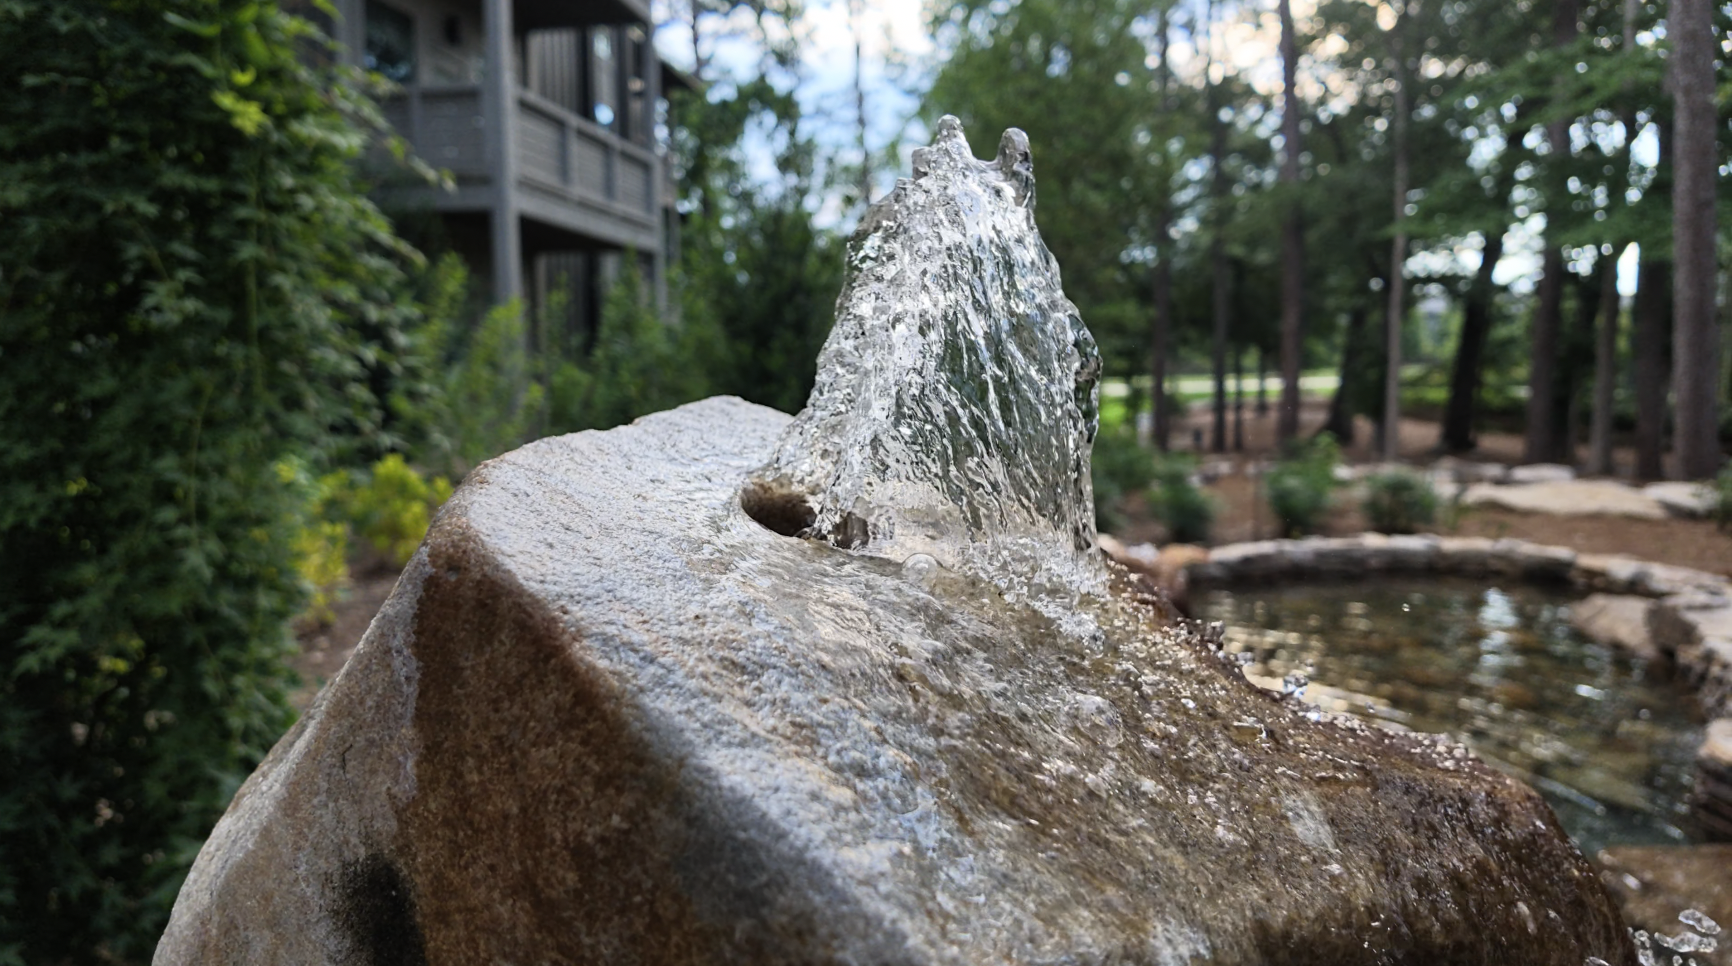
These frame rates are excellent for everyday slow motion.
They provide smooth movement while generally preserving more image quality and requiring less light than 200 or 240 frames per second.
I use these settings for:
-
Walking shots
-
Clothing movement
-
Hair movement
-
Product shots
-
Water
-
Sports
-
Hand movements
-
Cinematic B-roll
200 and 240 Frames Per Second
These higher frame rates create much more dramatic slow motion.
They work well for very fast movement, but they also require more light and may come with additional restrictions.
The 1× camera can reach 240 fps in 4K, while the 3× camera tops out at 200 fps in 4K.
We discuss why high-frame-rate footage can become noisy indoors and why adding light or filming outdoors often produces better results.
We also cover the fact that Log profiles are not available in the dedicated slow-motion mode. One review noted that faster slow-motion recording requires switching into the Slow Motion mode, which disables the Log profiles.
That means you need to decide whether extreme slow motion or maximum color-grading flexibility is more important for the shot.
Shutter Speed for Slow Motion
Higher frame rates require faster shutter speeds.
A 240 fps recording needs far more light than a 24 or 30 fps recording because each frame is exposed for a shorter period.
I show you how shutter speed affects:
-
Motion blur
-
Sharpness
-
Flicker
-
Exposure
-
Noise
-
The overall feeling of movement
We also discuss artificial lighting and why certain lights may flicker when recording at high frame rates.
Lesson 3.4: Osmo Pocket 4P Photography
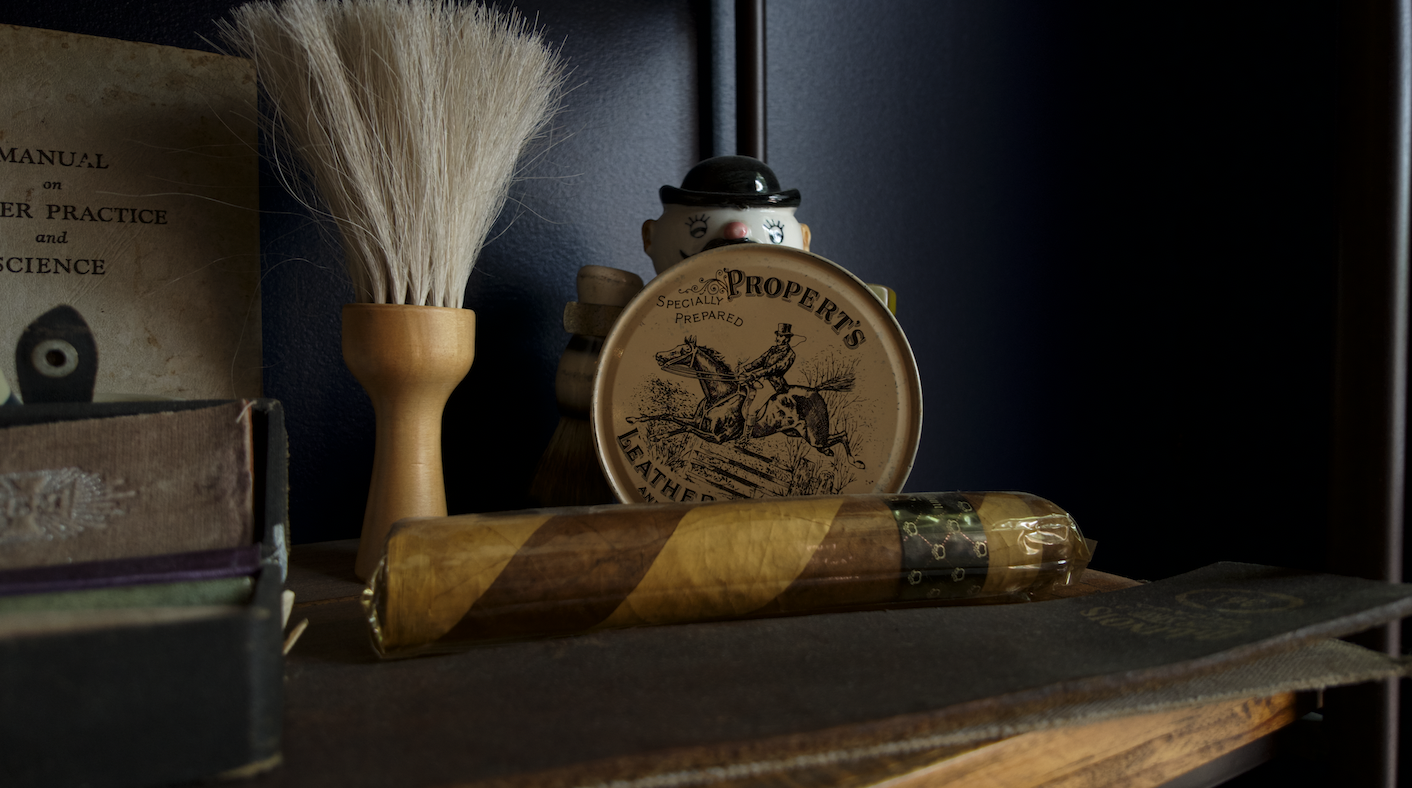
Although the Pocket 4P is primarily a video camera, it can also capture detailed photographs.
DJI lists the camera as capable of producing approximately 37-megapixel still images, with support for JPEG, DNG, and JPEG plus DNG recording.
In this lesson, we cover:
-
Single photos
-
Countdown timers
-
JPEG
-
DNG
-
JPEG plus DNG
-
HDR Enhancement
-
Panorama
-
Exposure
-
White balance
-
Focus
-
1× photography
-
3× photography
-
Composition
-
Using the gimbal for still images
The 1× camera is useful for landscapes, interiors, groups, travel photography, and environmental portraits.
The 3× camera is better suited for tighter portraits, details, products, compressed landscapes, and subjects that are farther away.
The gimbal can also help keep the camera steady when using slower shutter speeds, although subject movement can still create blur.
DJI later added HDR Enhancement to Photo mode through a firmware update, making firmware version an important part of the photography workflow as well.
We also discuss when DNG files are worth using.
JPEG files are faster and easier to share, while DNG files retain more flexibility for adjusting exposure, white balance, highlights, shadows, and color during editing.
Lesson 3.5: Timelapse, Hyperlapse, and Motionlapse
The Pocket 4P includes three different ways to compress time:
-
Timelapse
-
Hyperlapse
-
Motionlapse
They may sound similar, but each mode creates a different type of shot.
Timelapse
A standard timelapse records frames over a longer period while the camera remains stationary.
This works well for:
-
Sunsets
-
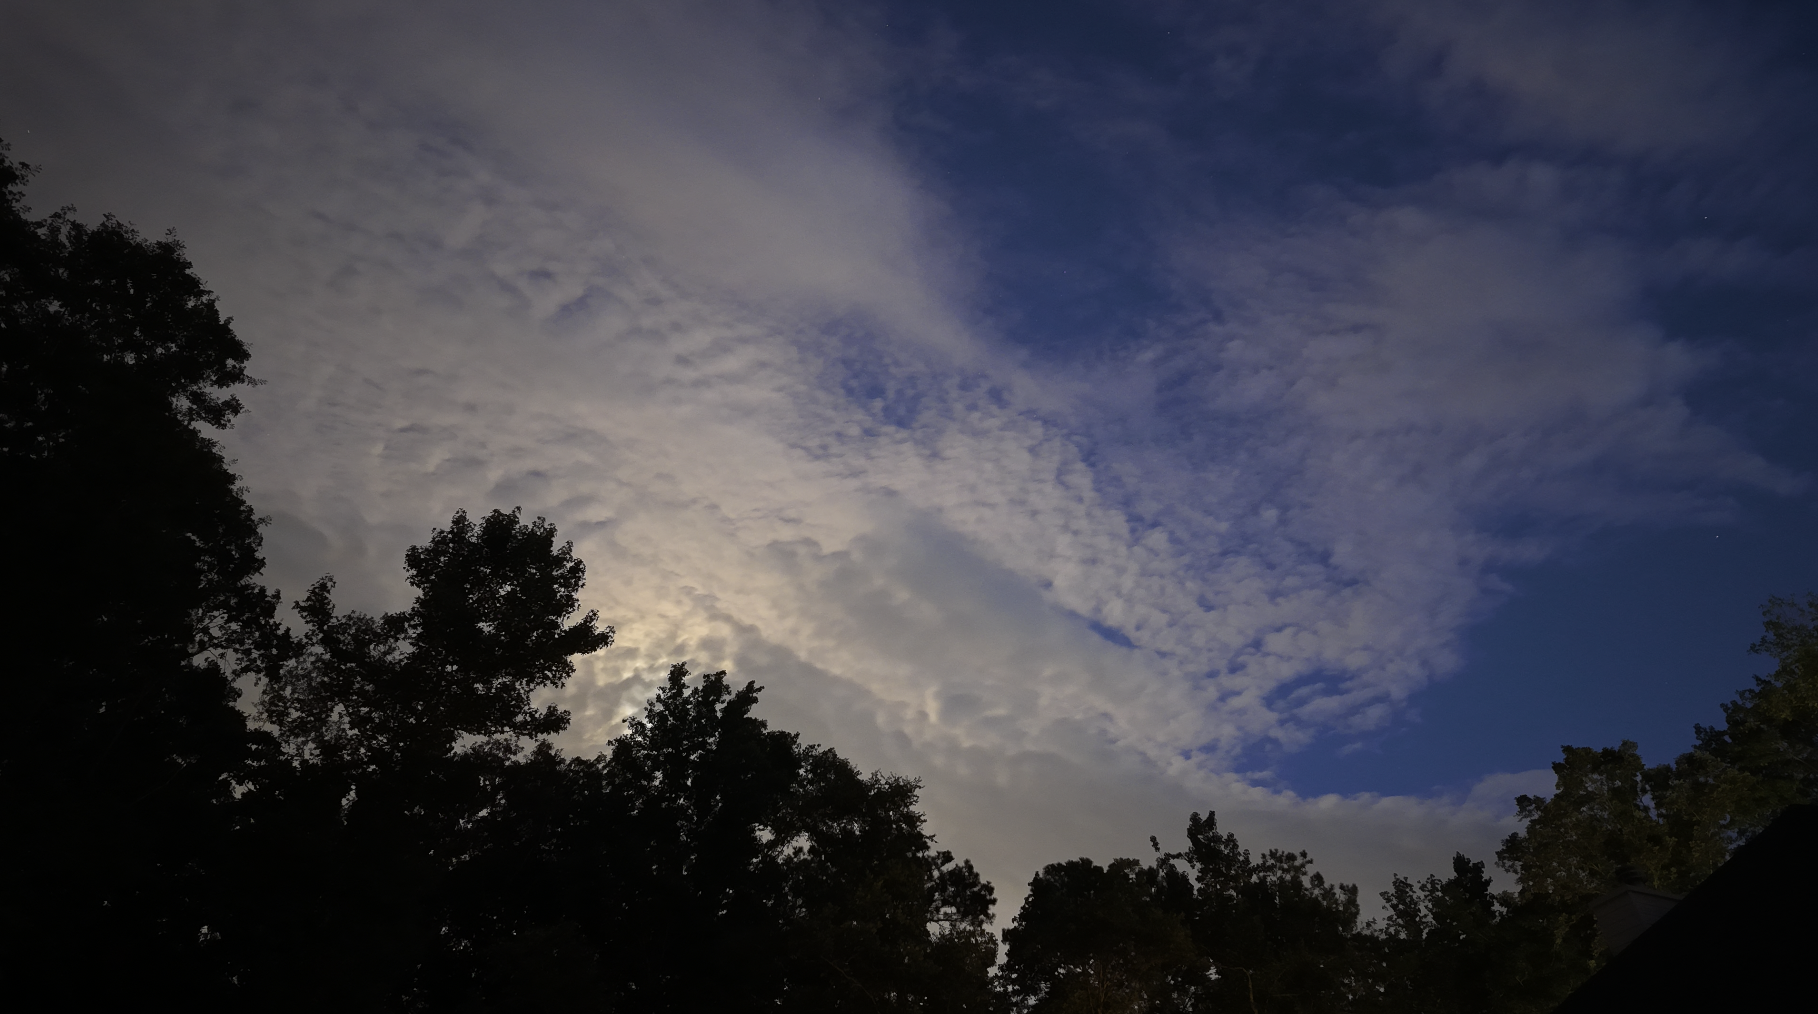
Cloud movement
-
City traffic
-
Construction
-
Events
-
Changing light
-
Crowds
-
Behind-the-scenes setups
DJI allows you to select different intervals and durations depending on how quickly the scene is changing.
We go through how to choose an interval and how the interval affects the apparent speed of the final video.
Hyperlapse
A hyperlapse compresses time while the camera is moving.
The Pocket 4P’s stabilization makes it easier to create smooth hyperlapse footage while walking or traveling through an environment.
We cover:
-
Walking speed
-
Camera direction
-
Gimbal mode
-
Subject selection
-
Framing
-
Motion blur
-
Hyperlapse speed
-
Using the 1× camera
-
When the 3× camera is too tight
The 1× camera is usually easier for walking hyperlapses because the wider field of view hides small movements and provides more context.
Motionlapse
A motionlapse combines a timelapse with programmed gimbal movement.
DJI allows you to set multiple camera positions, and the gimbal moves between those points while recording the sequence. The official specifications state that Motionlapse supports setting four positions.
This can create a much more dynamic result than a completely stationary timelapse.
We cover how to choose the movement points, avoid making the motion too aggressive, and create a smooth path that supports the subject.
Motionlapse works especially well for:
-
Sunrises
-
Sunsets
-
Clouds
-
City skylines
-
Indoor setups
-
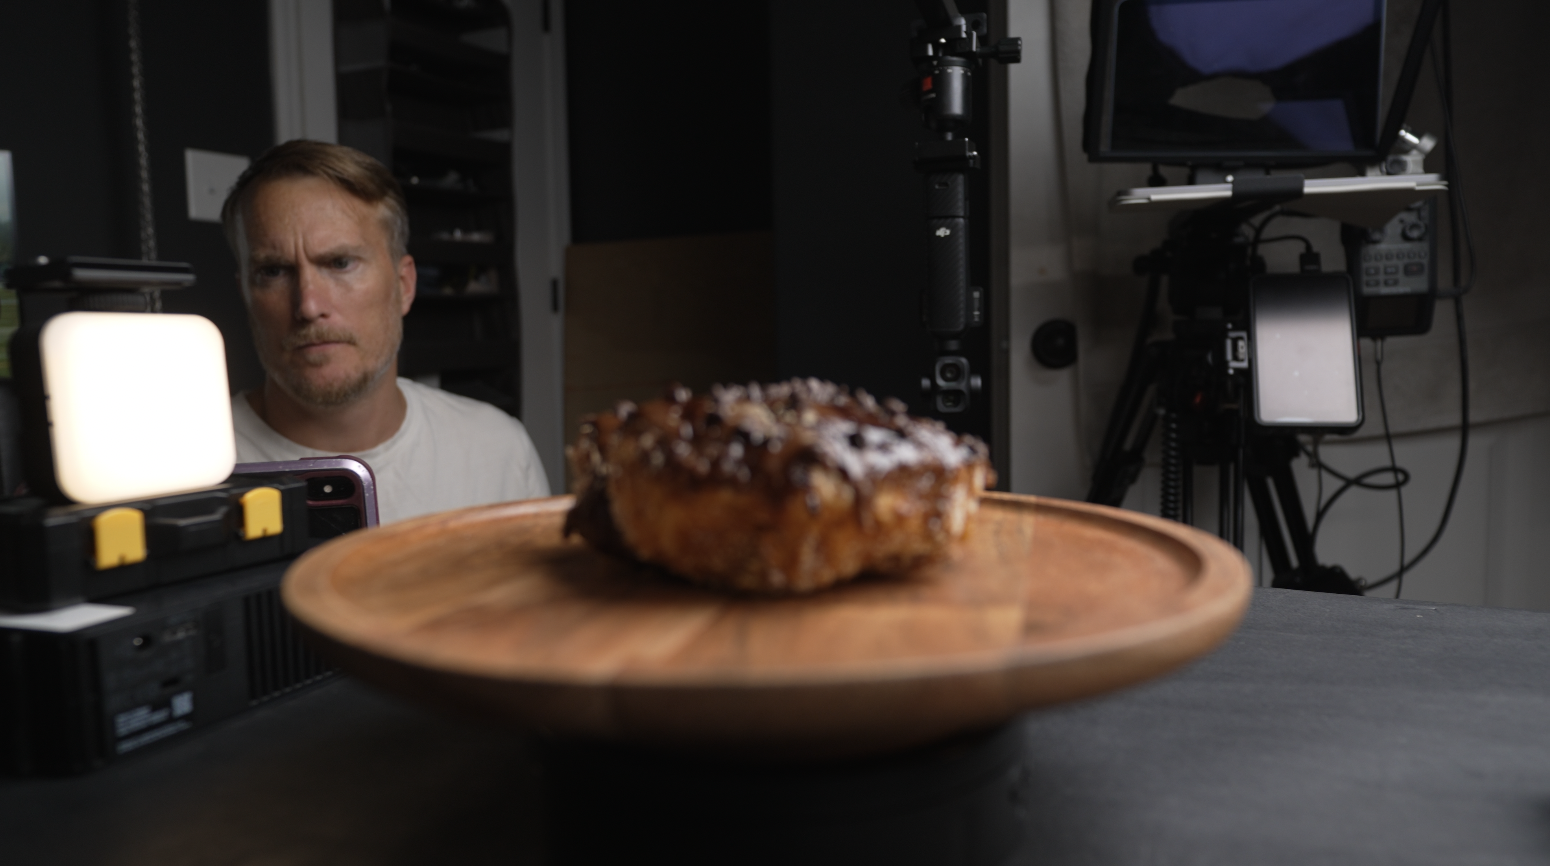
Product displays
-
Events
-
Behind-the-scenes filming
Quizzes Throughout the Film 202 Course
The Film 202 course includes quizzes throughout the lessons.
These quizzes help reinforce the techniques and make it easier to remember how the different modes work.
They cover topics such as:
-
Focus behavior
-
Minimum focusing distance
-
Gimbal modes
-
ActiveTrack
-
Frame Tracking
-
Multi-Person Tracking
-
Cinematic settings
-
1× versus 3× lens selection
-
Slow-motion frame rates
-
Photography formats
-
Timelapse intervals
-
Hyperlapse
-
Motionlapse
The quizzes are not designed to make the course feel like school. They are there because it is easy to watch a video, understand everything in the moment, and then forget the details a few days later.
The quizzes help you retain the information and identify any areas you may want to review.
Downloadable Osmo Pocket 4P Film 202 PDFs
The course also includes downloadable PDF guides and checklists.
These are designed to give you a quick reference while you are filming.
You can keep them on your phone or tablet and use them when you need help remembering a particular setup.
The PDFs may include reference information for:
-
Focus modes
-
Gimbal modes
-
Tracking features
-
Cinematic daylight settings
-
Cinematic indoor settings
-
Low-light starting points
-
1× versus 3× recommendations
-
Slow-motion frame rates
-
Photography formats
-
Timelapse intervals
-
Hyperlapse settings
-
Motionlapse setup
The video lessons explain why the settings work. The PDFs give you something quick and practical to take into the field.
Built Around Real-World Experience and Official Research
This course is based on extensive real-world use of the Osmo Pocket 4P.
I have used the camera for cinematic B-roll, talking heads, product videos, family filming, low-light scenes, handheld vlogging, slow motion, photography, tracking, and comparisons against other cameras.
However, I did not want the course to be based only on my personal experience.
I also researched DJI’s official manual, specifications, Quick Start Guide, and firmware release notes to verify the camera’s actual controls, modes, frame rates, focus ranges, lens differences, and newly added features.
The official specifications confirm the two sensor sizes, 20mm and 60mm-equivalent lenses, focus ranges, 4K frame rates, slow-motion limits, photography formats, and time-compression modes.
The official manual provides the original operating instructions for the gimbal, touchscreen, tracking, activation, and DJI Mimo app.
The firmware notes document later additions such as Frame Tracking, Multi-Person Tracking, HDR 10-bit, Auto Media Transfer, and HDR Enhancement for photos.
That allows the course to clearly explain the difference between how the Pocket 4P originally operated and how it works after the latest updates.
Get More Creative With the Osmo Pocket 4P
The Osmo Pocket 4P Film 202 Course is designed to help you move beyond simply recording technically correct footage.
It is about understanding how to use focus, movement, focal length, tracking, slow motion, photography, and time-based shooting modes to create something more intentional.
By the end of the course, you should have a better understanding of:
-
How focus works on the 1× and 3× cameras
-
Which gimbal mode to use
-
How to film yourself with tracking
-
How to build cinematic settings
-
When to use each color profile
-
How to use the DJI Mimo app
-
How to shoot clean slow motion
-
How to take better photographs
-
How to create timelapses
-
How to film hyperlapses
-
How to program motionlapses
The Pocket 4P may be small, but it gives you a surprising amount of creative control once you understand how all of its features work together.
Whether you are creating YouTube videos, filming travel content, recording talking heads, shooting products, capturing family memories, or producing cinematic B-roll, the Osmo Pocket 4P Film 202 Course will help you get more creative and more confident with the camera.
Author