
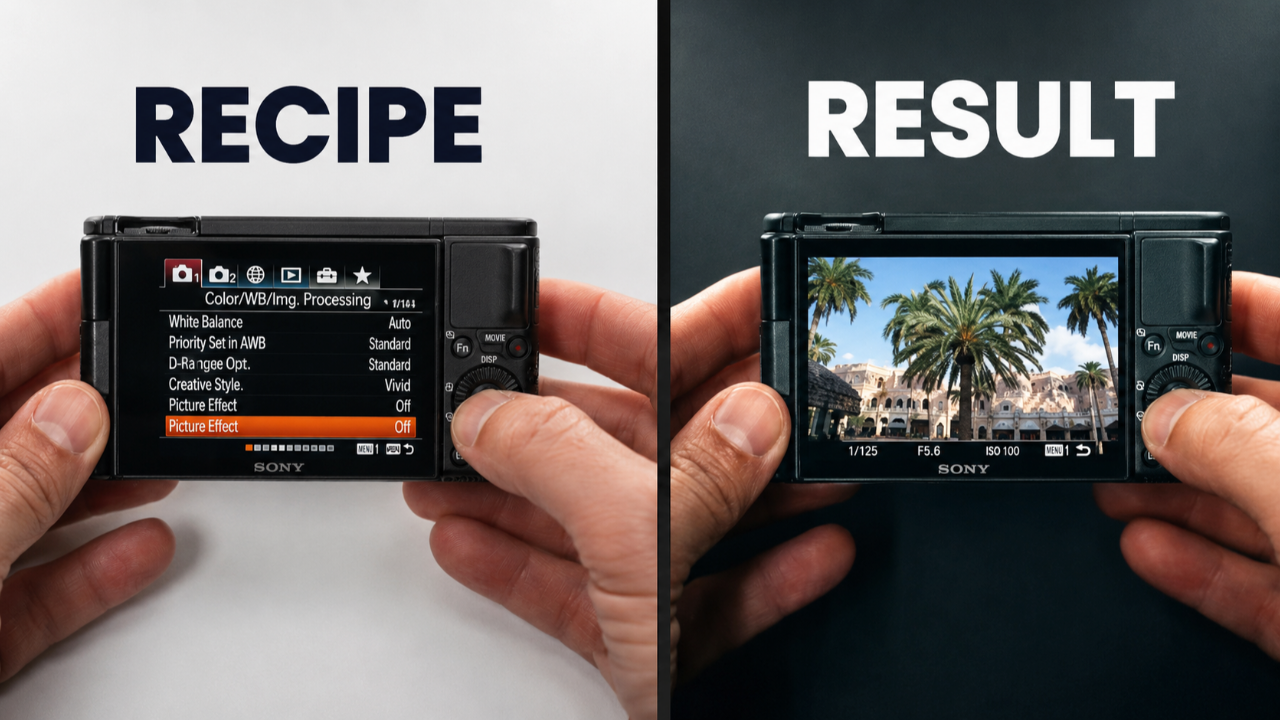
The Hidden Sony Setting That Changes Everything
May 27, 2026Get the full story watching the video above ⬆️
Purchase:
Sony A7Siii - https://geni.us/yOR3VqC or https://geni.us/AqtLX
Sony ZV-1 - https://geni.us/Cgj4o or https://geni.us/Uqb14A
If you own a Sony camera, whether it’s one of the older models or one of the newer ones, there is one setting I really think you should try.
It’s free, it’s easy to set up, and it can make your footage look a lot cleaner without needing to spend hours color grading in post.
This is the hidden Sony color profile that took me years to find. But once I started using it, I pretty much never went back.
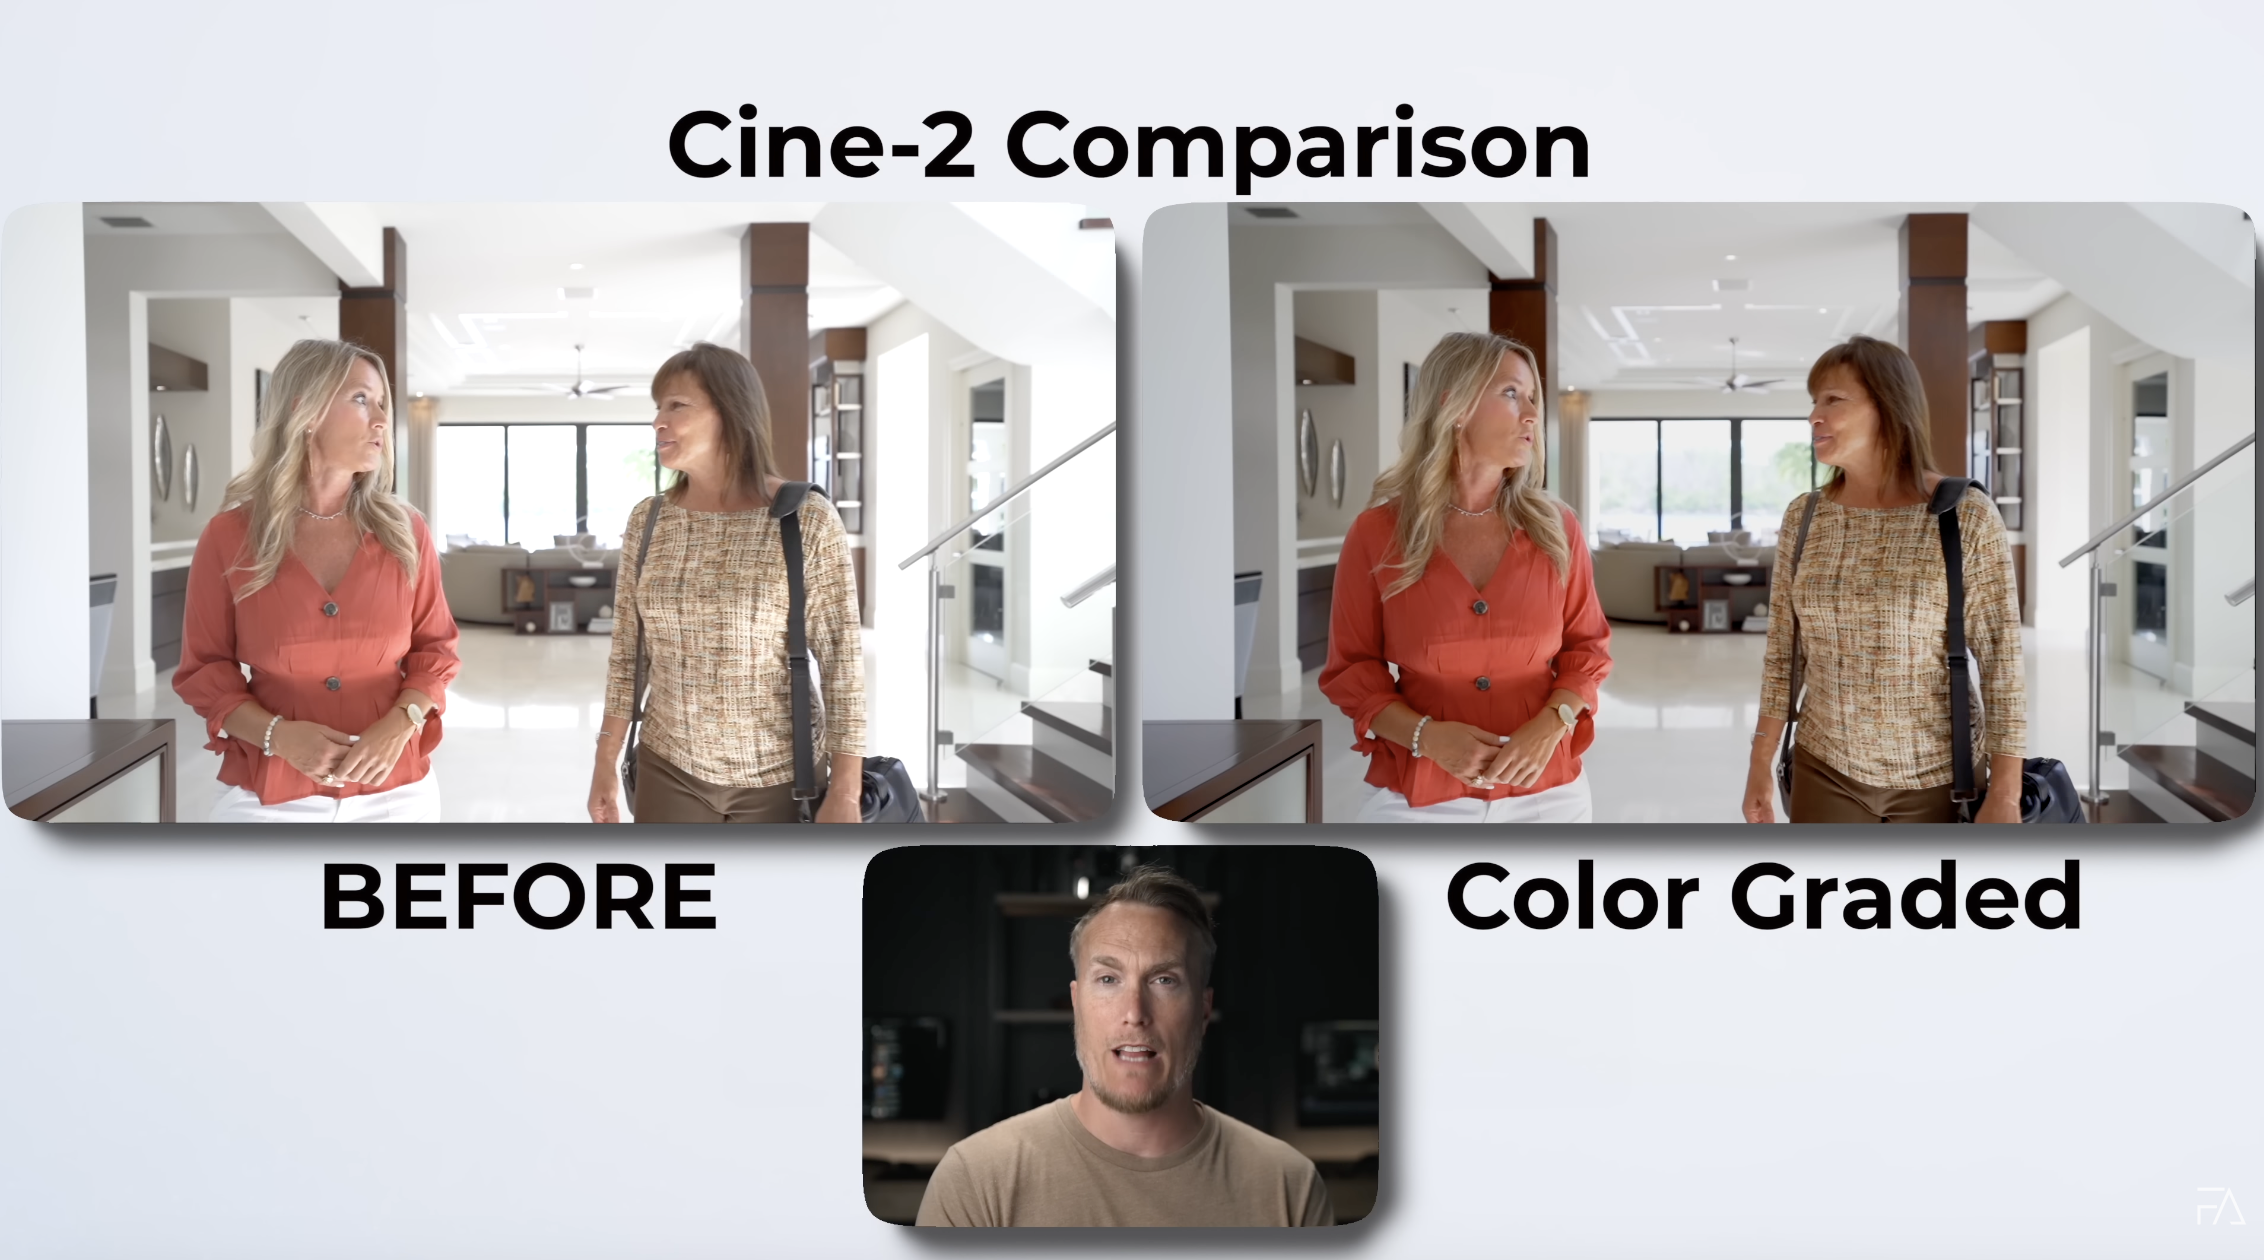
The setting is a customized version of Cine 2, and for me, it has become one of the easiest ways to get better highlight roll-off, more balanced contrast, and better-looking skin tones straight out of Sony cameras.
And just to be clear, this video and article are not sponsored. These are just my personal views after shooting with Sony cameras for around seven years.
Why I Still Use This Sony Picture Profile
A few years ago, I made a video talking about this same picture profile, and I said I was probably going to keep using it from that point forward.
And that’s exactly what happened.
Years later, I still use this same customized Cine 2 profile across my Sony cameras, especially when I’m shooting with multiple cameras at the same time.
The reason is simple: it helps the footage match better.
If I’m using something like the Sony a7S III, FX30, ZV-1, ZV-E10, a6400, or another Sony camera, this profile helps create a more consistent starting point. Instead of every camera giving me a totally different color and contrast look, I can get them much closer before I even start editing.
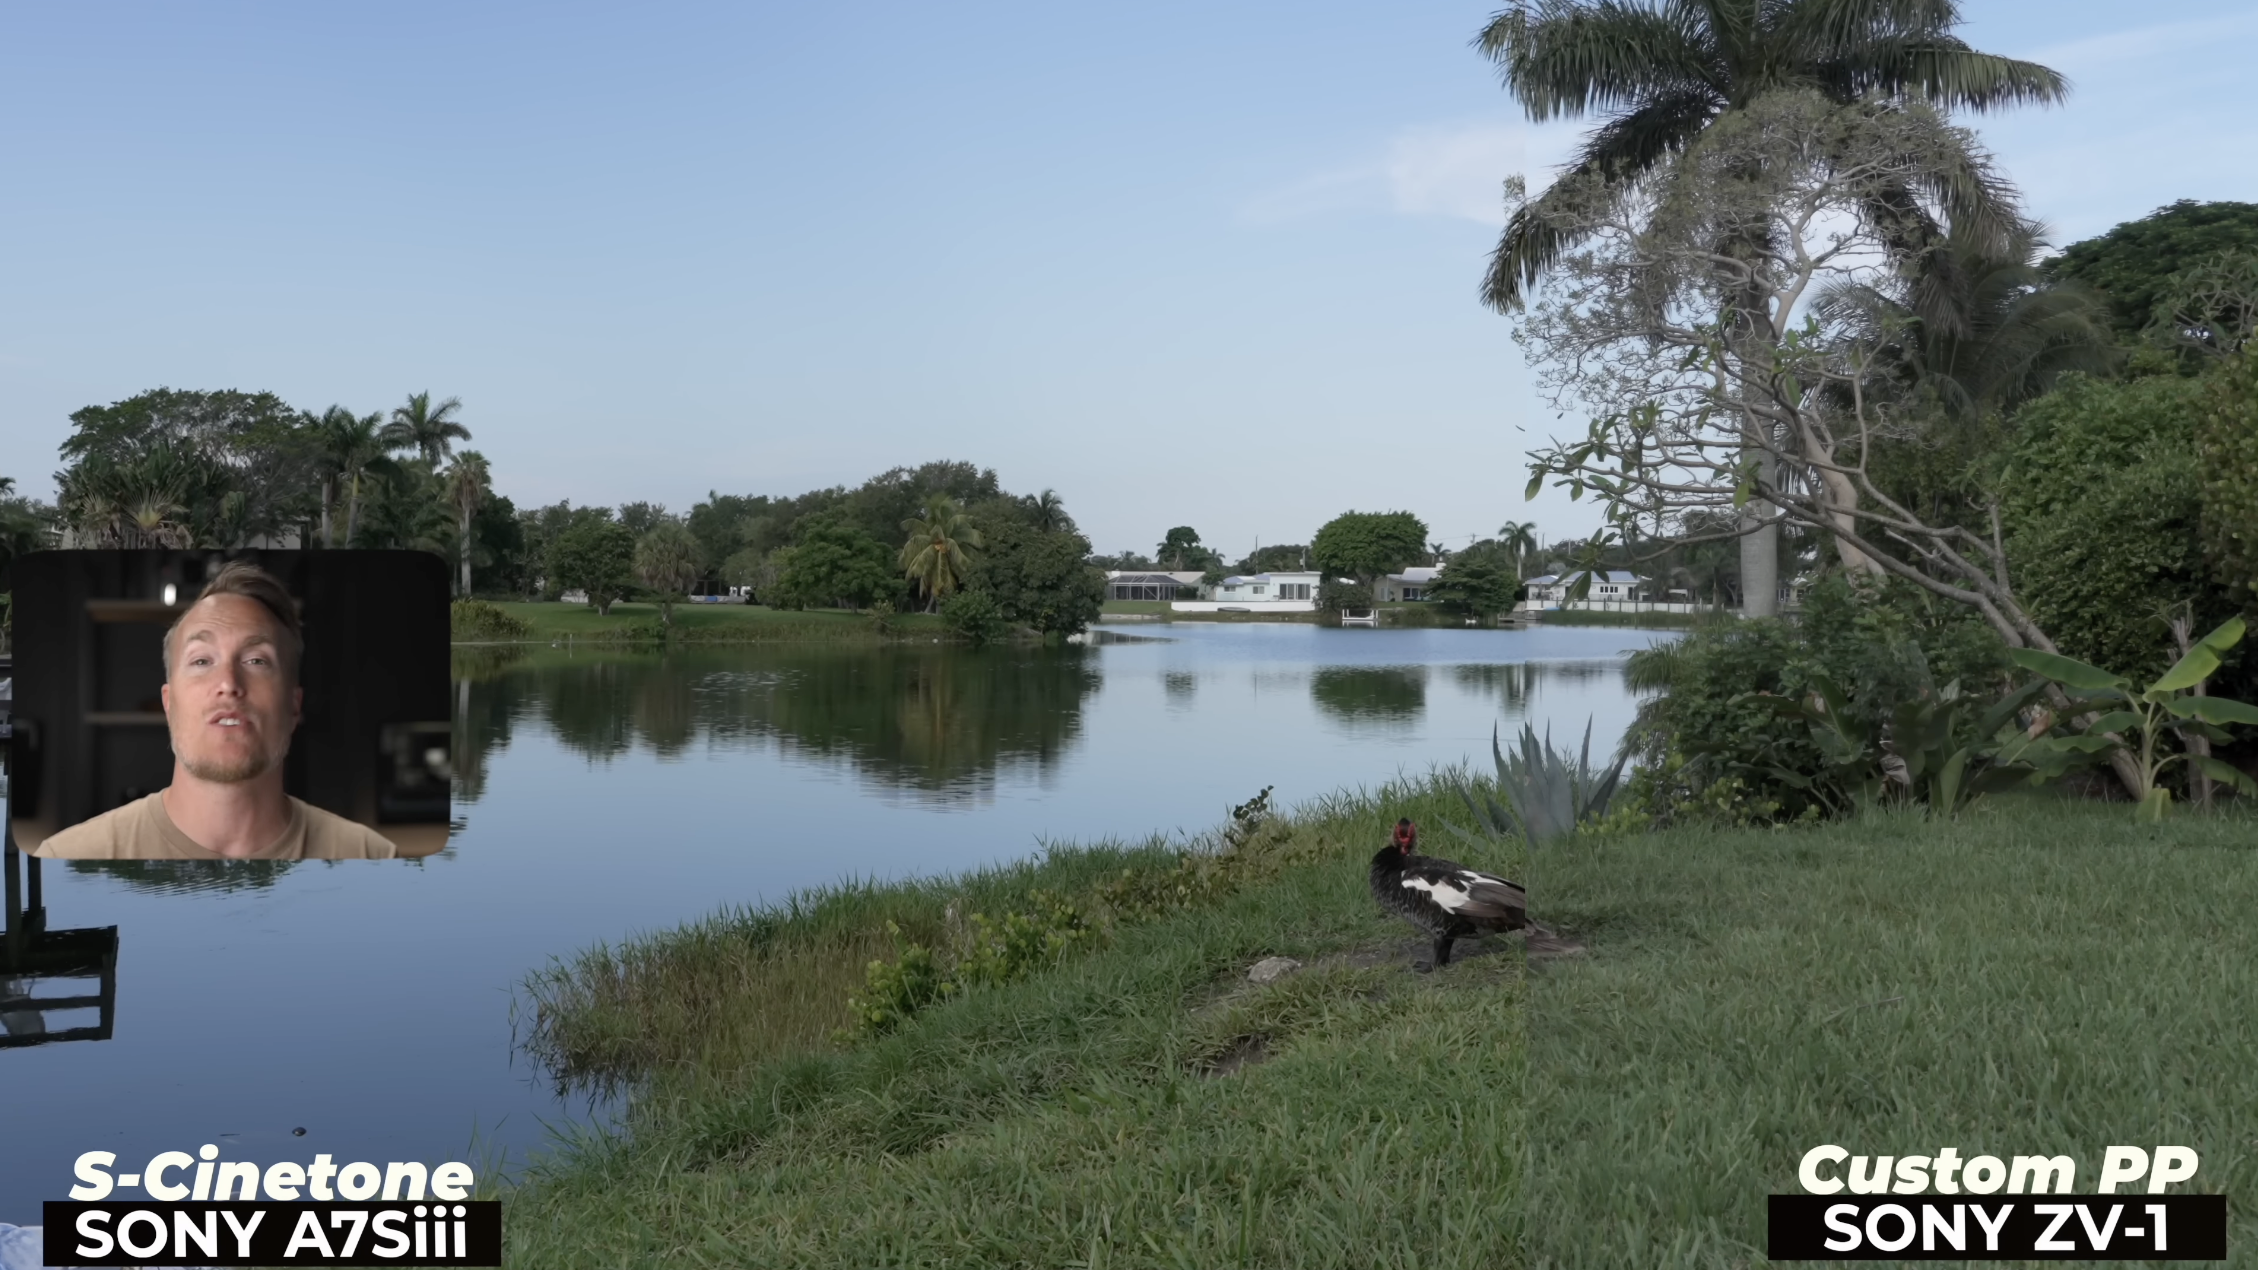
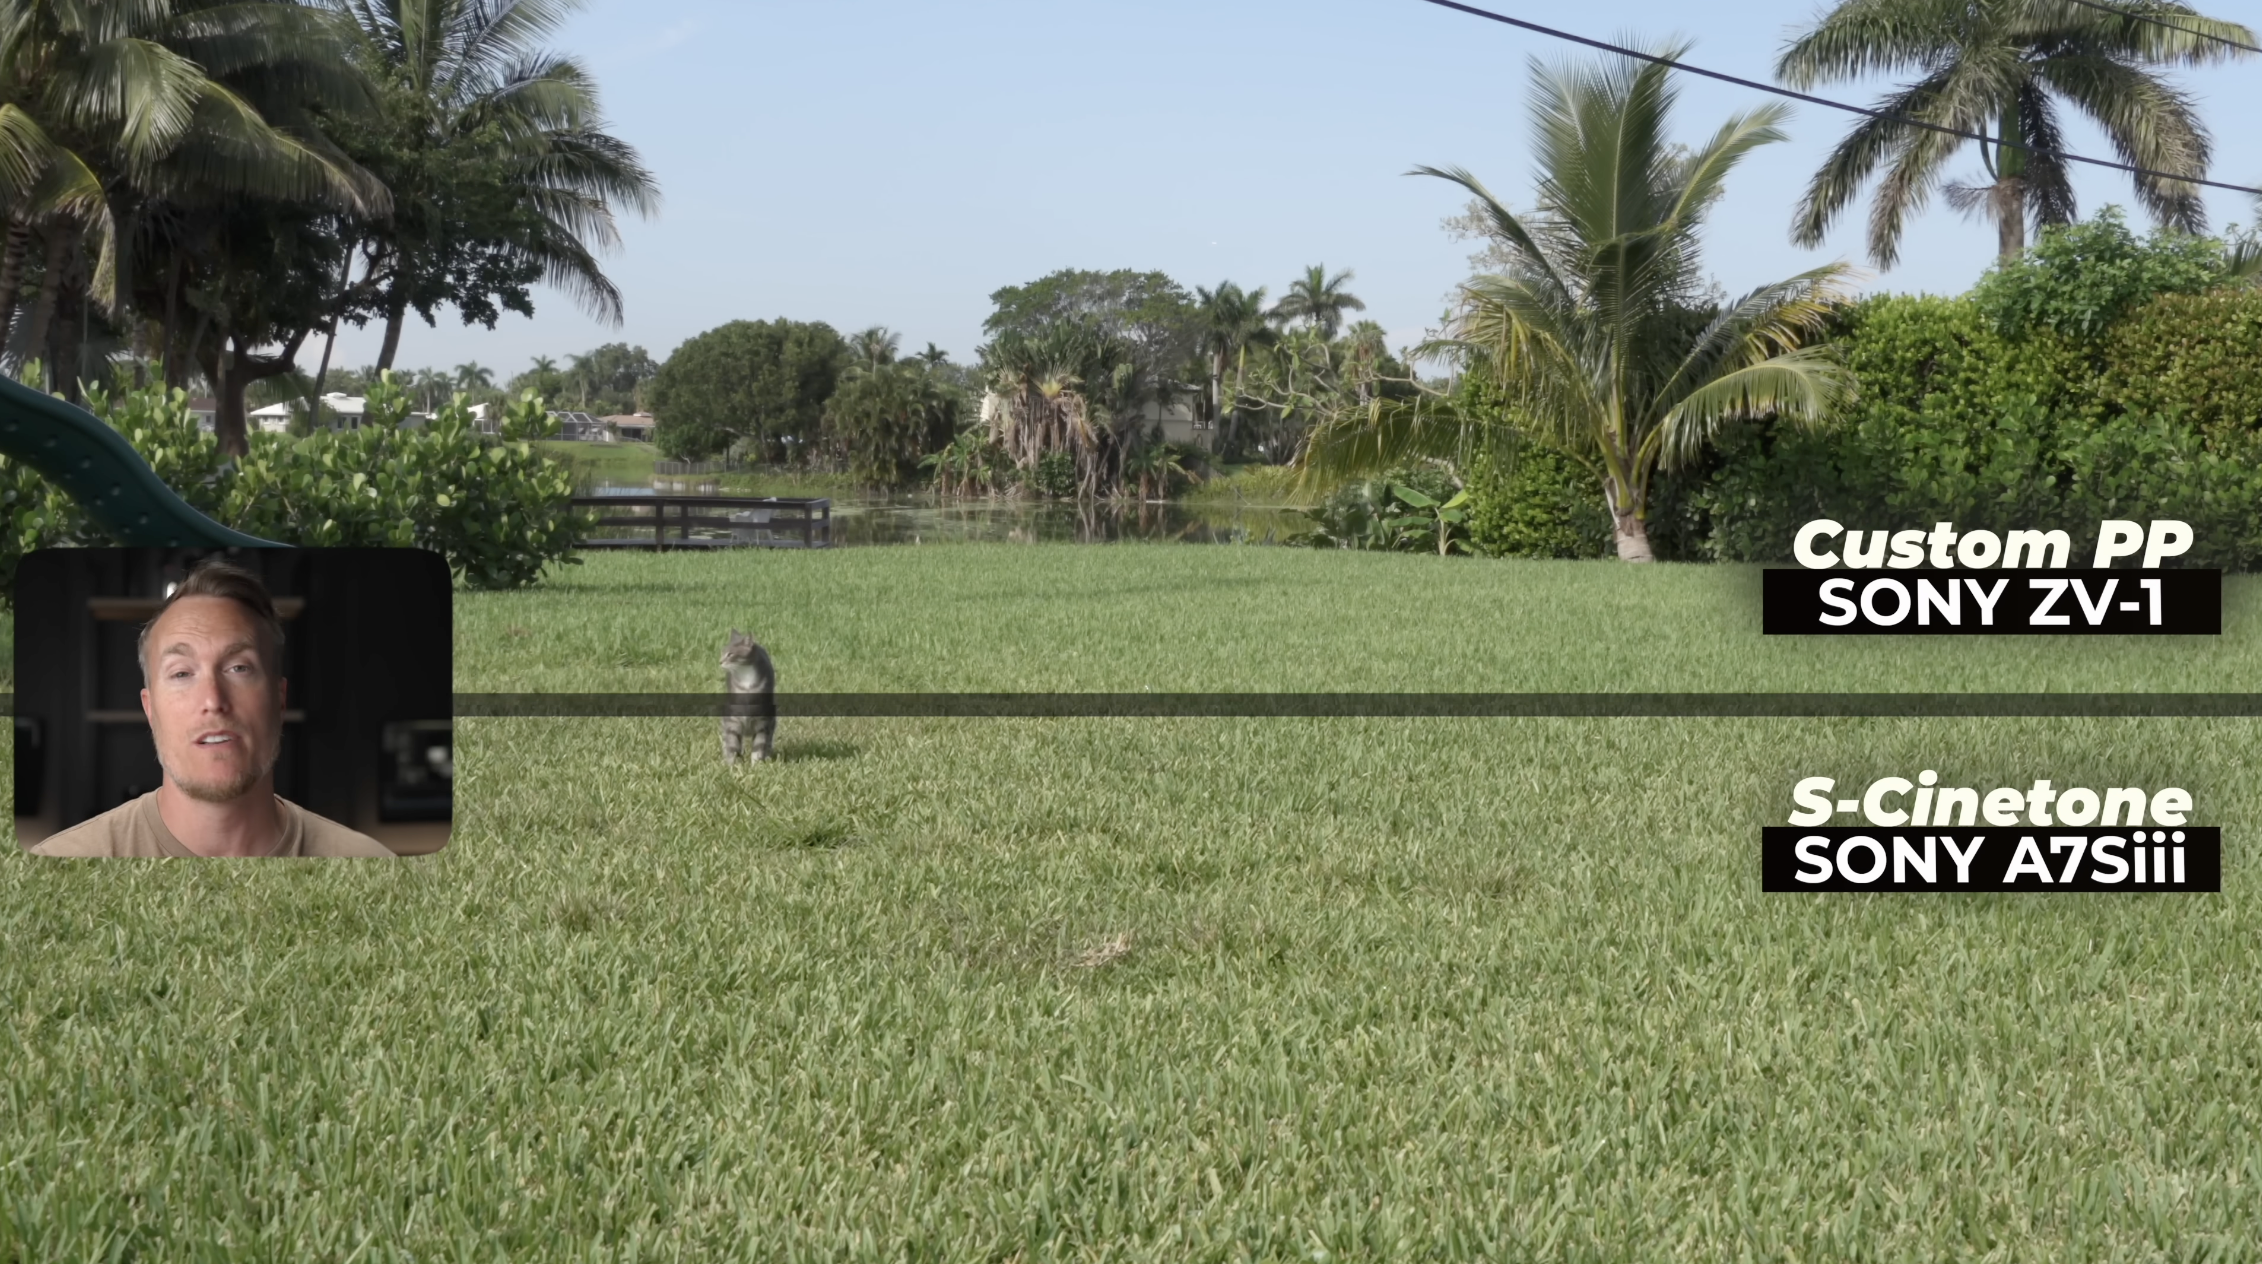
And if you’re using an older Sony camera that doesn’t have S-Cinetone, this customized Cine 2 setup can actually get you surprisingly close to that softer, more natural Sony look.

This Is Not a Creative LUT
Before we go any further, this is not meant to replace LUTs or creative color presets.
A LUT is usually designed to give your footage a specific style. It might make the footage look cinematic, vintage, moody, warm, contrasty, or film-like.
This Cine 2 setup is different.
It’s not meant to give you some crazy stylized look. It’s more of a clean base image. The goal is to make your footage look better straight out of the camera while still giving you enough room to make small adjustments in post.
So if you want a more artistic look, you can still use LUTs on top of this. But this profile gives you a much better starting point than the standard Sony profile, in my opinion.

How to Set Up the Custom Cine 2 Profile
On most Sony cameras, you can find Picture Profile either in the Function Menu or inside the main menu under the exposure or color settings.
I usually like to customize Picture Profile 10 because that way I’m not messing with the default profiles already built into the camera.
Here are the settings I use:
Picture Profile: PP10
Black Level: -12
Gamma: Cine 2
Black Gamma Range: Middle
Black Gamma Level: -5
Knee Mode: Manual
Color Mode: Still or Cinema
Saturation: 0
Color Phase: -2
For Color Depth:
- Red: +2
- Green: +1
- Blue: -2
- Cyan: 0
- Magenta: +1
- Yellow: 0
For Detail:
Detail Level: -7
That’s the full recipe.
Now, for Color Mode, I’ll say this: if you shoot a lot of talking head videos, interviews, or skin tone-heavy content, you might want to use Cinema instead of Still. Cinema can give you nicer skin tones in certain setups.
But either way, the main idea is that Cine 2 gives you a flatter, cleaner image than the standard profile without forcing you into a full Log workflow.
Why Detail Should Be Turned Down
One of the most important parts of this setup is turning Detail down to -7.
Sony cameras can sometimes look a little too digital or overly sharpened straight out of camera. Dropping the detail helps soften that harsh digital edge and gives the image a more natural look.
It’s a small change, but it makes a big difference.
This is especially helpful if you’re filming people, because overly sharp footage can make skin texture look harsher than it needs to.

Why Cine 2 Works So Well
The reason I like this custom Cine 2 profile is because it gives me a cleaner image without making the editing process annoying.
I’m not trying to recover a super flat Log image every time. I’m not spending forever trying to bring color and contrast back. I’m just starting with an image that already looks pretty good and then making small tweaks.
As long as you expose correctly, this profile helps prevent your highlights from looking too harsh, your contrast from getting too heavy, and your colors from feeling too baked in.
It gives you enough flexibility to adjust the footage, but not so much that it becomes a complicated workflow.

How I Adjust It in Post
When I bring the footage into Final Cut Pro, the adjustments are usually very simple.
Most of the time, I’ll do something like this:
- Add a little saturation
- Lift or lower the highlights
- Bring down the shadows if needed
- Make small exposure adjustments
- Match it to my other camera angles
That’s pretty much it.
I don’t recommend making one universal preset for every single clip because every shot is exposed a little differently. Lighting changes. Skin tones change. Backgrounds change.
So instead of forcing one preset on everything, I usually make quick adjustments clip by clip.
But the nice thing is that I’m not spending a ton of time fixing the image. I’m just polishing it.
Why This Helps With Multi-Cam Shoots
This is where the profile really starts to make sense.
If you shoot with multiple Sony cameras, you already know the struggle. Different bodies, different sensors, different generations, and sometimes totally different color science.
One camera might look warmer. One might look more contrasty. One might protect highlights better. One might have better skin tones.
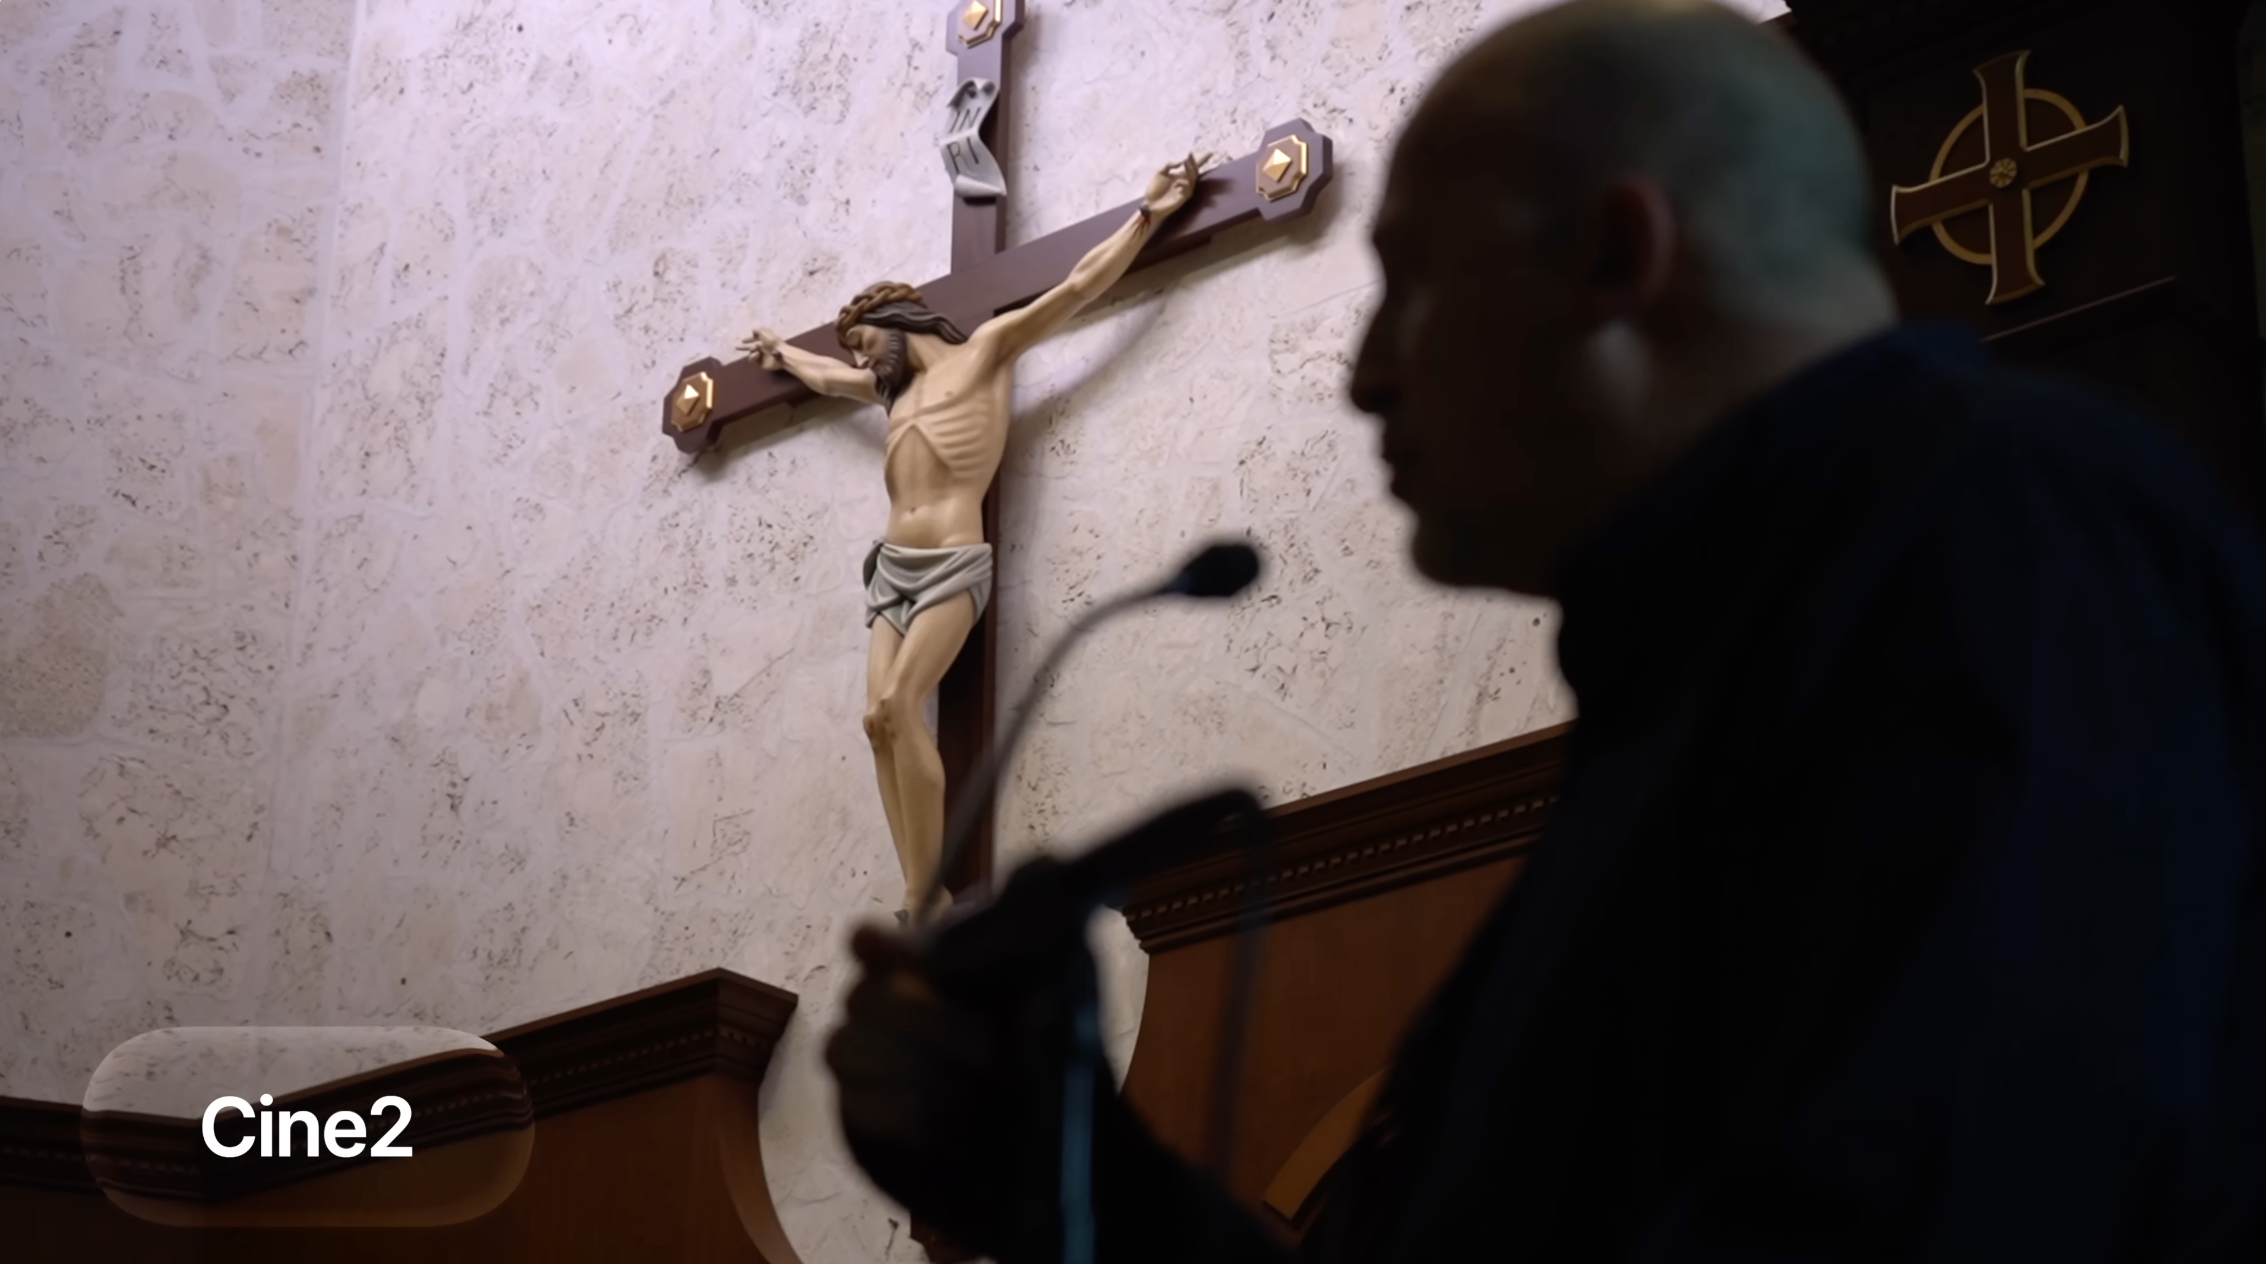
Using this custom Cine 2 profile across your cameras helps bring them closer together.
For example, I can shoot with something like the Sony a7S III in S-Cinetone and then use a smaller or older Sony camera with this custom Cine 2 profile. With a little bit of tweaking in post, the footage can match surprisingly well.
That is huge if you film talking heads, YouTube videos, interviews, courses, or any setup where you’re cutting between multiple angles.

Should You Use This Instead of Log?
Not always.
Log still has its place.
If you’re doing heavy color grading, trying to maximize dynamic range, working with a colorist, or building a more advanced color workflow, then Log can absolutely make sense.
But for most people, most of the time, Log is more work than they actually need.
A lot of creators just want footage that looks good, edits quickly, and doesn’t fall apart when they make basic adjustments.
That’s where this custom Cine 2 profile comes in.
It gives you a cleaner, more balanced image without requiring a complicated grading process.
Who This Setting Is Best For
This setting is great for:
- YouTubers
- Talking head videos
- Course creators
- Client interviews
- Beginner filmmakers
- Sony camera owners using older 8-bit cameras
- Multi-camera setups
- Creators who want better color without shooting Log
If you want the easiest path to cleaner Sony footage, this is one of the first settings I would try.
Final Thoughts
This custom Cine 2 profile is one of those Sony settings that feels small at first, but once you start using it, it can completely change your workflow.
You don’t need extra gear. You don’t need new lenses. You don’t need a complicated color grading setup.
You just need to set up the profile once, expose your footage correctly, and make a few small tweaks in post.
For me, this has become one of the most useful Sony settings I’ve ever used. It helps my footage look cleaner, makes my cameras easier to match, and saves me a ton of time when editing.
So if you own a Sony camera, try this out.
It might end up being one of those settings you leave on all the time.
Author